
Windscreen (page 2 of 4)
- Make
- Rover
- Model
- 200 Body Repair Manual
- Year
- 1995–1999
- Section
- Screens
BodyWindscreen · page 2 of 4
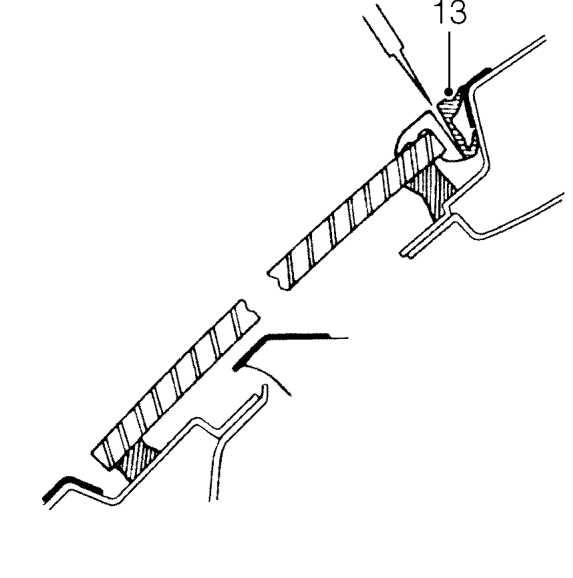
- Carefully run a sharp blade around screen and remove outer lip of screen finisher.
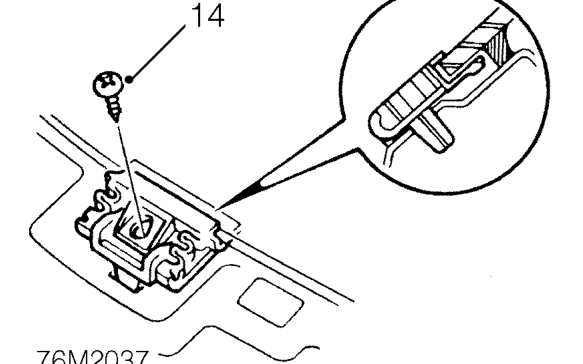
- Remove 2 screws securing spacers to body.
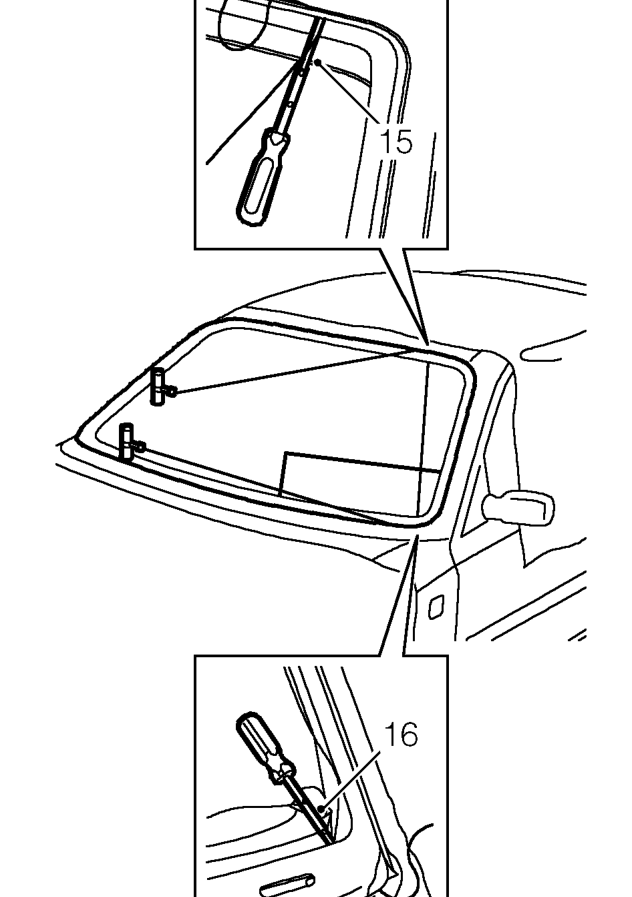
- Insert cutting wire through sealant at top of ’A’ post.
- Insert cutting wire through sealant at bottom of ’A’ post.
- Fit handles to cutting wire.
- Fit dash guard to interior of vehicle.
- Make a double cut along top and bottom of screen, and down ’A’ post.
NOTE: If multi-strand cutting wire is used, a sawing action can be used to cut through heavy sealant deposits around corners.
CAUTION: Use of a sawing action may overheat and break single strand wire.
Parts & tools for this job For 1995 Rover 200
- TOOLTrim removal tool kitSearch: trim removal tool kit
- PARTTouch-up paintSearch: Rover touch up paint
- PARTPanel clip assortmentSearch: Rover panel clips assortment
Links open Amazon search results in a new tab. As an Amazon Associate I earn from qualifying purchases.