
Installation
- Make
- Aston Martin
- Model
- DB9 Factory Workshop Manual
- Year
- Issue 2, 2005
- Section
- Automatic Transmission › Installation
07 TransmissionInstallation
- Remove the Mechatronik unit seals.
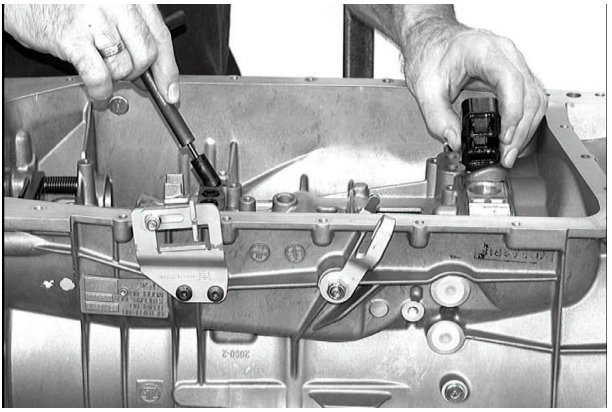
Installation
- Install new Mechatronik unit seals.
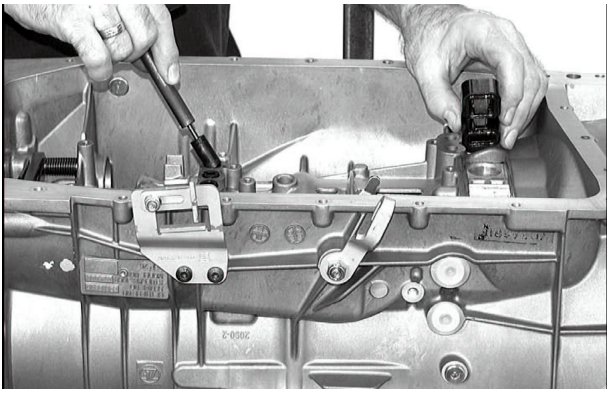
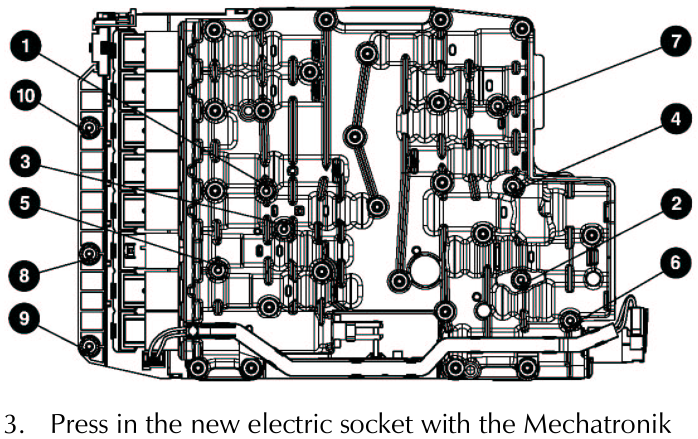
- Install the Mechatronik unit, press on by hand. Torque bolts, in sequence (detailed below), to 8 Nm.
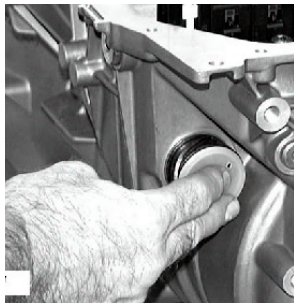
- Press in the new electric socket with the Mechatronik unit screw plug attached. Secure with the retaining clip.
- Install a new ‘O’-ring seal onto stub pipe of the transmission oil filter. Press the new seal into the sump.
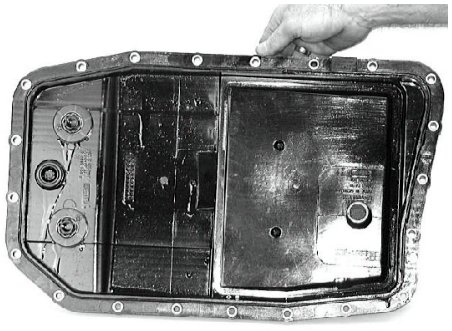
- Install the gearbox capacitor.
- Install the sump (screws x21). Torque to 7-9 Nm.
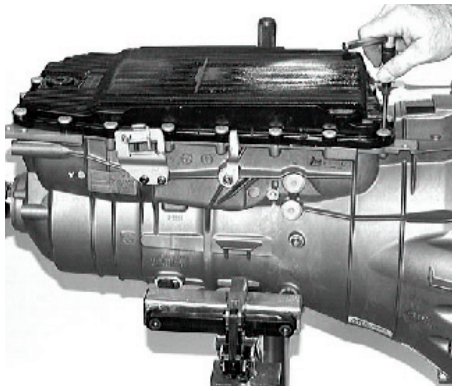
- Insert a new drain plug. Torque plug to 9 Nm.
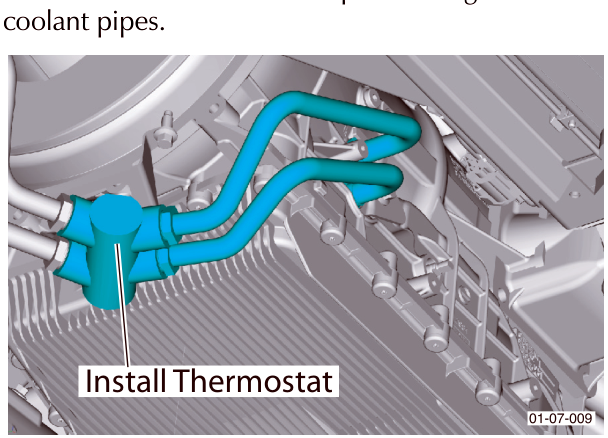
- Install the oil thermostat complete with gearbox side coolant pipes.
Parts & tools for this job For 2005 Aston Martin DB9
- PARTTransmission filter kitSearch: Aston Martin DB9 2005 transmission filter kit
- FLUIDAutomatic transmission fluidSearch: Aston Martin automatic transmission fluid
- TOOLFluid transfer pumpSearch: fluid transfer pump
Links open Amazon search results in a new tab. As an Amazon Associate I earn from qualifying purchases.