
Installation
- Make
- Aston Martin
- Model
- DB9 Factory Workshop Manual
- Year
- Issue 2, 2005
- Section
- Automatic Transmission › Installation
07 TransmissionInstallation
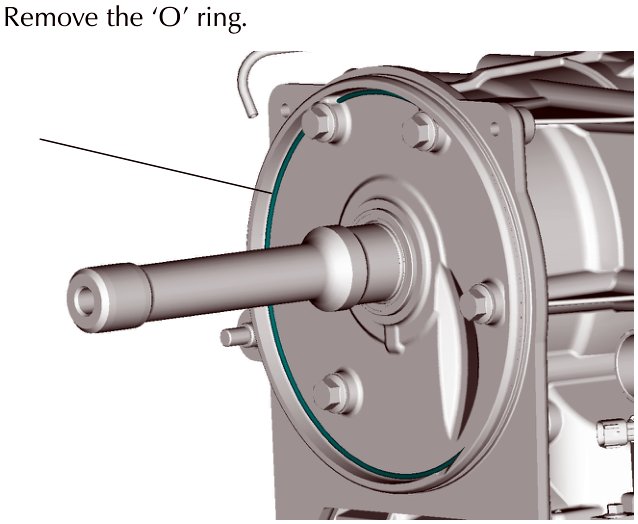
- Remove the ‘O’ ring.
Installation
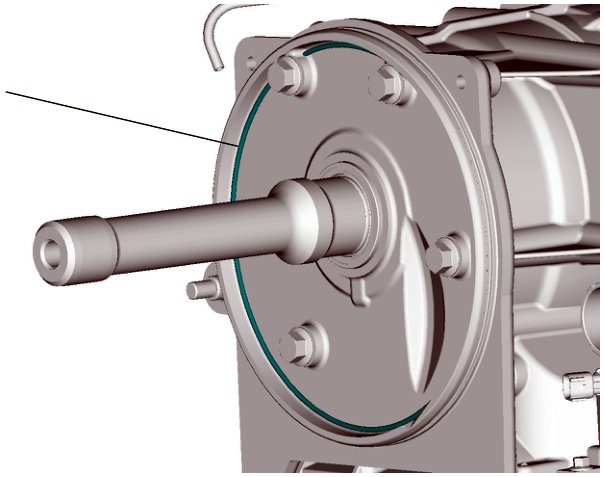
- Install a new ‘O’ ring.
Ensure that the ‘O’ ring is not twisted when installed. Look for the line running along the ‘O’ ring for guidance.
F4 Install the differential. Torque the bolts to 52-75 Nm.
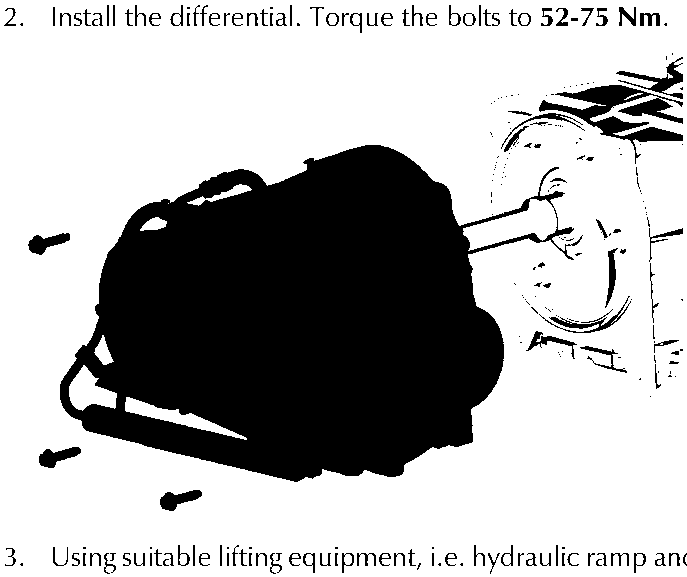
- Using suitable lifting equipment, i.e. hydraulic ramp and sling, place the transaxle to the subframe.
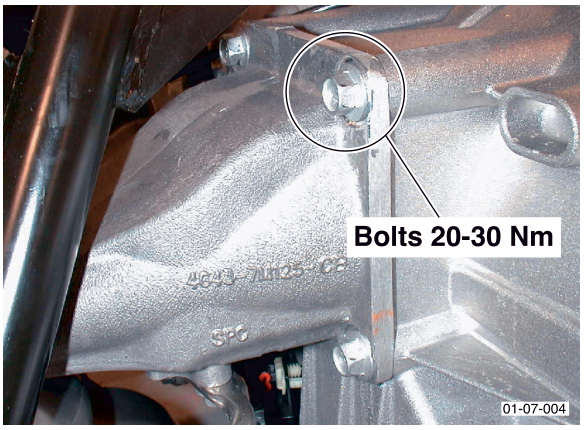
- Install the transaxle to it’s mounting brackets. Torque bolts (x4) on each mount to 20-30 Nm.
- If removed. Install the torque converter.
- Install the rear subframe complete with transaxle to the vehicle (Refer to ‘Rear Subframe’, page 2-1-4).
- Check / Top-up the differential oil (Refer to ‘Differential Oil Check / Top Up’, page 7-1-4).
- Check and, if required, top-up the transmission oil.
Differential Output Seal (LH)
| Repair Operation Time (ROT) | |
|---|---|
| Item | Code |
| Differential Output Seal (LH) Renew | TBA |
If replacing both LH and RH seals at the same time, change the LH seal first.
When replacing the RH seal the LH output shaft will hold the differential unit in place.
Removal
- Disconnect the vehicle battery.
- Raise the vehicle and make safe.
- Remove the LH road wheel and road wheel arch liner.
- Remove the rear undertray.
- Remove the service brake and handbrake calipers (Refer to ‘Brake System (06.00)’, page 6-1-1).
- Remove the vertical link (Refer to ‘Rear Suspension (04.02)’, page 4-3-1).
- Drain the differential oil.
Parts & tools for this job For 2005 Aston Martin DB9
- PARTTransmission filter kitSearch: Aston Martin DB9 2005 transmission filter kit
- FLUIDAutomatic transmission fluidSearch: Aston Martin automatic transmission fluid
- TOOLFluid transfer pumpSearch: fluid transfer pump
Links open Amazon search results in a new tab. As an Amazon Associate I earn from qualifying purchases.