
Maintenance (page 2 of 2)
- Make
- Aston Martin
- Model
- V8 Vantage Factory Workshop Manual
- Year
- 2005–2010
- Section
- Power Conversion
03 EngineMaintenance · page 2 of 2
- Release flywheel from dowel, remove flywheel.
WARNING
DO NOT GET USED ENGINE OIL ON YOUR SKIN.
USED ENGINE OIL CAN BE HARMFUL.
- Remove engine sump (see Workshop Manual procedure 03.02.CN Pan - Oil Sump - Remove and re-seal With Engine Removed).
- Remove bolts (x8) securing windage tray to engine bedplate, remove windage tray.
- Mark bearing caps and connecting rods for correct F1installation (see Figure 1).
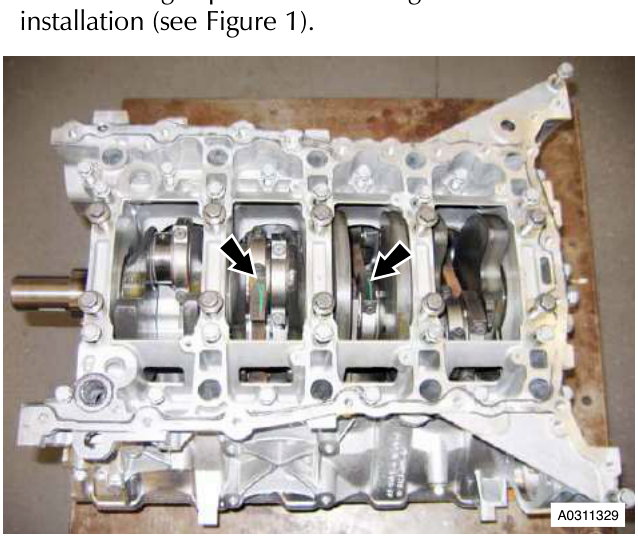
- Rotate crankshaft clockwise to access number 1 cylinder connecting rod bolts.
- Remove and discard bolts (x16) securing bearing caps to connecting rods, remove bearing caps (see Figure 2).
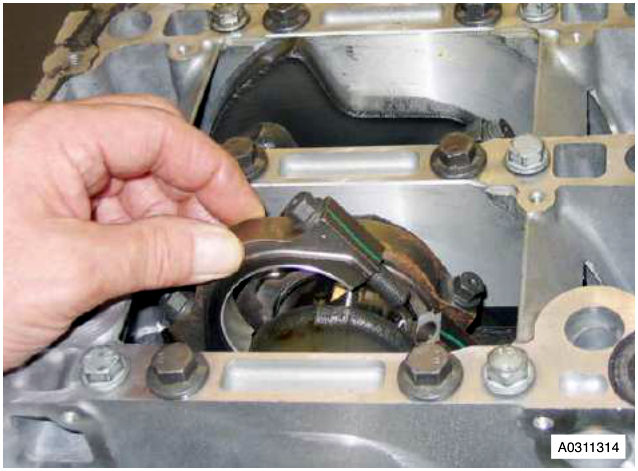
Connecting rod bolts are torque tightened to yield and must be replaced.
- Install special tools (303-535) to the connecting rod to prevent damage to crankshaft journal.
- Carefully push each connecting rod/piston assembly up each cylinder bore.
- Secure Dial Test Indicator (DTI) on engine bedplate.
- Push crankshaft fully rearwards.
- Position DTI probe on crankshaft web and zero gauge.
- Push crankshaft fully forwards and record reading on dial gauge.
- Remove DTI gauge.
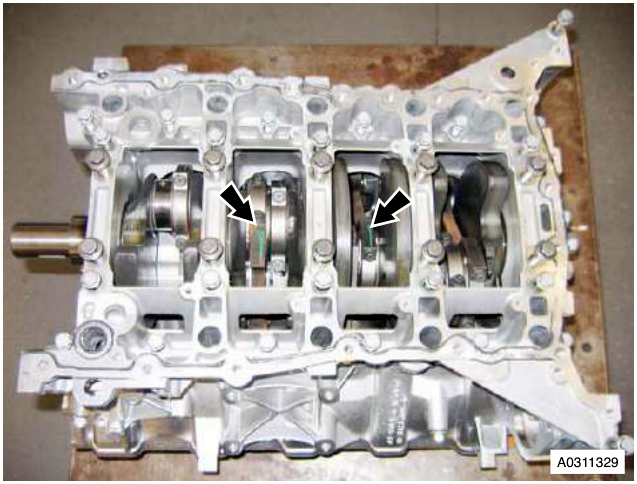
- Noting their fitted positions, remove bolts (x34) securing engine bedplate to cylinder block (see Figure 3).
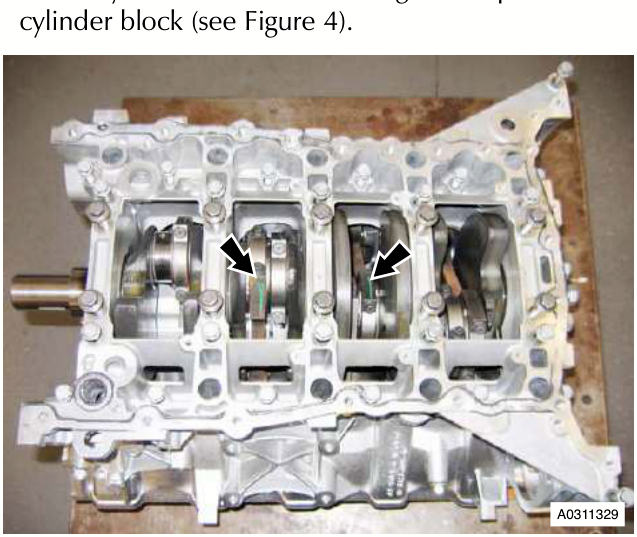
- Carefully release and remove engine bedplate from F4ylinder block (see Figure 4).
- Carefully remove crankshaft from cylinder block.
- Remove rear oil seal from crankshaft.
Parts & tools for this job For 2005 Aston Martin V8 Vantage
- PARTOil filterSearch: Aston Martin V8 Vantage 2005 oil filter
- TOOLOil filter wrenchSearch: oil filter wrench
- FLUIDEngine oilSearch: Aston Martin V8 Vantage engine oil
Links open Amazon search results in a new tab. As an Amazon Associate I earn from qualifying purchases.