
Front crossmember removal/installation
- Make
- Mazda
- Model
- MX-5 (NC) Factory Workshop Manual
- Year
- 2006–2008
- Section
- Front Suspension › Front crossmember removal/installation
SuspensionFront crossmember removal/installation
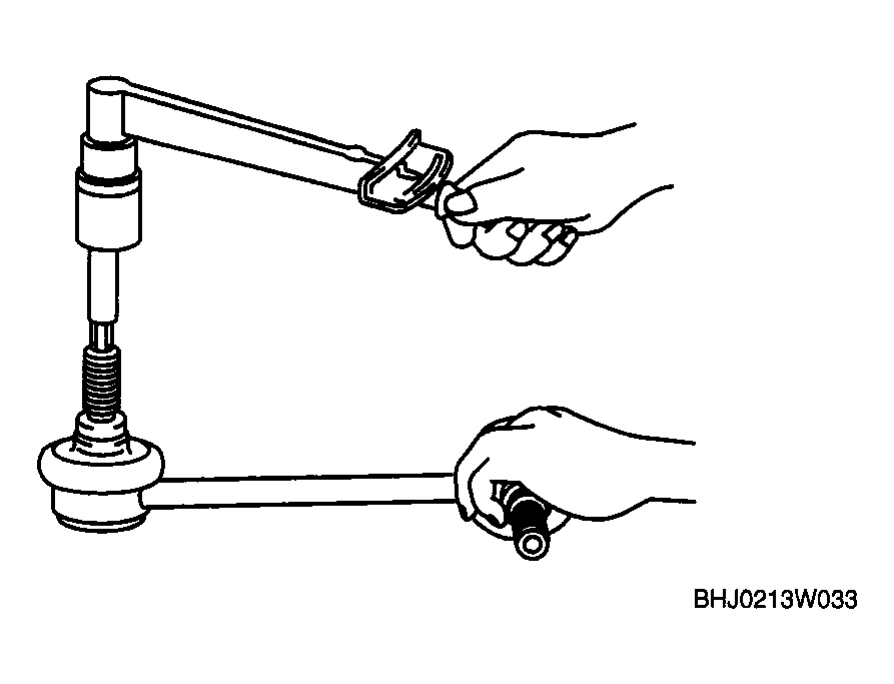
Courtesy of MAZDA MOTORS CORP.
FRONT CROSSMEMBER REMOVAL/INSTALLATION
CAUTION: Performing the following procedures without first removing the ABS wheel-speed sensor may possibly cause an open circuit in the wiring harness if it is pulled by mistake. Before performing the following procedures, remove the ABS wheel-speed sensor (axle side) and fix it to an appropriate place where the sensor will not be pulled while servicing the vehicle.
- Remove the front suspension tower bar. (See FRONT SUSPENSION TOWER BAR REMOVAL/INSTALLATION .)
- Remove the front stabilizer (See FRONT STABILIZER REMOVAL/INSTALLATION .)
- Remove the transverse members (See TRANSVERSE MEMBER REMOVAL/INSTALLATION .)
- Remove the steering gear and linkage, and suspend it using a cable.
- Remove in the order indicated in Fig. 31 .
- Install in the reverse order of removal.
- Inspect the front wheel alignment. (See FRONT WHEEL ALIGNMENT .)
Parts & tools for this job For 2006 Mazda MX-5
- TOOLCoil spring compressorSearch: coil spring compressor
- TOOLBall joint separatorSearch: ball joint separator
- PARTFront shock absorbersSearch: Mazda MX-5 2006 front shock absorbers
As an Amazon Associate we earn from qualifying purchases.