
Inspection (page 2 of 2)
- Make
- Rover
- Model
- 600 Rover 600 Repair Manual - Volumes 1 and 2 - 2nd Edition
- Section
- Brakes: information
Brakes and ABSInspection · page 2 of 2
CAUTION: Use only clean DOT 4 brake fluid. Make sure no dirt or other foreign matter is allowed to contaminate the brake fluid.
Do not mix different brands of brake fluid as they may not be compatible.
Do not spill brake fluid on the car; it may damage the paint; if brake fluid does contact the paint, wash it off immediately with water.
Note: The reservoir on the master cylinder must be full at the start of bleeding procedure, and checked after bleeding each brake caliper. Add fluid as required. Use only clean DOT 4 brake fluid.
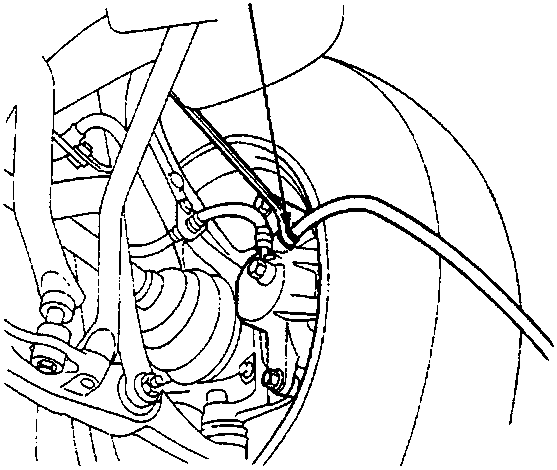
FRONT:
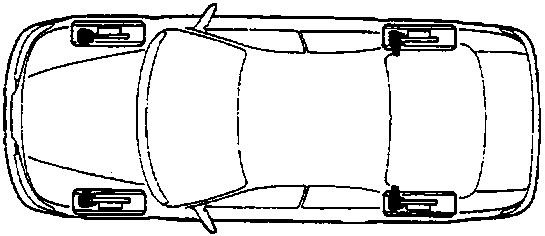
Bleeding sequence
- A Rear right
- B Front left
- C Rear left
- D Front right
- Have someone slowly pump the brake pedal several times, then apply steady pressure.
- Loosen the brake bleed screw to allow air to escape from the system. Then tighten the bleed screw securely.
- Repeat the procedure for each wheel in the alphabetic sequence shown above, until air bubbles no longer appear in the fluid.
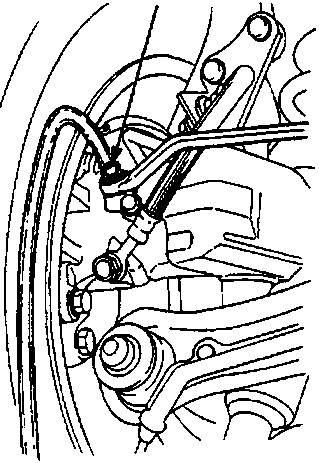
REAR:
Parts & tools for this job For Rover 600
- PARTBrake padsSearch: Rover 600 brake pads
- TOOLBrake bleeder kitSearch: one man brake bleeder kit
- FLUIDBrake fluidSearch: brake fluid
Links open Amazon search results in a new tab. As an Amazon Associate I earn from qualifying purchases.