Workshop Manuals Factory service & repair Aston Martin
01 00 Introduction02 01 Body system03 02 Frame and mounting04 03 Engine05 04 Suspension06 05 Driveline07 06 Brake system08 07 Transmission09 08 Clutch10 09 Exhaust11 10 Fuel12 11 Steering13 12 Climate control14 13 Information, gauge and warning15 14 Power supply16 15 Vehicle entertainment17 16 Vacuum distribution18 17 Lighting19 18 Electric distribution and electronic control20 19 Electronic features21 20 Appendix and glossary
Aston Martin DB9 Factory Workshop Manual (Issue 2, 2005)02 · 01 Body system
02 · Body & interior

Installation

Make
Aston Martin
Model
DB9 Factory Workshop Manual
Year
Issue 2, 2005
Section
Interior Trim › Installation
01 Body systemInstallation
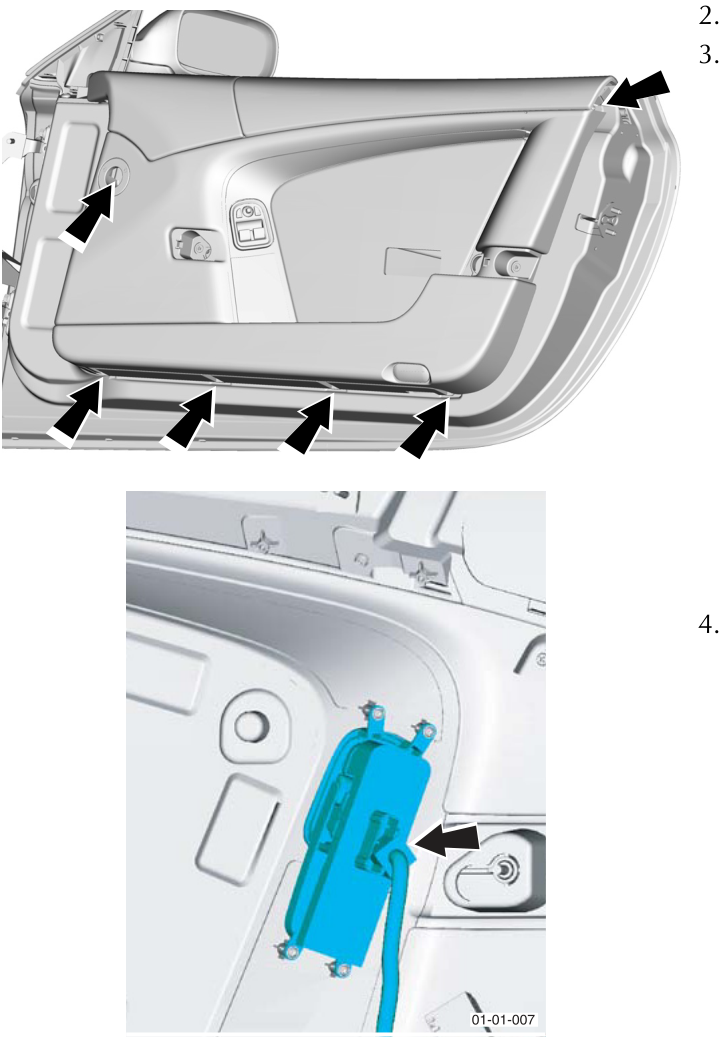
  1. Remove the door trim panel screws (x6). Withdraw the door trim panel to gain access to the window and mirror switches. Disconnect the switches.
Door trim panel removed showing internal components and wiring harness connectors

Installation

  1. Place the door trim panel to the door and connect the wiring harness plugs.
  2. Install the door trim panel screws (x6).
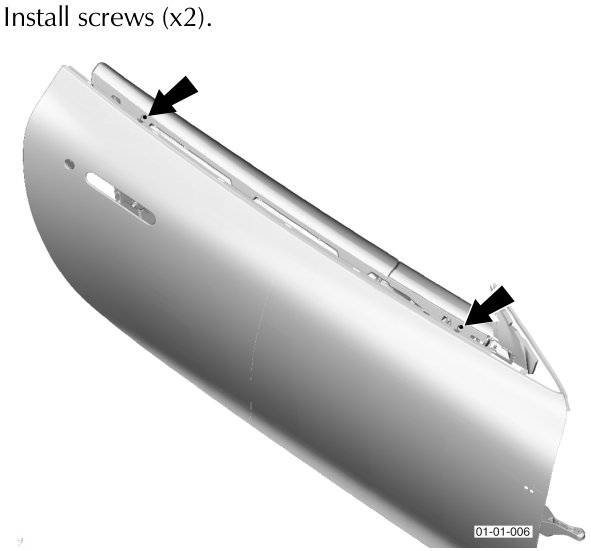
  3. Door trim panel being aligned with the door frame for screw installation
    Install all screws (x2).
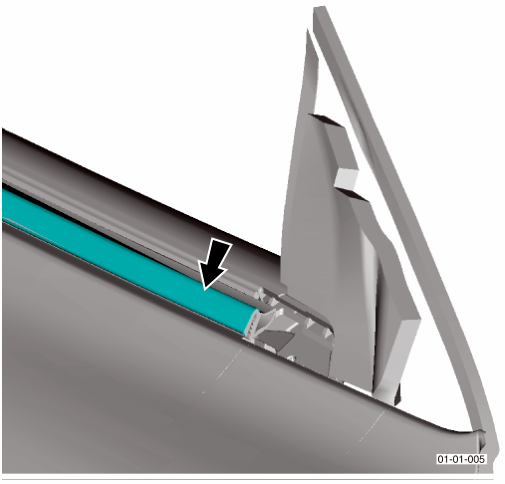
  4. Install the outer weather seal strip.
  5. Outer weather seal strip being installed along the top edge of the door trim panel
  6. Install the door mirror cheater panel.
  7. Install the door pull
    1. Connect the door inner release cable.
    2. Install the door pull trim plate.
    3. Install the door handle. Torque to 9 Nm.
  8. Connect the vehicle battery.

Parts & tools for this job For 2005 Aston Martin DB9

Links open Amazon search results in a new tab. As an Amazon Associate I earn from qualifying purchases.