
Installation
- Make
- Aston Martin
- Model
- DB9 Factory Workshop Manual
- Year
- Issue 2, 2005
- Section
- Subframes › Installation
02 Frame and mountingInstallation
- Remove bolts (x12) that secure the subframe to the body and the front structure.
Withdraw the subframe.
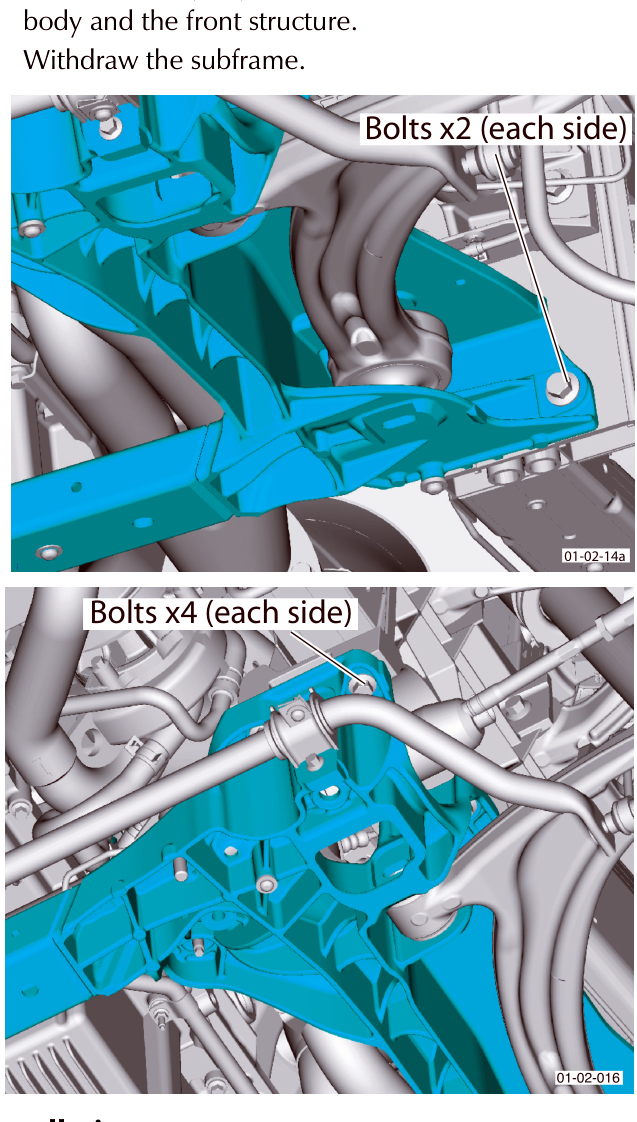
Installation
- Raise the subframe to the front structure. Install the subframe mounting bolts (x12).
Ensure that the subframe to the front structure and the vehicle body alignment marks are lined up.
Tighten the bolts in three stages:
- 'Nip-up' the bolts that secure the subframe to the front structure.
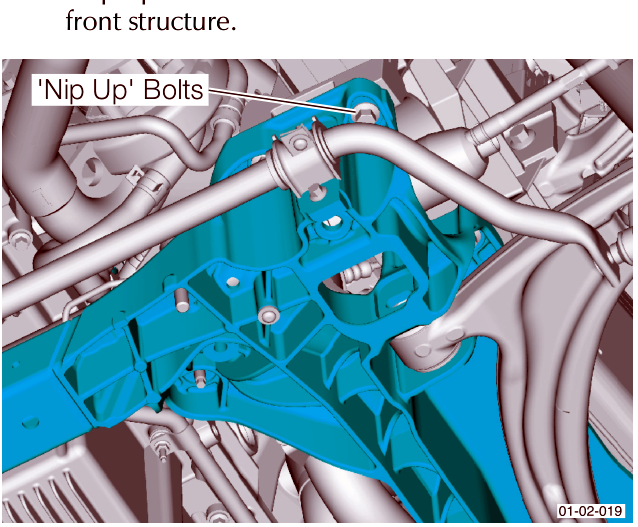
2 Torque the bolts that secure the subframe to the body to 105-125 Nm.
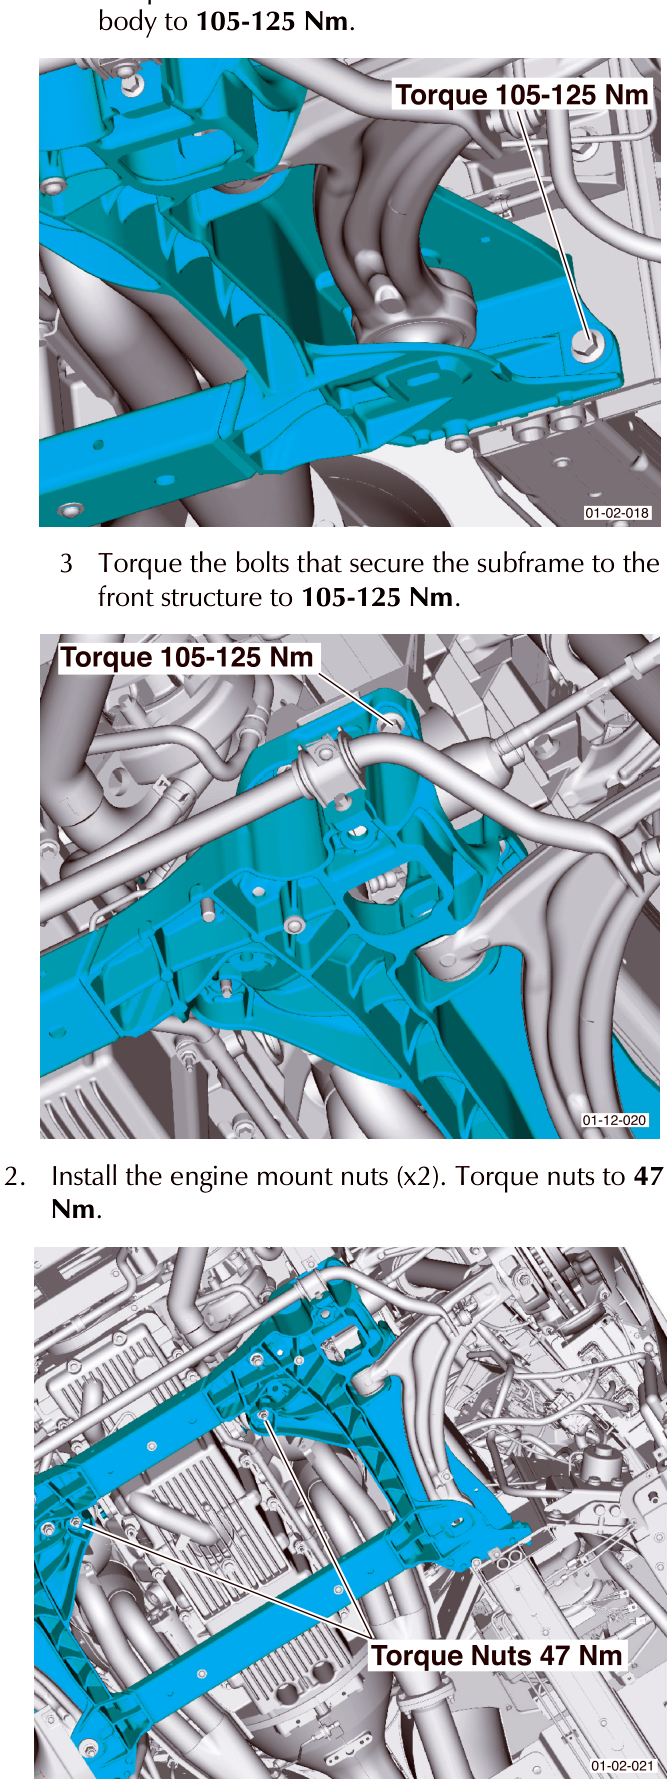
3 Torque the bolts that secure the subframe to the front structure to 105-125 Nm.
- Install the engine mount nuts (x2). Torque nuts to 47 Nm.
Parts & tools for this job For 2005 Aston Martin DB9
- TOOLTorque wrenchSearch: 3/8 inch torque wrench
- TOOLSocket setSearch: socket set metric
- BOOKHaynes manualSearch: Haynes manual Aston Martin DB9
Links open Amazon search results in a new tab. As an Amazon Associate I earn from qualifying purchases.