
Installation
- Make
- Aston Martin
- Model
- DB9 Factory Workshop Manual
- Year
- Issue 2, 2005
- Section
- Manual Transmission › Installation
07 TransmissionInstallation
F1 Remove bolts (x4).
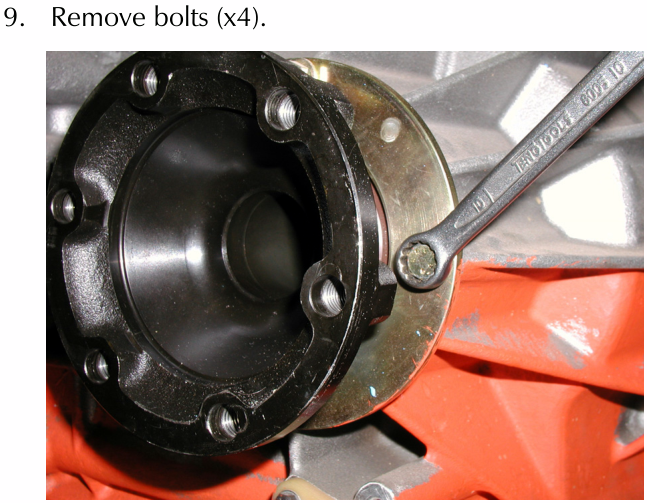
- Attach a slide hammer and withdraw the output shaft cover complete with output shaft and bearing. Discard the ‘O’ ring.
- Remove the circlip and withdraw the bearing.
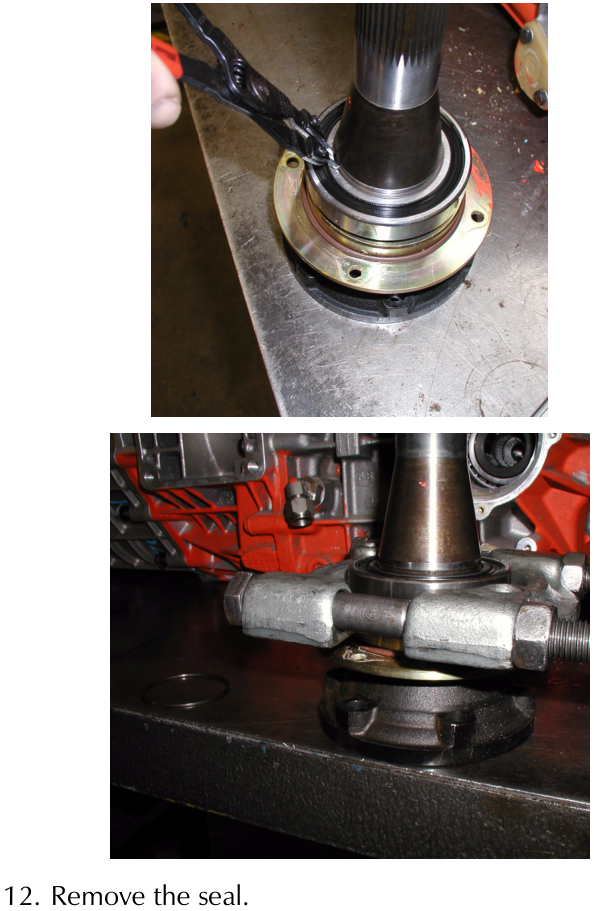
- Remove the seal.
Installation
- Install a new seal. Push the seal in until it seats against the lip in the casing. Smear the lip with a small amount of grease.
- Place the output shaft through the seal casing. Install the bearing and circlip.
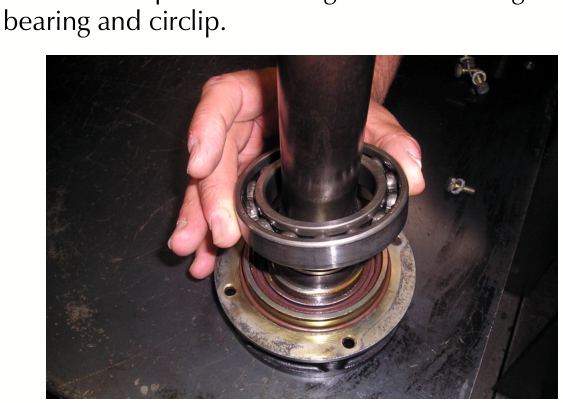
- Install a new ‘O’ ring to the seal casting.
- Install the output shaft cover complete with output shaft and bearing. Install bolts (x4), torque to 10 Nm.
- Install the halfshaft. Torque bolts (x6) to 70.5 Nm.
- Install the vertical link (Refer to ‘Rear Suspension (04.02)’, page 4-3-1).
- Install the service brake and handbrake calipers (Refer to ‘Brake System (06.00)’, page 6-1-1).
- Ensure the drain plug is installed (Torque 49 Nm.). Fill the differential with the specified oil (Refer to ‘Specifications’, page 7-3-2).
- Install the undertray.
- Install the road wheel arch and road wheel (Refer to ‘Road Wheel Nut Torque Tightening’, page 4-5-7).
- Connect the vehicle battery.
Parts & tools for this job For 2005 Aston Martin DB9
- PARTClutch kitSearch: Aston Martin DB9 2005 clutch kit
- TOOLClutch alignment toolSearch: clutch alignment tool
- FLUIDGear oilSearch: Aston Martin DB9 manual gearbox oil
Links open Amazon search results in a new tab. As an Amazon Associate I earn from qualifying purchases.