
Installation
- Make
- Aston Martin
- Model
- DB9 Factory Workshop Manual
- Year
- Issue 2, 2005
- Section
- Manual Transmission › Installation
07 TransmissionInstallation · page 1 of 2
- Remove the differential cover.
- Install service tool (No. ) to differential output shaft.
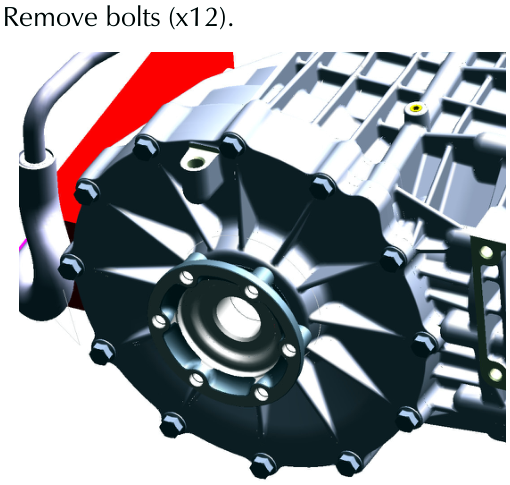
- Withdraw the differential cover.
- Discard the ‘O’ rings (x2).
- Remove the differential.
The differential may come out with the differential cover or it may remain in the differential housing located on the L/H output shaft.
Installation
- Insert the differential into the differential housing.
- Complete with new ‘O’ rings (x2), install the differential cover. Secure with bolts (x12). Torque bolts to 35 Nm.
- Install the halfshaft. Torque bolts (x6) to 70.5 Nm.
- Install the exhaust pipe (Refer to ‘Pipes and Supports (09.03)’, page 9-2-1).
- Install the undertray and shear panel.
- Install the road wheel arches and road wheels (Refer to ‘Road Wheel Nut Torque Tightening’, page 4-5-7).
Parts & tools for this job For 2005 Aston Martin DB9
- PARTClutch kitSearch: Aston Martin DB9 2005 clutch kit
- TOOLClutch alignment toolSearch: clutch alignment tool
- FLUIDGear oilSearch: Aston Martin DB9 manual gearbox oil
Links open Amazon search results in a new tab. As an Amazon Associate I earn from qualifying purchases.