
Figure 3
- Make
- Aston Martin
- Model
- V8 Vantage Factory Workshop Manual
- Year
- 2005–2010
- Section
- Manual Transmission › Figure 3
07 TransmissionFigure 3
Figure 3
- Remove nuts (x2), hydramounts to subframe mountings.
- Position hydraulic lifter to support transaxle.
- Remove and discard bolts (x8, 4 each side), mounting brackets to transaxle. Remove mounting brackets with hydramounts.
- Release drive shafts from transaxle and position aside.
- Lower transaxle sufficiently to access harness to subframe clip, release harness to subframe clip (see Figure 4).
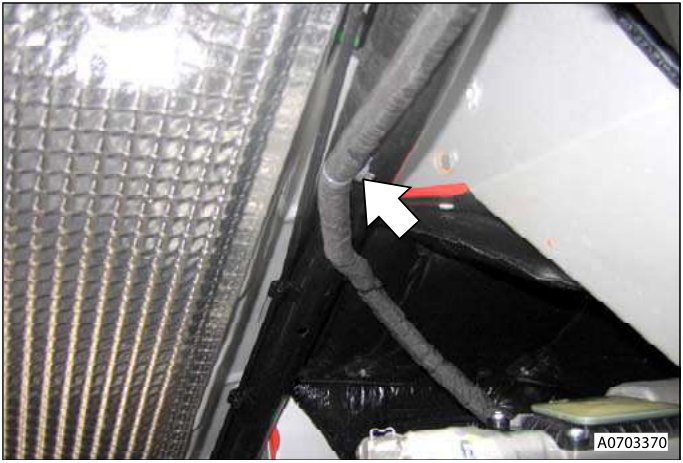
THE TRANSAXLE ASSEMBLY IS VERY HEAVY. GET THE AID OF ONE MORE PERSON WHEN YOU MOVE THE TRANSAXLE. IF YOU DO NOT, PERSONAL INJURY CAN OCCUR.
- Lower transaxle to approx. 420mm from fitted position and retain on hydraulic lifter (see Figure 5).
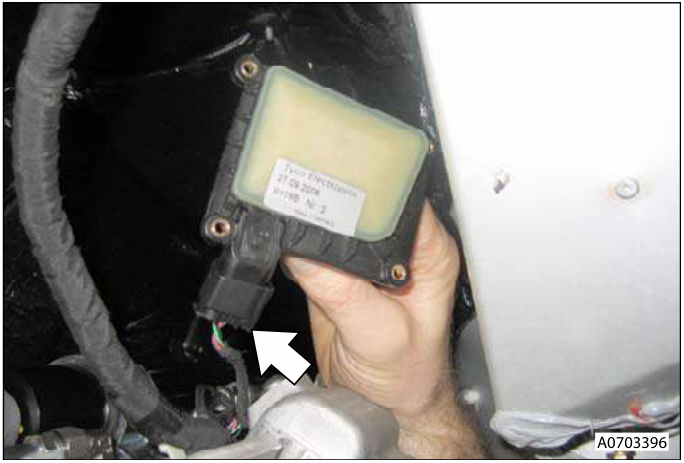
Figure 6
Install
- Connect gear position sensor to multiplug.
- Install gear position sensor (screws x4).
- Raise transaxle, install harness clip to subframe.
- Connect transaxle breather pipe.
- Raise transaxle to fitted position. Install transaxle mounting brackets and hydramounts, install and torque tighten new bolts (x8).
- Align hydramounts to subframe, lower lifter, install and torque nuts. Remove lifter.
- Position reservoir to bracket and fit clamp (bolt x1).
- Position reservoir hose and secure clips.
- Remove plugs, connect and torque oil cooler unions.
- Apply thread lock to new Allen bolts.
- Align drive shafts to transaxle flanges, clean and install plates (x6), install and torque tighten Allen bolts (x12).
- Position earth lead to transaxle, install and torque tighten bolt.
- Install shear plate, install bolts (x8), tighten bolts to correct torque.
- Install tunnel heatshield, install bolts/washers (x4), tighten bolts to correct torque.
- Install centre and rear exhaust pipe assembly, align to both catalysts. tighten clamp nuts to correct torque.
- Install bolts (x4) into centre mounting.
- Install subframe cross brace, install bolts (x4) and torque.
- Install rear exhaust silencer assembly (see Workshop Manual procedure 09.00.KA Muffler & Bypass Valve Assembly - Remove for Access & Refit).
- Roadster Only - Install centre undertray (see Workshop Manual procedure 01.02.MB Undertray - Centre - Renew).
- Install road wheel(s).
- Lower vehicle on ramp, remove securing straps.
Parts & tools for this job For 2005 Aston Martin V8 Vantage
- PARTClutch kitSearch: Aston Martin V8 Vantage 2005 clutch kit
- TOOLClutch alignment toolSearch: clutch alignment tool
- FLUIDGear oilSearch: Aston Martin V8 Vantage manual gearbox oil
Links open Amazon search results in a new tab. As an Amazon Associate I earn from qualifying purchases.