
Link - anti-roll bar
- Make
- MG
- Model
- TF Factory Workshop Manual
- Year
- 2002–2005
- Section
- Repairs › Link - anti-roll bar
Rear suspensionLink - anti-roll bar
CAUTION: The rear anti-roll bar is handed, the letter ’R’ denotes RH side of suspension.
- Remove 2 mounting rubbers from anti-roll bar.
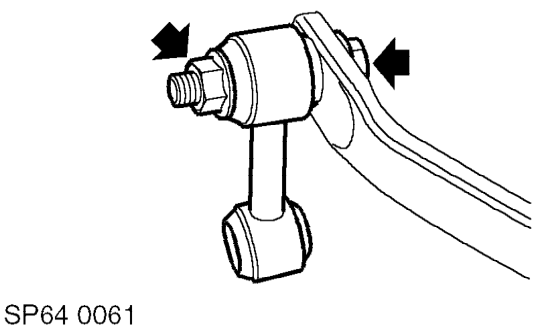
- Remove nuts and bolts securing anti-roll bar links to anti-roll bar.
- Check anti-roll bar link bushes for wear.
Refit
- Clean anti-roll bar and anti-roll bar links.
- Correctly position links to anti-roll bar, fit bolts and nuts but do not tighten at this stage.
- Fit mounting rubbers to anti-roll bar.
- Correctly position anti-roll bar, align anti-roll bar links to LH and RH trailing arms. Fit bolts and nuts but do not tighten at this stage.
- Position mounting rubbers, fit clamps, fit and tighten nuts to 22 Nm.
- Fit heat shield - rear silencer. See MANIFOLD & EXHAUST SYSTEMS, Repairs.
- With the weight of the vehicle on the rear suspension, tighten anti-roll bar link nuts and bolts to 35 Nm.
- Fit road wheel(s), fit wheel nuts and tighten in a diagonal sequence to 70 Nm.
- Remove stand(s) and lower vehicle.
LINK - ANTI-ROLL BAR
Service repair no - 64.35.24
Remove
- Raise rear of vehicle and support on stand(s).
WARNING: Do not work on or under a vehicle supported only by a jack. Always support the vehicle on safety stands.
- Remove road wheel(s).
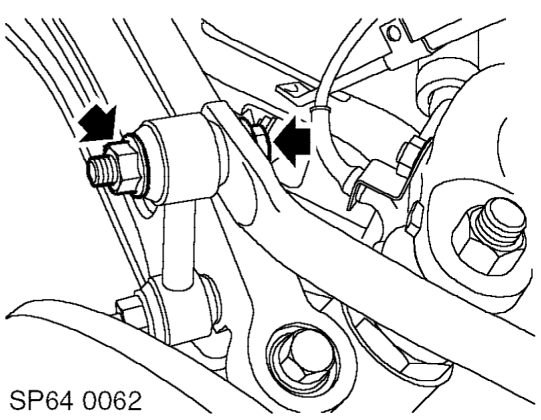
- Remove nut and bolt securing anti-roll bar link to anti-roll bar.
NOTE: Note fitted position of link retaining nuts and bolts and anti-roll bar to link.
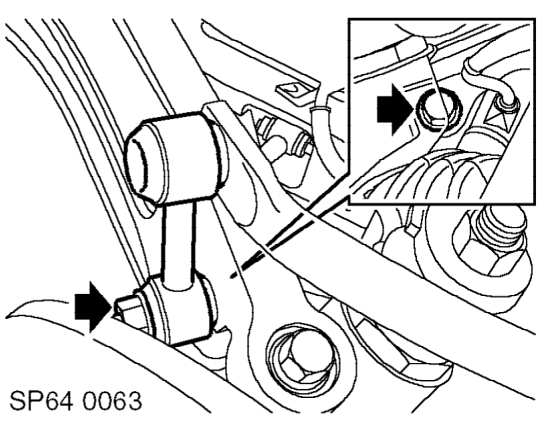
- Remove nut and bolt securing anti-roll bar link to trailing arm and remove link.
Parts & tools for this job For 2002 MG TF
- TOOLCoil spring compressorSearch: coil spring compressor
- TOOLBall joint separatorSearch: ball joint separator
- PARTRear shock absorbersSearch: MG TF 2002 rear shock absorbers
Links open Amazon search results in a new tab. As an Amazon Associate I earn from qualifying purchases.