
Installation
- Make
- Peugeot
- Model
- J5 Pocket Mechanic, 1.8 and 2.0 petrol
- Year
- 1987–1994
- Section
- Engine removal and installation › Installation
EngineInstallation
- Remove the transmission from the engine if required. The starter motor must be removed. Take care not to distort the clutch drive shaft when the transmission is lifted off.
Installation
The installation is a reversal of the removal procedure. The following points must be noted in general:
- All self-locking nuts, lock washers, etc. and all parts which are no longer in good condition must be replaced.
- Prepare the engine compartment for a trouble-free lowering of the engine and transmission.
- All disconnected cables, pipes, hoses, etc. must be moved out of the way. Use sticky tape and attach them to the outer panels, if necessary.
- Thoroughly clean all connections. Check for rust, if applicable.
- When fitting the L.H. drive shaft make sure that the circlip in the end of the shaft engages in the inside of the side gear in the differential. Check by moving the drive shaft to and fro.
- The exhaust manifold to exhaust pipe connection must be made as follows:
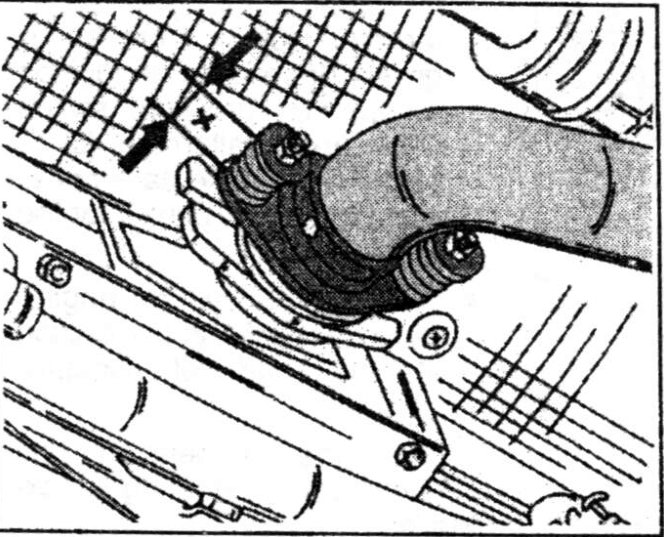
- Coat the sealing cones with a heat-resistant grease, such as “Gripcott A-F, as used by Citroën workshops. Place the springs and washers in position, fit the two nuts and tighten the nuts evenly until the dimension “X” in Fig. 1.12 is 22 mm. This will assure a gas-tight connection.
- Adjust the clutch pedal free travel. This is obtained by adjusting the clutch pedal height. A helper is required to observe the position of the pedals as the two nuts are adjusted. After joining the clutch operating cable with the clutch release lever, adjust the two nuts, shown by the arrows in Fig. 1.13, until clutch and brake pedals are at the same height. Lock the two nuts against each other after the adjustment has been obtained.
- Fill the cooling system with 9 litres of ant-freeze solution. Refer to the “Cooling System” section for the filling procedure.
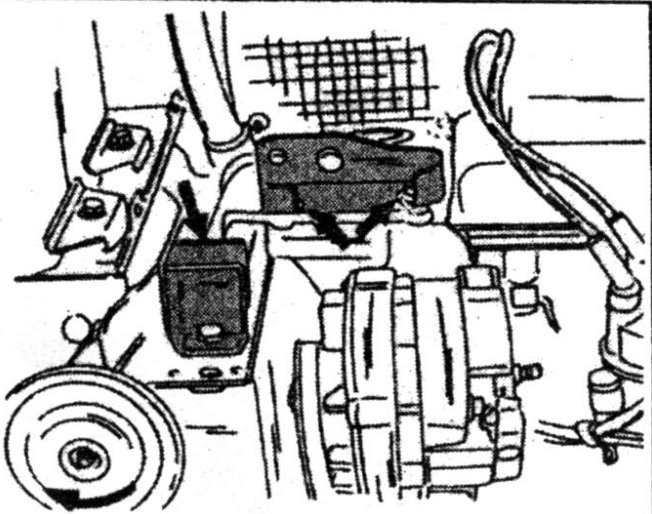
- Re-connect the various cable connections. Some of them are shown in Fig.
Parts & tools for this job For 1987 Peugeot J5
- PARTEngine gasket setSearch: Peugeot J5 1987 engine gasket set
- TOOLTorque wrenchSearch: 3/8 inch torque wrench
- TOOLFeeler gauge setSearch: feeler gauge set
Links open Amazon search results in a new tab. As an Amazon Associate I earn from qualifying purchases.