
Front spring (page 3 of 3)
- Make
- Rover
- Model
- 200 Workshop Manual
- Year
- 1995–1999
- Section
- Repairs
Front suspensionFront spring · page 3 of 3
Refit
- Fit and align front damper and spring assembly to body.
- Fit 3 nuts, securing damper and front spring assembly to body and tighten to to 30 Nm.
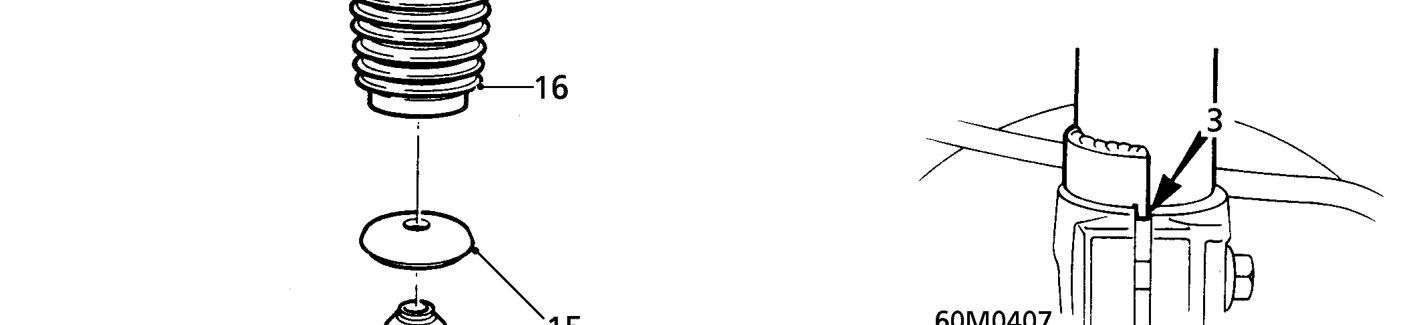
- Remove washer and bump stop from damper shaft.
- Remove dust cover from damper.
- Remove damper from spring.
- Remove spring from spring compressor tool 18G 1516.
- Inspect damper dust cover and bump stop for signs of deterioration or damage.
- Clean damper dust cover, spring mounting plate and mounting base.
- Position spring on spring compressor and ensure lugs and arms on compressor firmly hold spring. Compress spring.
- Fit damper to spring and ensure base of spring is correctly located on damper.
- Fit damper dust cover, bump stop and washer. Ensure dust cover is pushed fully down damper shaft.
- Fit spring mounting plate, mounting base and washer to damper and spring assembly.
- Fit damper shaft nut, restrain damper shaft using a 6 mm Allen key and tighten nut to 40 Nm.
- Remove damper and spring assembly from spring compressor tool.
- Locate base of front damper in hub. ensure locating lug on damper engages in slot on hub.
- Fit pinch bolt securing front hub to damper and tighten to 80 Nm.
- Align anti-roll bar link to suspension lower arm, fit bolt and tighten to 60 Nm.
- Fit road wheel(s) and tighten nuts to correct torque. See INFORMATION, Torque wrench settings.
- Remove stand(s) and lower vehicle.
Parts & tools for this job For 1995 Rover 200
- TOOLCoil spring compressorSearch: coil spring compressor
- TOOLBall joint separatorSearch: ball joint separator
- PARTFront shock absorbersSearch: Rover 200 1995 front shock absorbers
Links open Amazon search results in a new tab. As an Amazon Associate I earn from qualifying purchases.