
Engine rear mounting (page 3 of 3)
- Make
- Rover
- Model
- 400 Workshop Manual Supplement
- Year
- 1999
- Section
- Repairs
Engine - K SeriesEngine rear mounting · page 3 of 3
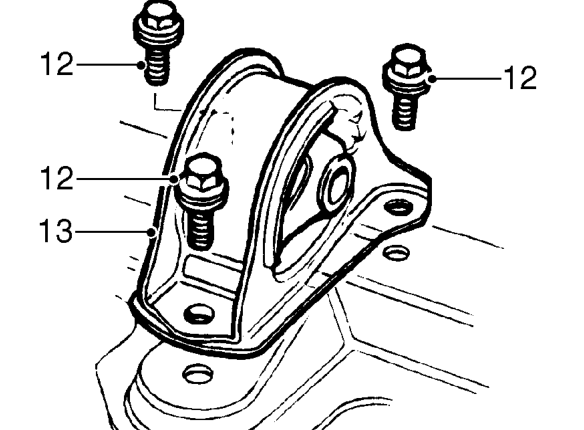
- Remove 3 bolts securing engine rear mounting to rear beam.
- Remove engine rear mounting.
Refit
- Clean area of rear beam where engine mounting is fitted.
- Fit engine rear mounting to rear beam.
- Fit 3 bolts securing engine rear mounting to rear beam and tighten to 65 Nm.
- Fit engine rear mounting bracket to engine rear mounting.
- Position engine steady bar and fit, but do not tighten, through bolt securing engine rear mounting bracket to engine mounting.
- Align engine steady bar to engine, fit bolts securing bar to cylinder block and inlet manifold. Tighten bolt securing steady bar to cylinder block to 45 Nm.Tighten bolt securing steady bar to inlet manifold to 25 Nm.
- Fit 3 bolts securing engine rear mounting bracket to engine and tighten to 100 Nm.
- Tighten through bolt securing engine rear mounting bracket to engine mounting to 80 Nm.
- Connect speed sensor multiplug.
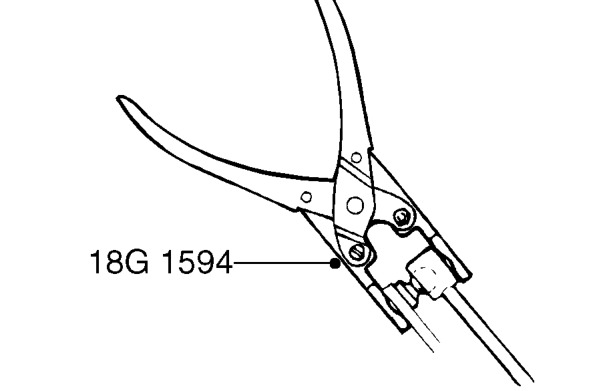
- Clean gear selector ball joints.
- Position gear selector link rods and using tool 18G 1594 connect ball joints
- Remove stand(s) and lower vehicle.
- Connect battery earth lead.
Parts & tools for this job For 1999 Rover 400
- PARTEngine gasket setSearch: Rover 400 1999 engine gasket set
- TOOLTorque wrenchSearch: 3/8 inch torque wrench
- TOOLFeeler gauge setSearch: feeler gauge set
Links open Amazon search results in a new tab. As an Amazon Associate I earn from qualifying purchases.