
Rear screen
- Make
- Rover
- Model
- 400 Workshop Manual
- Year
- 1995–2000
- Section
- Screens › Rear screen
BodyRear screen · page 1 of 5
REAR SCREEN
Service repair no - 76.81.10
NOTE: The following equipment is required:
Cutting wire and handles. Sharp knife. Windscreen repair kit. Sealer applicator gun. Suction cup lifters.
WARNING: Wear protective gloves when handling glass, solvents and primers.
Remove
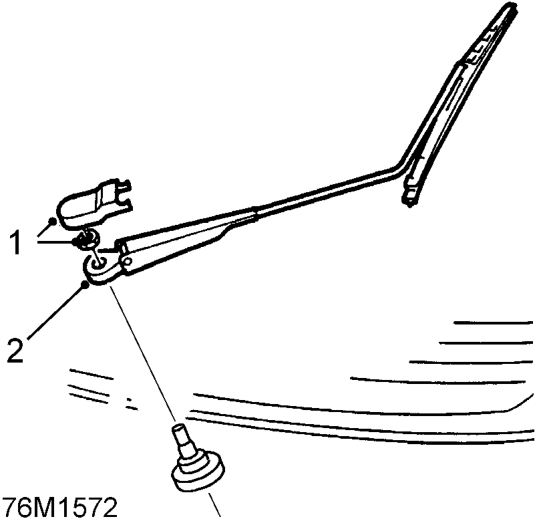
- Raise wiper arm nut cover and remove nut.
- Remove wiper arm.
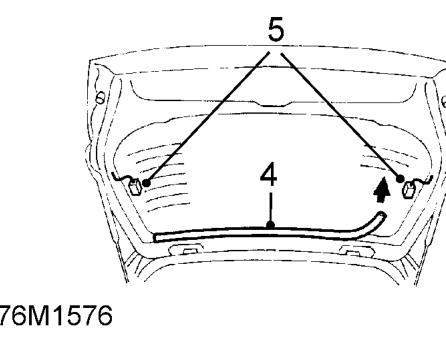
- Remove trim casing. See Interior trim components. Remove centre high mounted stop lamp.(If fitted) See ELECTRICAL, Repairs.
- Remove trim from upper flange.
- Disconnect 2 leads from demister panel.
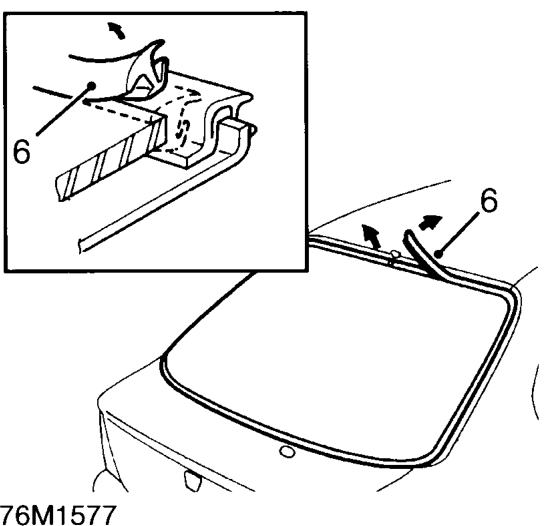
- Remove moulding from rear screen.
NOTE: Should removal be difficult cut moulding as necessary.
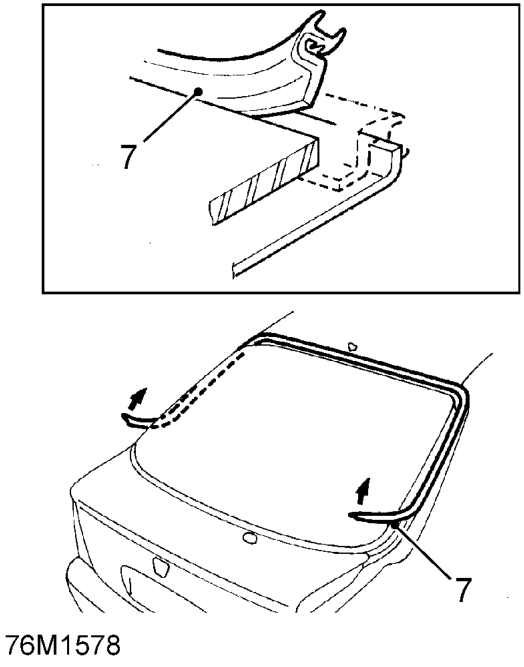
- Remove sub-moulding from tailgate.
- Fit covers to protect body work and interior of car.
Parts & tools for this job For 1995 Rover 400
- TOOLTrim removal tool kitSearch: trim removal tool kit
- PARTTouch-up paintSearch: Rover touch up paint
- PARTPanel clip assortmentSearch: Rover panel clips assortment
Links open Amazon search results in a new tab. As an Amazon Associate I earn from qualifying purchases.