
Front axle assembly
- Make
- Land Rover
- Model
- Defender 90 Workshop Manual (NAS)
- Section
- Repair › Front axle assembly
Front axle and final driveFront axle assembly
FRONT AXLE ASSEMBLY
Service repair no - 54.15.01
Remove
- WARNING: Remove and refit of axle
- requires a further 2 persons to steady axle
- when lowering or repositioning.
- Raise and support chassis front.
- Remove front road wheels.
- Support axle weight with hydraulic jack.
- Disconnect anti-roll bar link
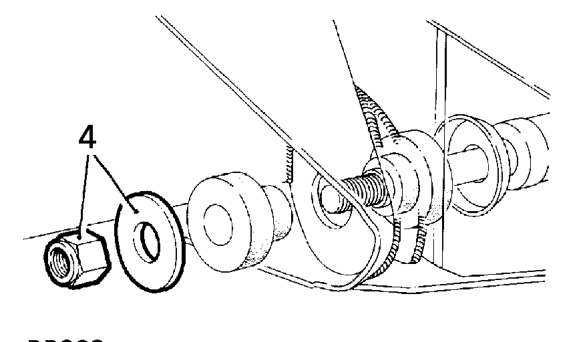
- Remove axle assembly.
Do not carry out further dismantling if component is removed for access only.
- Transfer components to new axle.
Refit
- Position axle under vehicle, supporting left side
- Fit road springs, axle ventilation pipe banjo and
- Align reference marks and fit propeller shaft.
- Remove both radius arm to chassis frame lock nuts.
- Fit panhard rod to axle bracket. Tighten bolts to
- Disconnect steering damper from track rod. Using an extractor remove track rod links from
- Fit drag link to swivel pin arm. Tighten fixings to
swivel pin arms.
- Remove 4 nuts and bolts securing radius arms
- Fit shock absorbers to axle.
to axle bracket.
- Fit brake calipers. Tighten bolts to
- Disconnect radius arms from axle.
- Remove bolts securing brake hose brackets.
- Tighten upper swivel pin bolts to
Refit bolts to prevent oil leakage.
- Remove both wheel sensor lead plugs and
- Reconnect both wheel sensor lead plugs and fit
release lead retaining clips.
- Remove bolts from brake calipers and tie
- Fit radius arms to axle brackets. Tighten bolts to
calipers to one side. DO NOT strain hoses.
- Remove nuts and washers securing shock
- Fit steering damper to track rod.
absorbers to axle.
- Fit radius arms to chassis side member. Tighten
- Disconnect drag link from swivel pin housing arm.
- Tighten track rod end to
- Remove 2 nuts and bolts securing panhard rod to axle bracket. Lift rod clear of axle.
- Fit road wheels, tighten to
- Mark drive shaft flanges for reassembly .
- Remove chassis supports.
Remove 4 nuts and bolts, tie propeller shaft to one side.
- Release axle ventilation pipe banjo and lower axle assembly. Remove road springs.
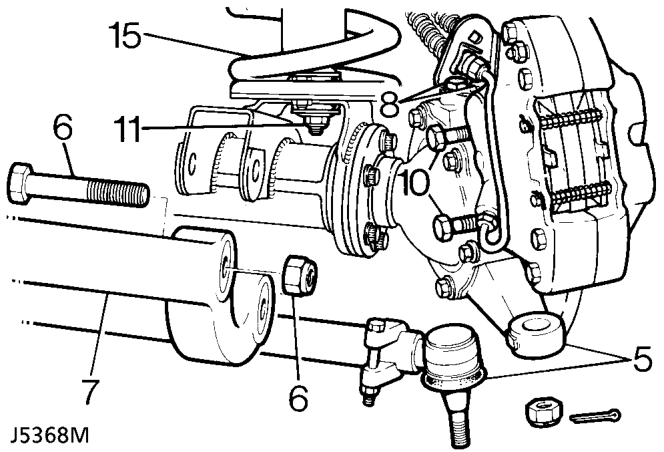
See FRONT SUSPENSION, Repair, Anti-roll bar ball joint
.
links
of axle.
raise axle assembly.
Tighten bolts to 47 Nm, 35 lbf/ft.
88 Nm, 65 lbf/ft.
40 Nm, 30 lbf/ft.
- 82 Nm, 60
- lbf/ft.
- 65 Nm, 50
- lbf/ft.
lead retaining clips.
197 Nm, 145 lbf/ft.
fixings to 197 Nm, 145 lbf/ft
. align to
40 Nm, 30 lbf ft
hole and fit NEW split [cotter] pin. 130 Nm, 95 lbf ft.
Parts & tools for this job For Land Rover Defender
- TOOLTorque wrenchSearch: 3/8 inch torque wrench
- TOOLSocket setSearch: socket set metric
- BOOKHaynes manualSearch: Haynes manual Land Rover Defender
Links open Amazon search results in a new tab. As an Amazon Associate I earn from qualifying purchases.