
CAUTION: Plug the connections.
- Make
- Land Rover
- Model
- Defender V8i Workshop Manual Supplement
- Section
- Repair › CAUTION: Plug the connections.
Air conditioningCAUTION: Plug the connections.
- Using a backing spanner, loosen union nut from evaporator feed pipe and disconnect. Discard ’O’ ring.
CAUTION: Plug the connections.
- Ease 2 evaporator studs from their rubber bushes, release grommet from bulkhead, withdraw pipes from aperture and position evaporator unit on floor.
- Remove tape sealing air duct inside casing.
- Release tape sealing pipes to casing.
- Cut through sealant along casing joint and
- Ease upper from lower casing and remove upper
- Lift evaporator unit from lower casing.
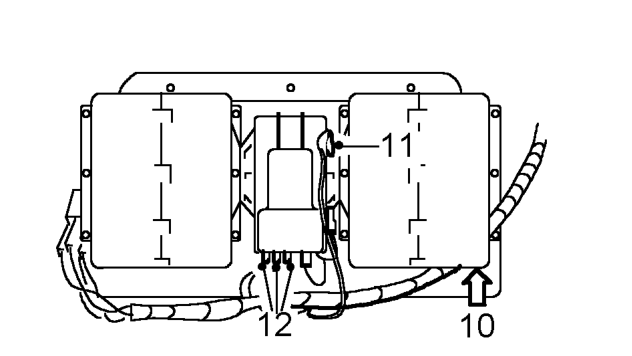
- Remove screw securing harness ’P’ clip to rear
- Using a backing spanner, loosen union nut from
of casing.
- Disconnect Lucar (B wire) from motor.
- Disconnect Lucars (G, U, and R wires) from
- Loosen clip and withdraw capillary tube coil from
resistor unit.
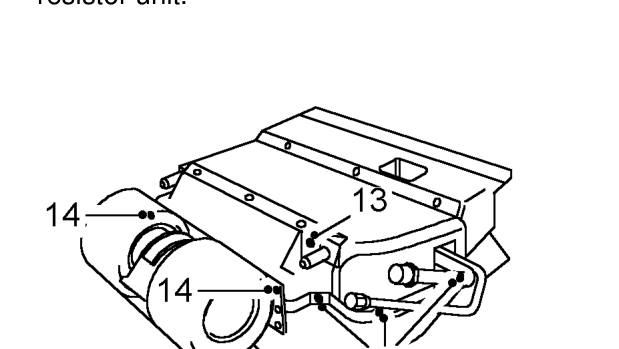
- Loosen capillary tube union nut and disconnect
- Using a backing spanner, loosen union nut and
- Remove screw securing mounting bracket flange to casing.
- Remove screws securing each end of blower flanges to upper casing.
- Remove 6 screws securing upper to lower casing.
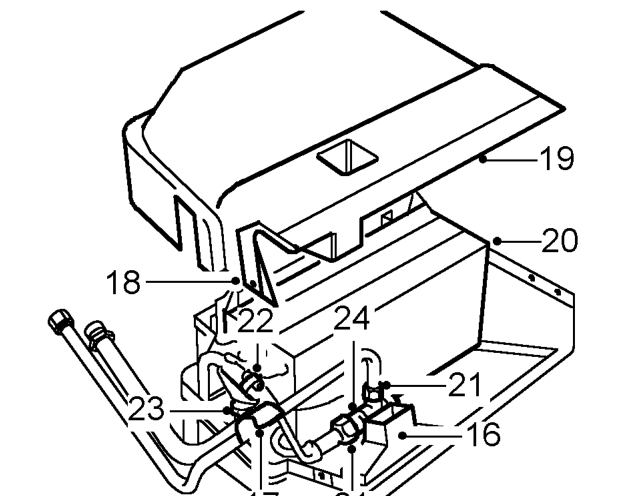
gaskets.
casing. Do not carry out further dismantling if component is removed for access only.
pipe and remove high pressure pipe. Discard ’O’ ring.
low pressure pipe and withdraw coil from pipe.
from low pressure pipe. Discard ’O’ ring.
remove expansion valve from pipe. Discard ’O’ ring.
Parts & tools for this job For Land Rover Defender
- TOOLA/C manifold gauge setSearch: AC manifold gauge set
- TOOLUV leak detection kitSearch: AC UV leak detection kit
- PARTCabin filterSearch: Land Rover Defender cabin filter
Links open Amazon search results in a new tab. As an Amazon Associate I earn from qualifying purchases.