
Fuel tank side (page 3 of 3)
- Make
- Mazda
- Model
- MX-5 (NC) Factory Workshop Manual
- Year
- 2006–2008
- Section
- Emission System
Engine performanceFuel tank side · page 3 of 3
- After the 2-min countdown (left display) is completed, the right display shows the total pressure loss for that period. A 0.5 in of water loss is acceptable on the self-test.
- If the loss is more than 0.5 in of water , do one or more self-test. If the failed test repeats, check for leak using the ultrasonic leak detector (part of SST ).
- Press the RESET switch to set the left display reading to 0.0 .
- Connect the fuel cap receiver assembly (part of SST ) to the manifold assembly and fuel-filler cap from the vehicle.
- If the fuel-filler cap is not a genuine part, replace it.
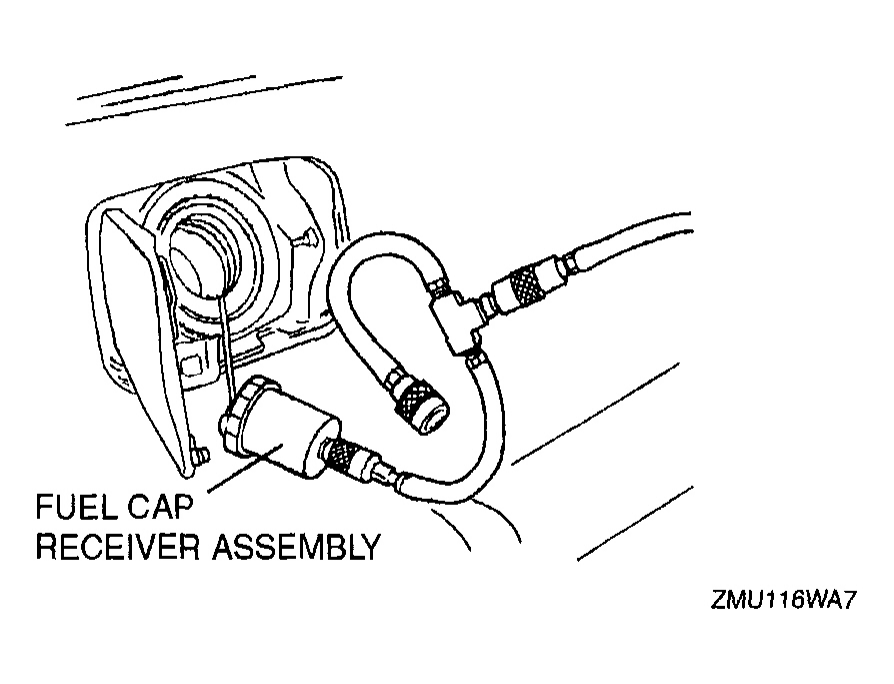
Courtesy of MAZDA MOTORS CORP.
- Turn the control valve to the FILL position.
- Wait (maximum 20s ) until the left display reads 13.9 to 14 in of water.
- If the reading is slightly below, adjust it using the regulator knob.
- If the reading is far below, the fuel-filler cap has leak. Replace it.
- Turn the control valve to the TEST position and press the START switch.
- After the 2-min countdown (left display) is completed, check the test result (the failed/passed light on the tester).
- If the green light turns on, the fuel-filler cap is OK.
Parts & tools for this job For 2006 Mazda MX-5
- PARTEngine gasket setSearch: Mazda MX-5 2006 engine gasket set
- TOOLTorque wrenchSearch: 3/8 inch torque wrench
- TOOLFeeler gauge setSearch: feeler gauge set
As an Amazon Associate we earn from qualifying purchases.