
Cleaning of crankshaft lubrication ducts
- Make
- Alfa Romeo
- Model
- 145/146 Engines, 146 Bodywork and Engine Overhaul Manual
- Year
- 1994–2001
- Section
- Overhauling › Cleaning of crankshaft lubrication ducts
Engine overhaul: 1.9 TD (AR67501)Cleaning of crankshaft lubrication ducts · page 1 of 2
Check that the taper and the ovalization of the liners falls within the prescribed values.
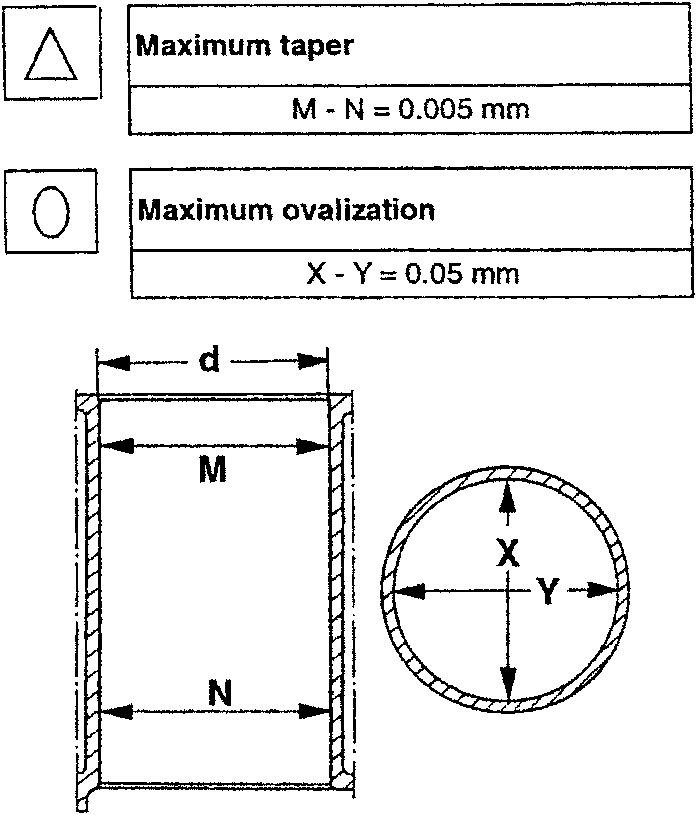
- Calculate the clearance between the liners and the pistons and check that it falls within prescribed limits.

Cleaning of crankshaft lubrication ducts
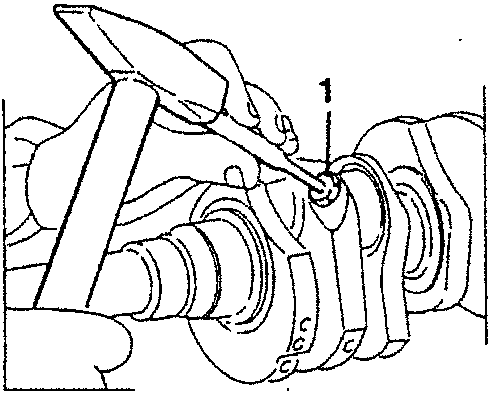
- Punch a hole in the crankshaft lubrication duct plugs, then extract them and remove any shavings created by the calking operation.
- Thoroughly clean the lubrication ducts using a suitable detergent, then dry with a jet of compressed air.
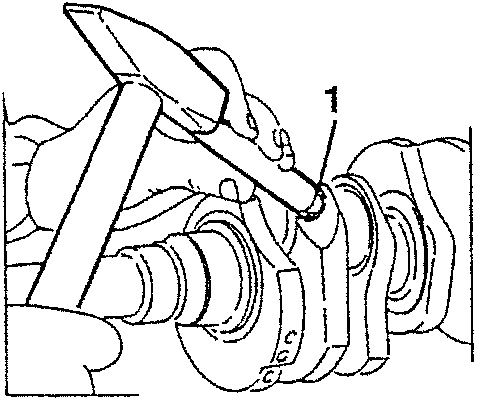
- Apply the prescribed sealant on the new plugs and insert them, using a suitable tool, into the holes of the lubrication duct.
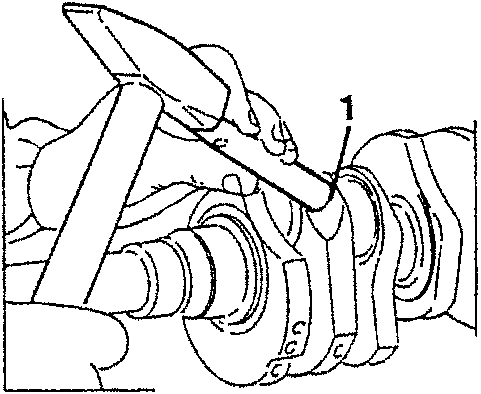
- Calk the plugs using a suitable tool.
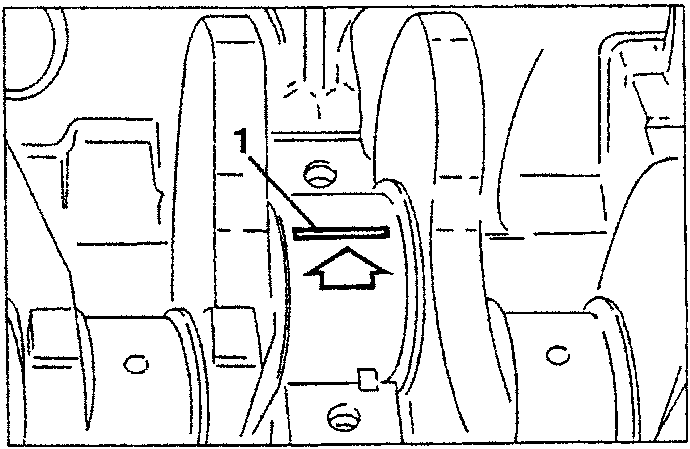
Measure the assembly clearance between the main journals and relative bearings halves using a gauged wire (plastigage)
NOTE: Check each journal without removing the crankshaft during the checking operation. The bearing halves must be housed in their respective seatings.
- Rest a piece of calibrated wire across the whole width of the main journal being checked, paying particular attention that it does not correspond with the lubrication hole.
Parts & tools for this job For 1994 Alfa Romeo 145/146
- PARTEngine gasket setSearch: Alfa Romeo 145/146 1994 engine gasket set
- TOOLTorque wrenchSearch: 3/8 inch torque wrench
- TOOLFeeler gauge setSearch: feeler gauge set
Links open Amazon search results in a new tab. As an Amazon Associate I earn from qualifying purchases.