
Positioning and inspection
- Make
- Alfa Romeo
- Model
- 145/146 Factory Service Manual
- Year
- 1994–1999
- Section
- Body - Generalities › Positioning and inspection
BodyworkPositioning and inspection
WARNING:
- Ensure that even the slightest buckling is removed, particularly on the inner panels or in hidden positions.
- If all buckling is not removed problems may arise during installation in addition to a reduction in strength due to the concentration of stresses.
- Carefully inspect the joint areas of each pillar.
c. Remove all traces of paint from the welding surfaces.
Tools required:
- Belt sander
- Disk sander
- Rotating brush.
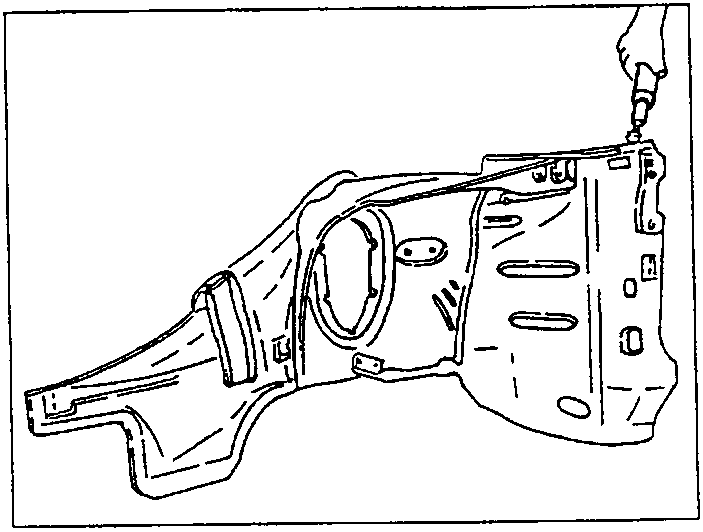
d. Apply electroweldable protection products to the edges of all the sheets that are to be spot welded.
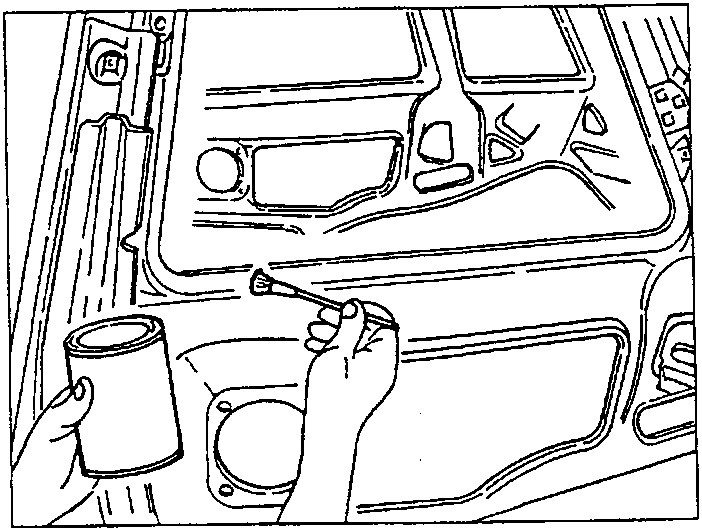
NOTE:
In some areas it may be necessary to apply very thick electroweldable protection to seal between the joints as well as acting as a protective coating.
e. When partially replacing a damaged sheet an overlap of approx. 50 mm should be maintained when cutting away the unusable metal sheet in order to leave a wide enough area to permit bonding.
Tools required:
- Pneumatic saw
- Hand saw
- Scribe
- Shears.
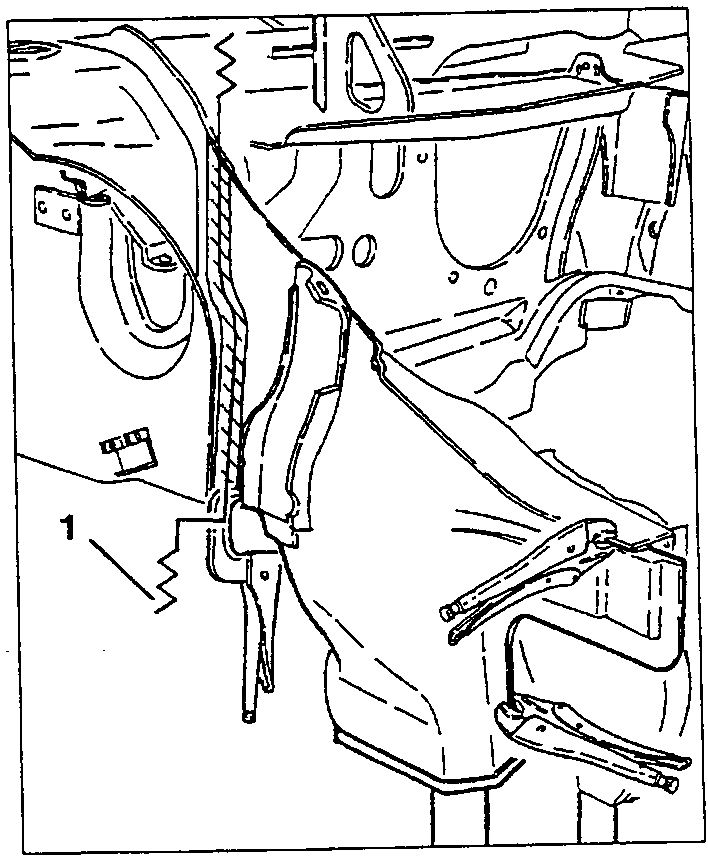
- Overlap
POSITIONING AND INSPECTION
a. Temporary installation of new components.
Tools required:
- Adjustable clamps
- Squaring tool (sighted)
- Chassis dimensional control system (Dime).
WARNING:
- Position the components as indicated in the diagrams in the "BODY SQUARING" paragraph.
- Draw together the edges of the sheets to be welded until they are in the correct position.
- Position mobile parts (doors, bonnet and boot lids) and check for proper installation by verifying gaps, parallelism and squaring.
- Secure the parts to be welded with clamps or a few spot welds.
Parts & tools for this job For 1994 Alfa Romeo 145/146
- TOOLTrim removal tool kitSearch: trim removal tool kit
- PARTTouch-up paintSearch: Alfa Romeo touch up paint
- PARTPanel clip assortmentSearch: Alfa Romeo panel clips assortment
Links open Amazon search results in a new tab. As an Amazon Associate I earn from qualifying purchases.