
ROCKER COVER - LEFT HAND - RENEW
- Make
- Land Rover
- Model
- Range Rover Classic
- Section
- REPAIR › ROCKER COVER - LEFT HAND - RENEW
12
ENGINE
6
REPAIR
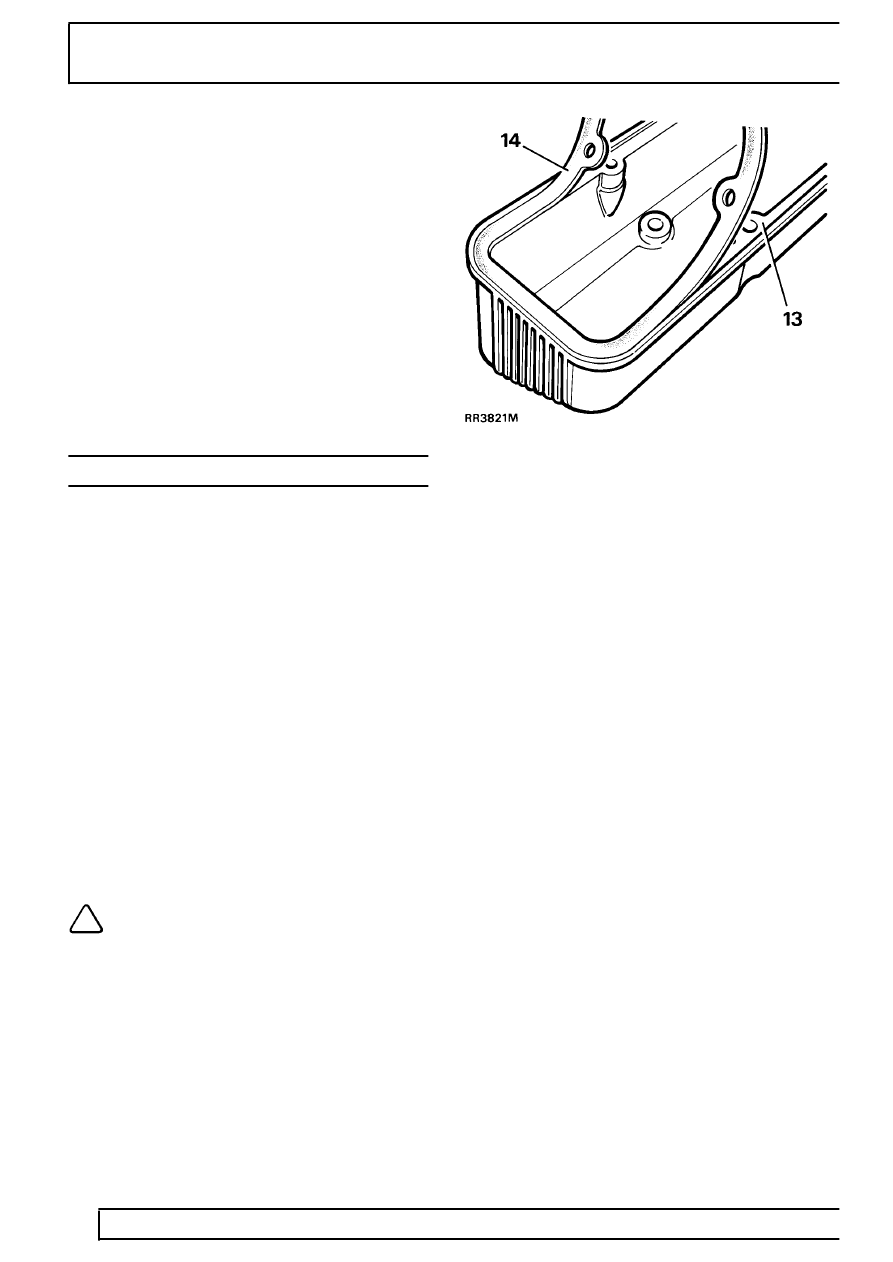
11. Place one end of gasket into cover recess with
edge firmly against recess wall, holding
remainder of gasket clear. Work around cover,
pressing gasket into place ensuring edge firmly
contacts recess wall.
12. Allow cover to stand for thirty minutes before
fitting.
13. Fit rocker cover to cylinder head with four
screws, short screws inboard, tighten to
9 Nm.
14. Position fuel pipes.
15. Fit breather pipe to rocker cover, tighten clip.
16. Fit coolant pipes to inlet manifold, tighten bolts.
17. Fit spark plug leads to plugs and retaining clips.
18. Connect purge pipe from charcoal canister at
plenum, tighten clip.
ROCKER COVER - LEFT HAND - RENEW
Service repair no - 12.29.40
1. Remove air flow sensor.
See FUEL SYSTEM,
Repair, Air Flow Sensor
2. Remove plenum chamber.
See FUEL SYSTEM,
Repair, Plenum Chamber
3. Remove dipstick.
4. Remove spark plug leads from plugs and
retaining clips.
5. Disconnect HT lead from coil.
6. Remove generator heat shield securing nut from
rocker cover.
7. Remove air flow meter harness clip.
8. Remove bolt securing dipstick tube clip.
9. Remove four rocker cover bolts, remove rocker
cover.
10. Discard gasket
11. Remove plug lead retaining clips from rocker
cover, fit to new rocker cover.
12. Clean and dry rocker cover and cylinder head
mating faces, using Bostik cleaner 6001.
NOTE: Gasket fits one way round only. It
must be fitted accurately, first time.
Subsequent movement will destroy
bonding.
13. Apply Bostik 1775 impact adhesive to rocker
cover seal face and gasket, using a brush to
ensure an even film. Allow adhesive to become
touch dry, approximately fifteen minutes.
14. Place one end of gasket into cover recess with
edge firmly against recess wall, holding
remainder of gasket clear. Work around cover,
pressing gasket into place ensuring edge firmly
contacts recess wall.
15. Allow cover to stand for thirty minutes before
fitting.
16. Fit rocker cover to cylinder head with four
screws, short screws inboard. Tighten to
9 Nm.
17. Position dipstick tube clip. Fit and tighten bolts.
18. Fit and tighten air flow meter harness clip.
19. Fit generator heat shield to rocker cover.
20. Connect HT lead to coil.
21. Connect spark plug leads to plugs and retaining
clips.
22. Fit dipstick.
23. Fit plenum chamber.
24. Fit air flow meter.
Parts & tools for this job For Land Rover Range Rover
- PARTEngine gasket setSearch: Land Rover Range Rover engine gasket set
- TOOLTorque wrenchSearch: 3/8 inch torque wrench
- TOOLFeeler gauge setSearch: feeler gauge set
Links open Amazon search results in a new tab. As an Amazon Associate I earn from qualifying purchases.