
Headlining
- Make
- Rover
- Model
- 200 Workshop Manual
- Year
- 1995–1999
- Section
- Interior trim components › Headlining
BodyHeadlining
HEADLINING
Service repair no - 76.64.15
Remove
- Remove both ’A’ post upper trim casings. See this section.
- Remove both rear quarter trim casings. See this section.
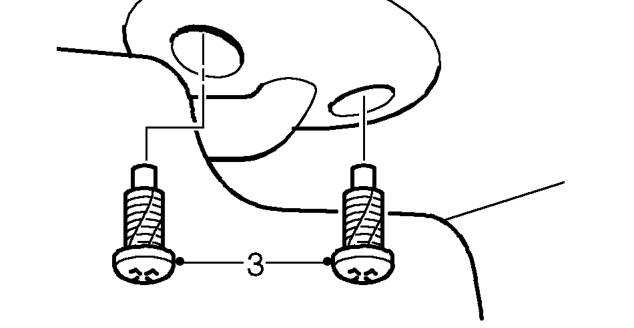
- Release sun visors from clips and remove 2 screws securing each sun visor.
- Remove sun visors.
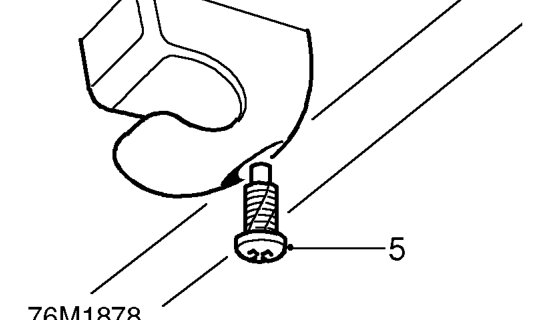
- Remove 2 screws securing sun visor clips.
- Remove both clips.
- Remove interior light. See ELECTRICAL, Repairs.
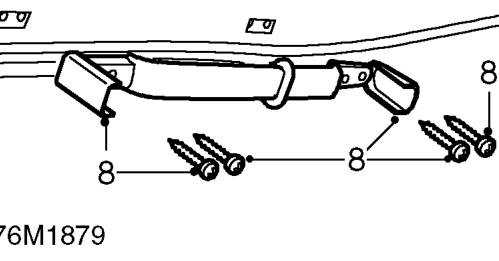
- Remove 2 covers and 4 screws securing each grab handle.
- Remove both grab handles.
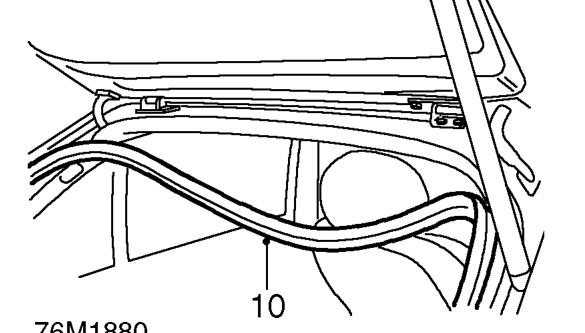
- Release sealing rubber from top of tailgate aperture.
Parts & tools for this job For 1995 Rover 200
- TOOLTrim removal tool kitSearch: trim removal tool kit
- PARTTouch-up paintSearch: Rover touch up paint
- PARTPanel clip assortmentSearch: Rover panel clips assortment
Links open Amazon search results in a new tab. As an Amazon Associate I earn from qualifying purchases.