
Handbrake cable - adjust - disc brakes (page 2 of 2)
- Make
- Rover
- Model
- 400 Workshop Manual
- Year
- 1995–2000
- Section
- Adjustments
BrakesHandbrake cable - adjust - disc brakes · page 2 of 2

- Ensure handbrake arm of each caliper contacts brake caliper pin.
- Fit caliper shields, fit bolts and tighten to 10 Nm.
- Fit road wheel(s) and tighten nuts to correct torque. See INFORMATION, Torque wrench settings.
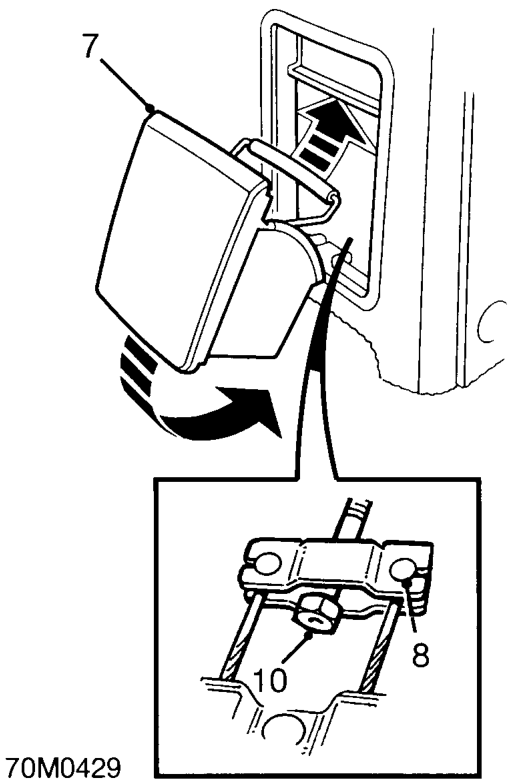
- Remove ash tray from rear console.
- Check handbrake cable connections for free movement in handbrake equaliser.
- Apply handbrake one notch.
- Tighten equaliser adjusting nut until rear wheels drag slightly when turned.
- Release handbrake lever and check that rear wheels do not drag when turned. Readjust if necessary.
- Apply handbrake one notch at a time and count the number of notches until both rear wheels lock. This should be a minimum of 7 and a maximum of 11 notches. Readjust if necessary.
- Release handbrake lever.
- Fit ash tray.
- Remove stand(s) and lower vehicle.
Parts & tools for this job For 1995 Rover 400
- PARTBrake padsSearch: Rover 400 1995 brake pads
- TOOLCaliper piston rewind toolSearch: brake caliper piston rewind tool
- FLUIDBrake fluidSearch: brake fluid
Links open Amazon search results in a new tab. As an Amazon Associate I earn from qualifying purchases.