
Oil sump refitting
- Make
- Alfa Romeo
- Model
- 145/146 Engines, 146 Bodywork and Engine Overhaul Manual
- Year
- 1994–2001
- Section
- Overhauling › Oil sump refitting
Engine overhaul: 3.0 V6 (AR16101)Oil sump refitting
Oil sump refitting
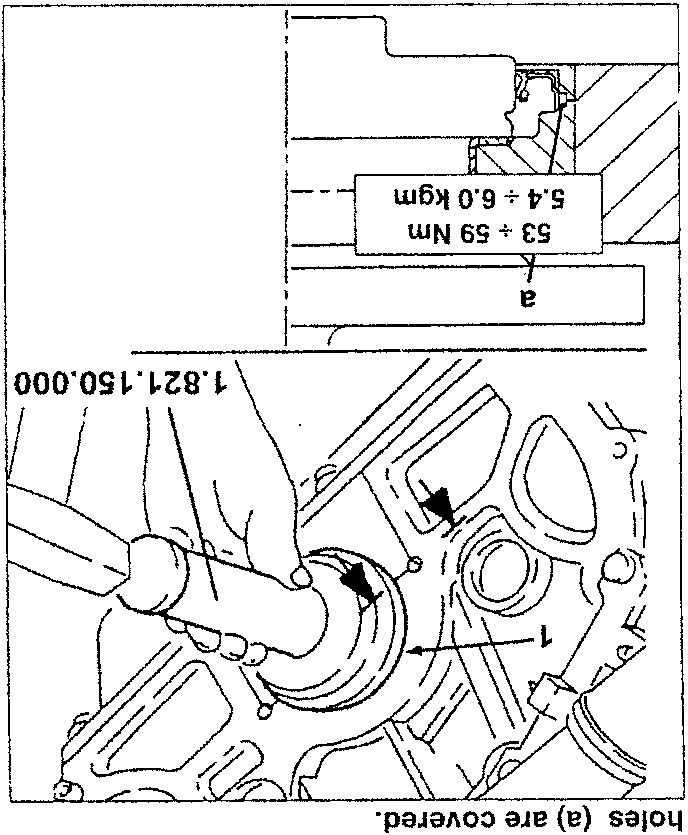
- Fit the rear crankshaft oil seal with tool no. 1.821.150.000.
- Fit the oil seal in its seat so that the holes (a) are covered.
NOTE: Fit the oil seal so that the holes (a) are covered.
53 ÷ 59 Nm
5.4 ÷ 6.0 kgm
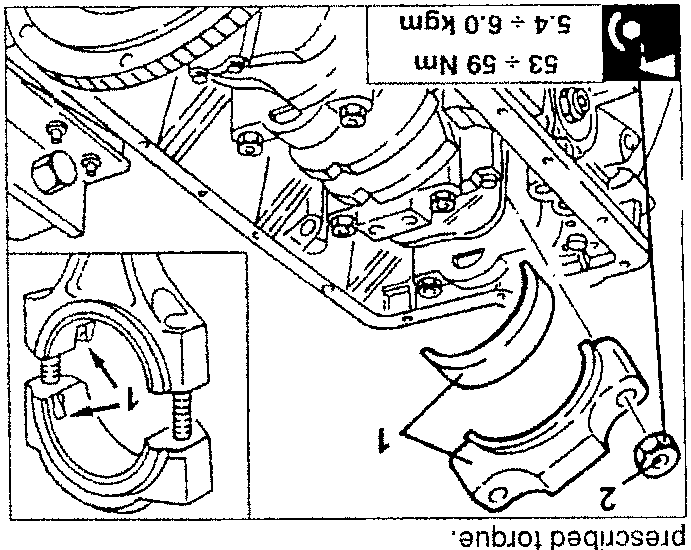
Connecting rod cap screws
- Turn the crankcase on the overhaul stand.
- Fit the connecting rod caps and half-bearings on the bank. Address the safety notch towards the bank.
- The cylinder number is shown on the side of each connecting rod cap. When refitting, this number should be on the same side as the notch on the connecting rod cap.
- Fasten the connecting rod cap screws at the prescribed torque.
NOTE: The cylinder number is shown on the side of each connecting rod cap. When refitting, this number should be on the same side as the notch on the connecting rod cap.
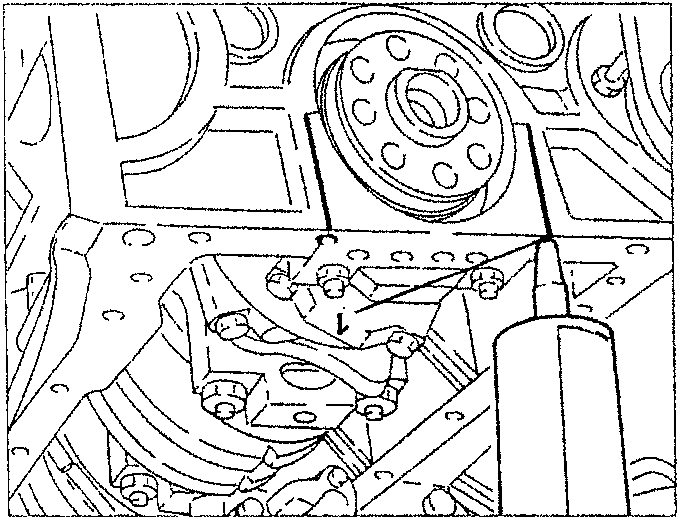
Engine oil sump coupling
- Apply “DOW CORNING 7091” silicon seals by means of a mechanical gun through the holes on the crankcase until the sealant seeps out from the engine oil sump coupling by approximately 5 mm.
NOTE: Check that the sealant seeps out from the rear crankcase-main cap coupling along the entire length.
Connecting rod cap screws
- Fit the connecting rod caps and half-bearings on the bank in the same way.
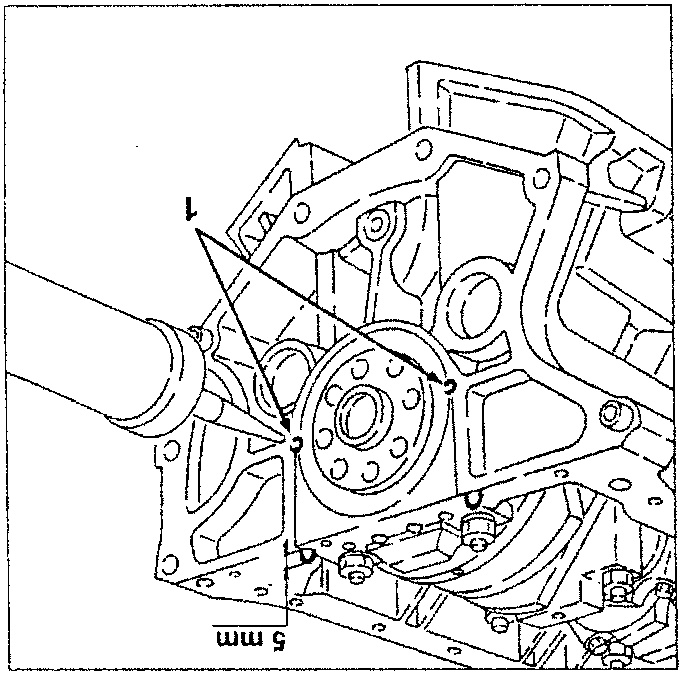
For pre-change versions (to engine no. 02054) Apply “DOW CORNING 7091” silicon sealant with a mechanical gun through the holes shown in the figure.
Parts & tools for this job For 1994 Alfa Romeo 145/146
- PARTOil filterSearch: Alfa Romeo 145/146 1994 oil filter
- TOOLOil filter wrenchSearch: oil filter wrench
- FLUIDEngine oilSearch: Alfa Romeo 145/146 engine oil
Links open Amazon search results in a new tab. As an Amazon Associate I earn from qualifying purchases.