
Cleaning/painting Refit
- Make
- Land Rover
- Model
- Discovery Body Repair Manual
- Year
- 1995 on
- Section
- Repair › Cleaning/painting Refit
Panel repairsCleaning/painting Refit · page 1 of 2
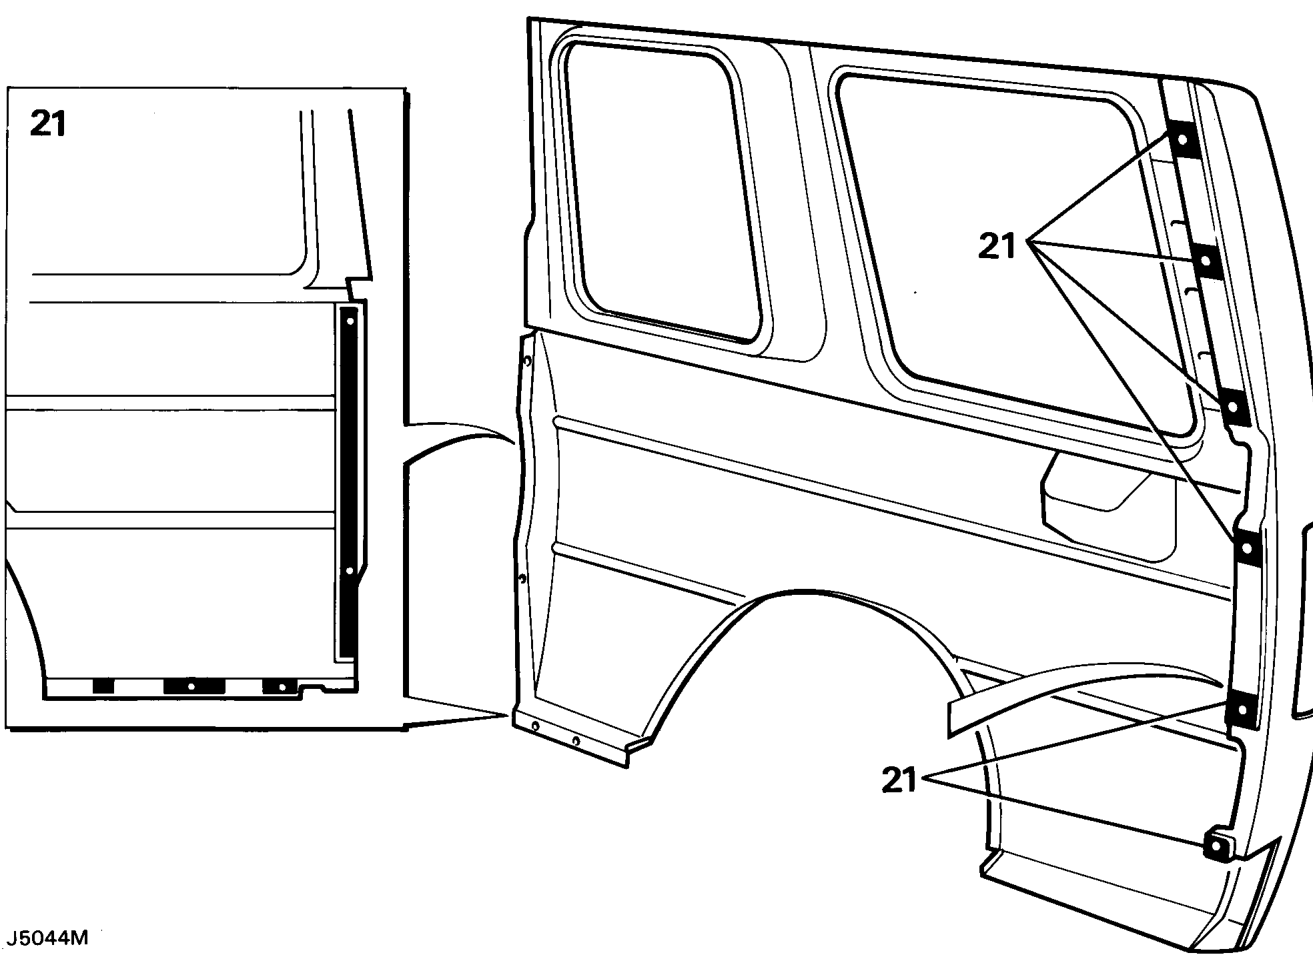
Cleaning/painting Refit
- Thoroughly clean all traces of existing sealant 22. Locate panel on body. from joint faces of body monocoque and panel.
- Paint all cleaned surfaces with etch primer.
- Apply a 6 mm (1/4 in) bead of 3M 8537 Super 23. Loosely fit six countersunk, self-tapping screws Seam Sealer to the monocoque as shown.
- Apply 20 x 20 mm (13/16 x 13/16 in) squares of 3M 8572 Bolted Panel Sealer to inner faces of six securing screw holes in rear quarter panel, 24. Starting with five bolts securing upper edge of and strips of sealer to inner faces of panel as shown.
- Tighten remaining bolts and six screws at ’E’
CAUTION: Allow sufficient clearance at lower edge of panel to prevent the
blockage of drain holes. 26. Clean off all surplus sealant from exposed
Ensure that sealant is
not displaced. Working from inside vehicle, loosely fit twenty-one bolts securing panel.
securing rear quarter panel to ’E’ post, also three screws securing lower section of body side panel.
panel, tighten bolts evenly to draw panel upwards to its correct location.
post, ensuring a satisfactory seal between the joint faces.
surfaces.
Parts & tools for this job For 1995 Land Rover Discovery
- TOOLTorque wrenchSearch: 3/8 inch torque wrench
- TOOLSocket setSearch: socket set metric
- BOOKHaynes manualSearch: Haynes manual Land Rover Discovery
Links open Amazon search results in a new tab. As an Amazon Associate I earn from qualifying purchases.