
FUEL FILLER FLAP RELEASE BUTTON
- Make
- Land Rover
- Model
- Range Rover Classic
- Section
- REPAIR › FUEL FILLER FLAP RELEASE BUTTON
MFI
23
REPAIR
13. Remove back two bolts and nut plates securing
fuel tank cradle.
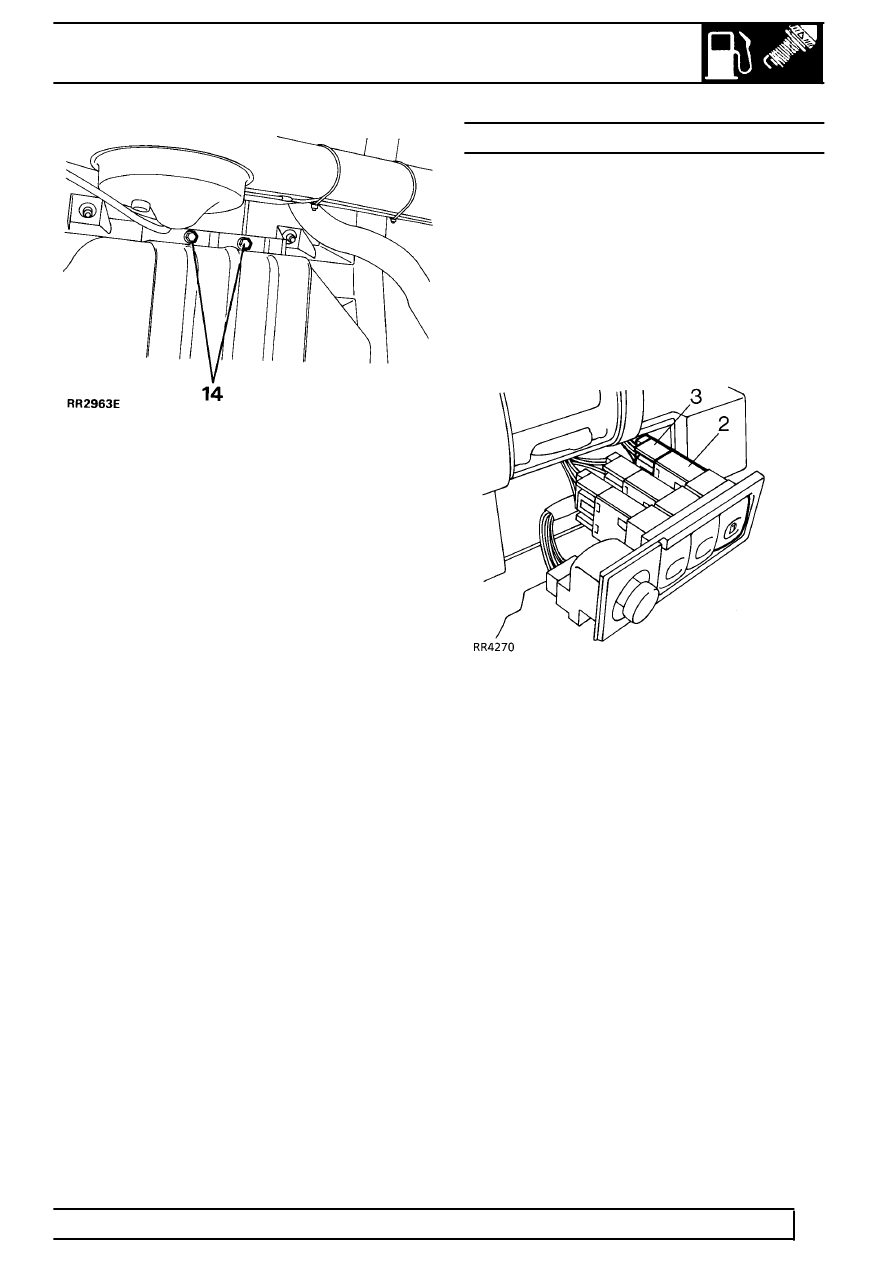
14. Remove front nuts, bolts and washers. Remove
fuel tank cradle.
15. With assistance, tilt right hand side of tank
upwards and manoeuvre tank through chassis to
remove.
Refit
16. Reverse removal procedure. Ensuring sealing
ring, fuel pipe and hose connections are secure.
17. Run engine, check all connections for fuel leaks.
FUEL FILLER FLAP RELEASE BUTTON
Service repair no - 19.55.23
On closing, filler flap will be locked automatically. Note
that release button will only work with ignition
switched to OFF or AUX.
Remove
1. Disconnect the battery negative lead.
2. Carefully pry release button from mirror switch
panel.
3. Remove release button from shroud and
disconnect tow wiring connectors. Ensure wires
protrude through panel for reassembly.
Refit
4. Reverse removal procedure.
Parts & tools for this job For Land Rover Range Rover
- PARTFuel filterSearch: Land Rover Range Rover fuel filter
- TOOLFuel pressure test kitSearch: fuel pressure test kit
- TOOLFuel line disconnect toolSearch: fuel line disconnect tool
Links open Amazon search results in a new tab. As an Amazon Associate I earn from qualifying purchases.