
CONTROL CABLES
- Make
- Land Rover
- Model
- Range Rover Classic
- Section
- REPAIR › CONTROL CABLES
80
HEATING AND VENTILATION
2
REPAIR
8. Disconnect 4 multiplugs and position harness
aside.
NOTE:
Do not carry out further
dismantling if component is removed for
access only.
9. Fan speed switch: remove fan speed switch
slide and push out fan speed switch.
10. Pull out light bulb disconnect terminals and
remove fan speed light strip.
11. Unclip 3 heater control cables from control unit.
12. Microswitch: Unclip 3 micro switches.
13. Cut cable tie and release wiring harness from
control unit.
14. Remove heater control unit.
Refit
15. Reverse removal procedure. Check the
satisfactory function of the controls before fitting
louvre vent panel.
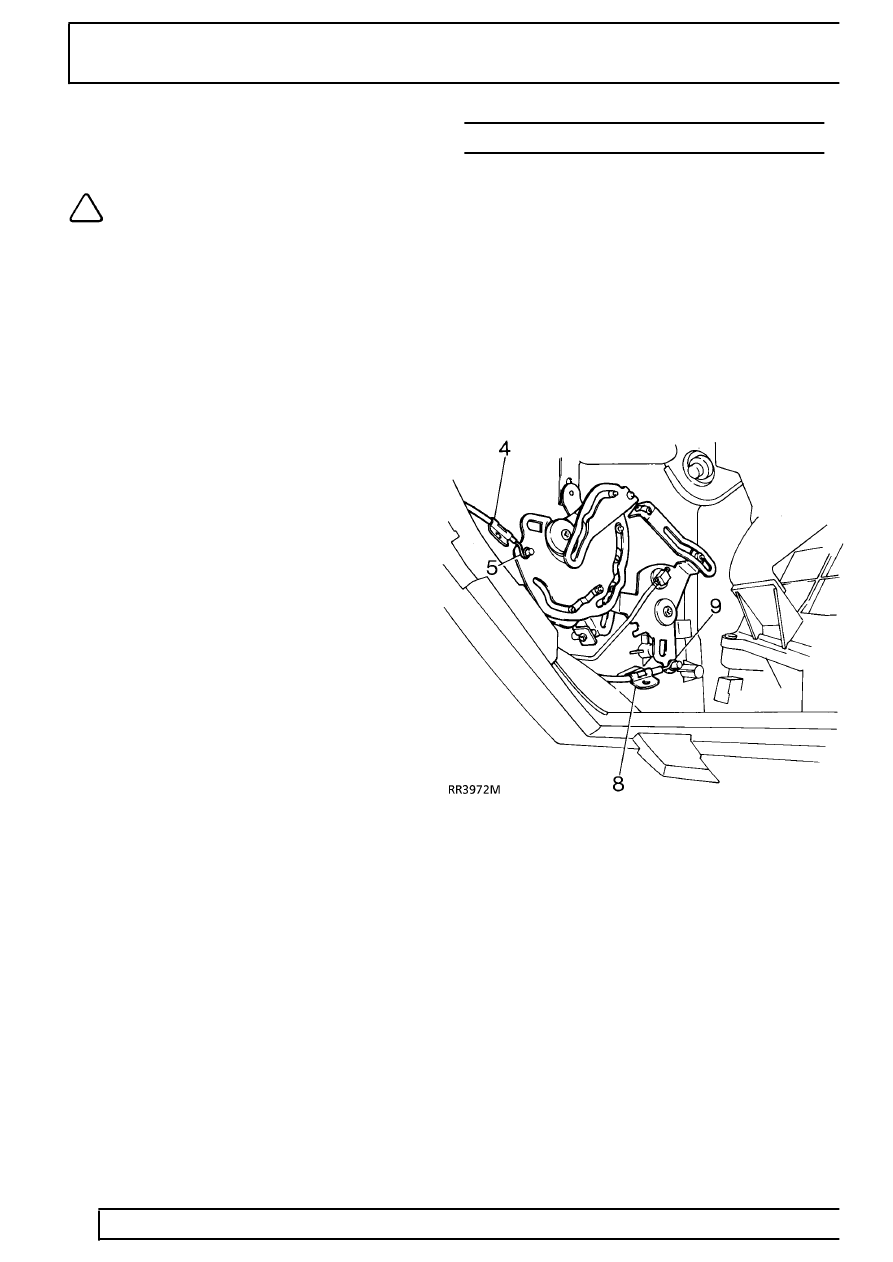
CONTROL CABLES
Service repair no - 80.10.06 - Air flow
Service repair no - 80.10.25 - Temperature control
RH
Service repair no - 80.10.26 - Temperature control
LH
Remove
1. Release fascia centre louvre vent panel from its
fitted position to gain access to rear of panel.
See CHASSIS AND BODY, Repair, Dash
Panel Central Louvre Panel
2. Open glove box, manoeuvre side springs
through cut-outs and lower lid.
Parts & tools for this job For Land Rover Range Rover
- TOOLA/C manifold gauge setSearch: AC manifold gauge set
- TOOLUV leak detection kitSearch: AC UV leak detection kit
- PARTCabin filterSearch: Land Rover Range Rover cabin filter
Links open Amazon search results in a new tab. As an Amazon Associate I earn from qualifying purchases.