
Crankshafts with Pluigs (page 2 of 4)
- Make
- Peugeot
- Model
- J5 Pocket Mechanic, 1.8 and 2.0 petrol
- Year
- 1987–1994
- Section
- Engine assembly
EngineCrankshafts with Pluigs · page 2 of 4
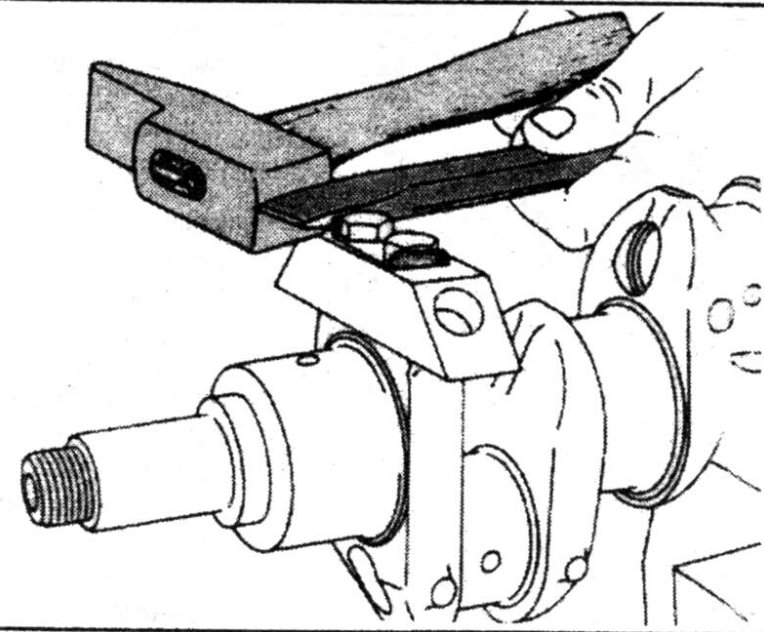
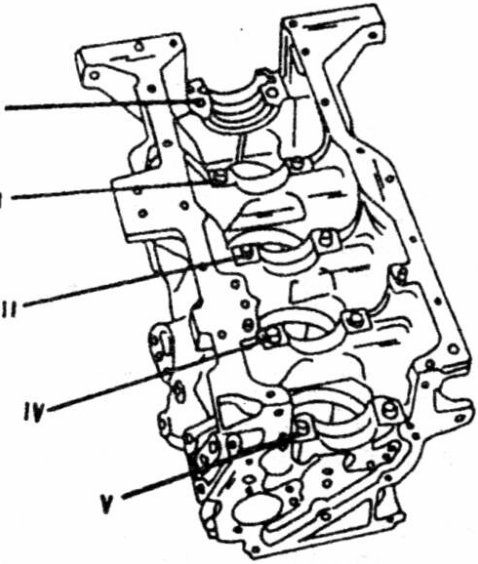
- Insert the bearing shells into the main bearing caps (noting the identification marks), lubricate the shells with engine oil and fit the caps in position (again in accordance with their markings).
- Fit the rear bearing cap without the side seals but with the half thrust washer for the crankshaft end float. The oil lubricating grooves of the thrust washer must be facing towards the crankshaft side. Make sure to oil the thrust washer face.
- Insert and tighten the main bearing cap bolts. Tighten from the inside towards the outside in several stages to a final torque reading of 7.5 kgm (54 ft.lb.).
- The end float of the crankshaft must now be checked. Arrange a dial gauge with a suitable holder as shown in Fig. 1.31, placing the stylus against the counter weight face.
- Use a screwdriver and push the crankshaft all the way to one side. Set the dial gauge to “Zero” and push the shaft into the opposite direction. The indication on the dial gauge is the end float and should be between 0.08 and 0.20 mm (0.003 and 0.008 in.). If the end float is greater than the maximum value, two oversize half thrust washers must be fitted. Both washers must have the same thickness and are available in thicknesses of 2.30, 2.35, 2.40 and 2.45 mm are available. If the end float is smaller than 0.8 mm you can assume that “something” has not been fitted properly during the installation of the crankshaft and the whole assembly must be investigated.
Parts & tools for this job For 1987 Peugeot J5
- PARTEngine gasket setSearch: Peugeot J5 1987 engine gasket set
- TOOLTorque wrenchSearch: 3/8 inch torque wrench
- TOOLFeeler gauge setSearch: feeler gauge set
Links open Amazon search results in a new tab. As an Amazon Associate I earn from qualifying purchases.