
Crankshafts with Pluigs
- Make
- Peugeot
- Model
- J5 Pocket Mechanic, 1.8 and 2.0 petrol
- Year
- 1987–1994
- Section
- Engine assembly › Crankshafts with Pluigs
EngineCrankshafts with Pluigs · page 1 of 4
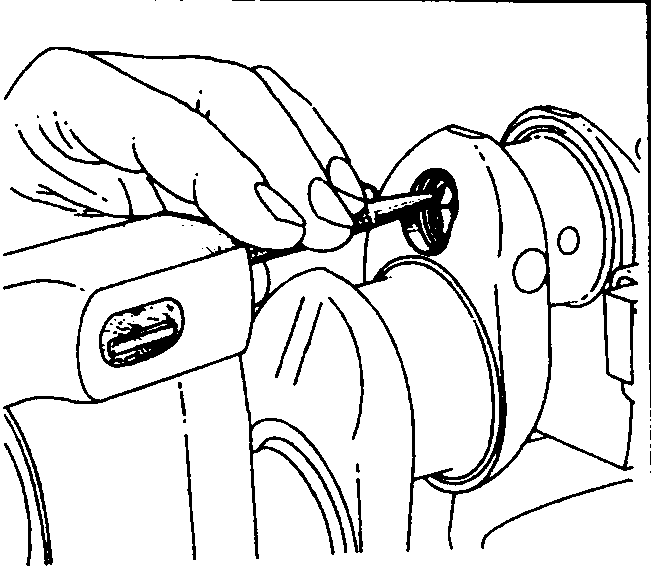
- After the plugs have been tightened, use a pointed centre punch and peen the plug in the inside to the crankshaft. As you may notice, the plug will be rather deep in its bore and must be peened as shbown in Fig. 1.28. Make sure that the plug is well secured.
Crankshafts without closing plugs are also used. These crankshaft also have a different arrangement of the main bearing shells and will be referred to later on.
- Refit the crankshaft counter weights in accordance with the identification and fit and tighten the bolts to 6.8 kgm (41 ft.lb.). Lock plates are used underneath the bolt heads and must be locked after installation of
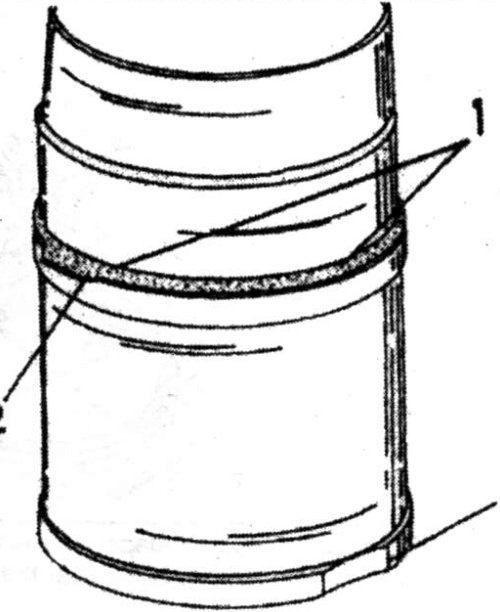
- the weight(s). Make sure that the bolts are well locked to prevent the weights from coming off. The best way to secure the lock plates is shown in Fig. 1.29.
- If removed, fit a new bush for the clutch shaft (chamfer towards the outside). Fit a new oil seal and lubricate the bush and the seal with engine oil.
The crankshaft bearing shells are now fitted to the crankcase in accordance with the type of crankshaft fitted. Refer to Fig. 1.30 on the next page to avoid mistakes:
Crankshafts with Pluigs
- Insert the bearing shells with oil grooves into bearing bores I, III und V, the bearing shells without oil groves into the bearing bores II and IV.
Crankshafts without Plugs
- The bearing shells with oil grooves are fitted into the cylinder block bores, the bearing shells without oil grooves are fitted into the main bearing caps.
- Generously lubricate the main bearing shells with engine oil and insert the crankshaft into the bearing bores. Rotate the shaft a few times to settle the bearings.
- Fit the two half thrust washers for the crankshaft end float on the flywheel side
Parts & tools for this job For 1987 Peugeot J5
- PARTEngine gasket setSearch: Peugeot J5 1987 engine gasket set
- TOOLTorque wrenchSearch: 3/8 inch torque wrench
- TOOLFeeler gauge setSearch: feeler gauge set
Links open Amazon search results in a new tab. As an Amazon Associate I earn from qualifying purchases.