
CAUTION: Plug the connections.
- Make
- Land Rover
- Model
- Defender 90 Workshop Manual (NAS)
- Section
- Repair › CAUTION: Plug the connections.
Automatic gearboxCAUTION: Plug the connections. · page 1 of 2
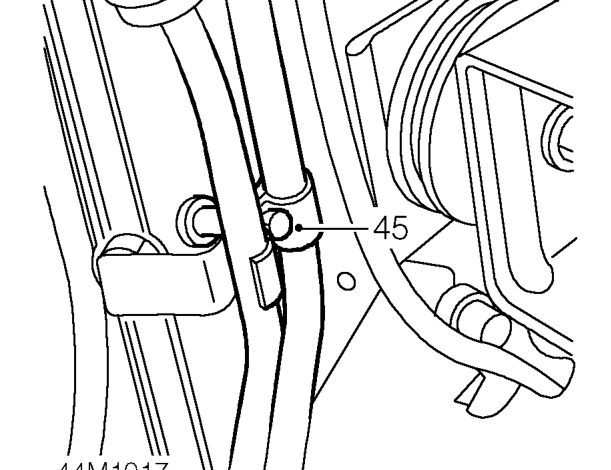
- Remove clamp bolt securing gearbox cooler pipes to engine sump bracket.
- Remove split pin from selector cable yoke and
- Release yoke from lever.
- Remove bolt securing selector outer cable clamp
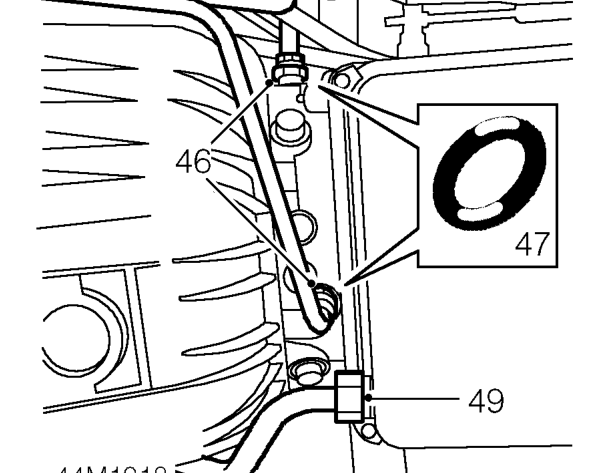
- Loosen gearbox cooler pipe unions and disconnect from gearbox.
- Remove and discard ’O’ rings from pipes.
CAUTION: Plug the connections.
- Tie cooler pipes aside.
- Remove nut securing oxygen sensor multiplug
- Loosen gearbox filler tube union and remove from fluid pan.
- Remove and discard ’O’ ring from union.
- Remove nut securing earth strap to transfer box
CAUTION: Plug the connections.
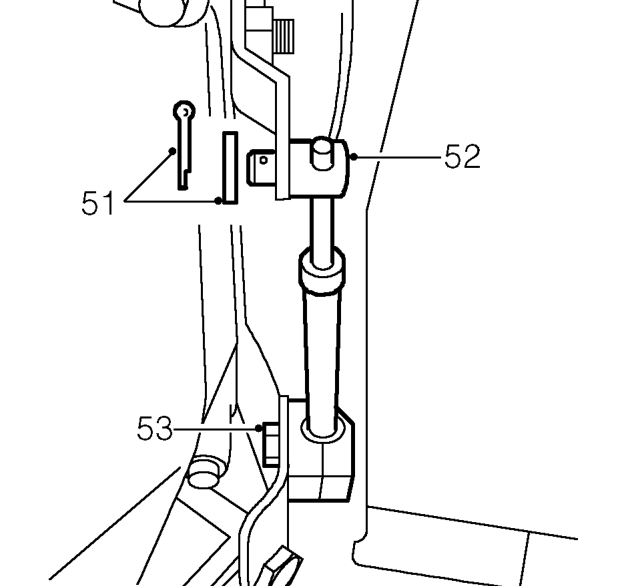
collect washer.
to transfer box LH mounting.
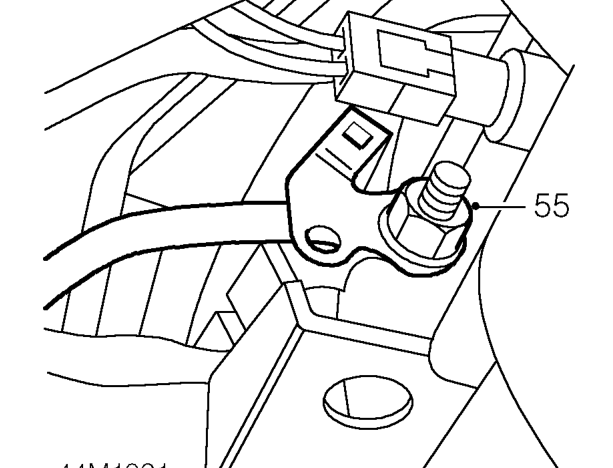
bracket from transfer box earth bolt and collect bracket.
and release strap.
Parts & tools for this job For Land Rover Defender
- PARTTransmission filter kitSearch: Land Rover Defender transmission filter kit
- FLUIDAutomatic transmission fluidSearch: Land Rover automatic transmission fluid
- TOOLFluid transfer pumpSearch: fluid transfer pump
Links open Amazon search results in a new tab. As an Amazon Associate I earn from qualifying purchases.