
Refitting (page 2 of 2)
- Make
- Alfa Romeo
- Model
- GTV / Spider GTV and Spider (916) Factory Service Manual
- Year
- 1995–2000
- Section
- Exterior trim
- Position the suction cups on the rearscreen and place the glass in its housing.
- Adjust the position of the slides on the rest feet.
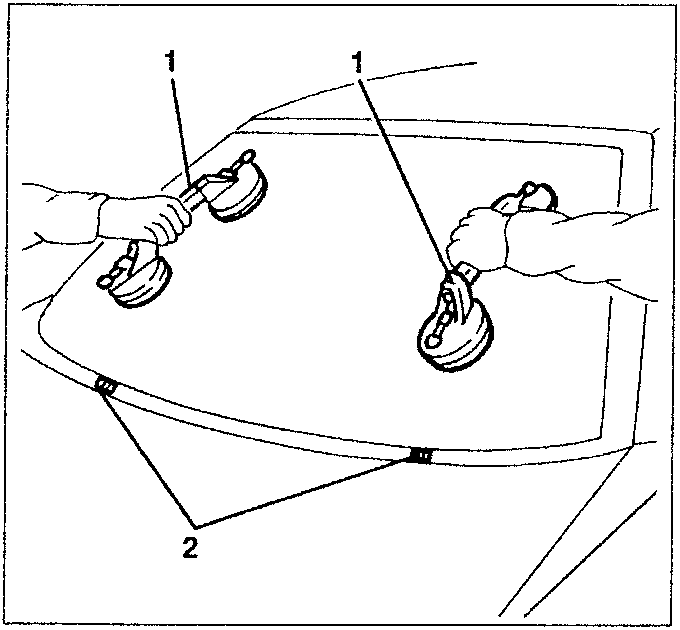
NOTE: Check that there is no unevenness or waviness between the glass and the resting surfaces.
– Remove the rearscreen again.
[symbol]
Proceed with the glueing cycle using the special Spares KIT, checking the "use by" date.
For new glass only: accurately clean the edge of the glass with the special cloth moistened with de-greasing agent.
Before assembly, with the glass cleaned, check that there are no chips or damage, on the glass and on the seal. Make sure there are no distortions on the glass resting surface.
For glasses with "co-molded" seal the Primer contained in the glueing kit supplied from Spares is not to be used.
- Apply the sealant along the containment groove on the seal, using the nozzle provided, from which the guide should be removed.
Start applying the sealant at the centre of the lower edge of the glass and keep the seam continuous and even.
NOTE: Use the short or long sealant cartridge (or both if necessary) depending on the perimeter of the glass concerned.
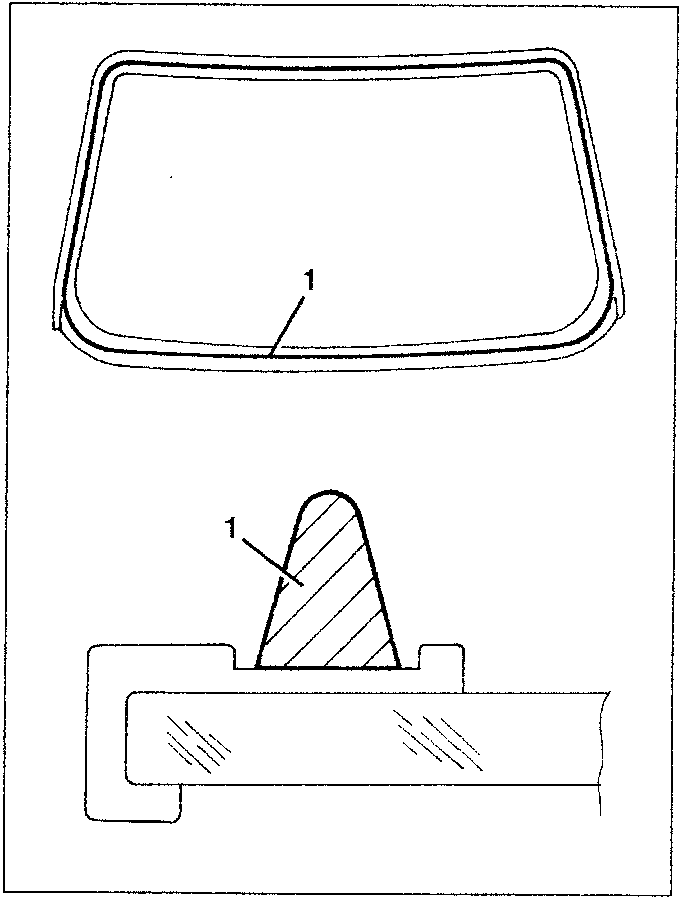
– Using the special suction cups, fit the rearscreen positioning it on the lower feet and centering it in the housing.
– Exert a light even pressure along the edge of the rearscreen.
[symbol] Complete refitting reversing the sequence followed for removal.
NOTE: Do not use the car until the sealant has dried completely.
Parts & tools for this job For 1995 Alfa Romeo GTV / Spider
- TOOLTrim removal tool kitSearch: trim removal tool kit
- PARTTouch-up paintSearch: Alfa Romeo touch up paint
- PARTPanel clip assortmentSearch: Alfa Romeo panel clips assortment
Links open Amazon search results in a new tab. As an Amazon Associate I earn from qualifying purchases.