
Engine management relay module
- Make
- Rover
- Model
- 100 Repair Manual Supplement
- Year
- 1996–1998
- Section
- Repairs › Engine management relay module
Engine management system - MEMSEngine management relay module
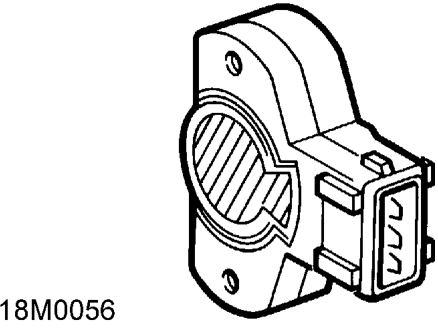
CAUTION: The TP sensor can be easily damaged during fitting. When pressing the sensor onto the throttle spindle, use fingers only, and only apply pressure to the area shown shaded in the illustration.
- Rotate TP sensor in an anti-clockwise direction to align fixing holes.
CAUTION: Do not rotate sensor in a clockwise direction, and ensure that it is not rotated beyond its internal stops.
- Fit TP sensor specification plate.
- Fit new Torx screws and wave washers, and tighten to 1.5 Nm.
CAUTION: Do not exceed specified torque figure.
- Connect multiplug to TP sensor.
- Operate throttle cable cam 2 or 3 times and ensure that full travel to the throttle open and the throttle closed positions is available.
- Connect battery earth lead.
ENGINE MANAGEMENT RELAY MODULE
Service repair no - 18.30.71
The engine management relay module contains the following relays: Main relay Starter relay Fuel pump relay HO2S relay
Remove
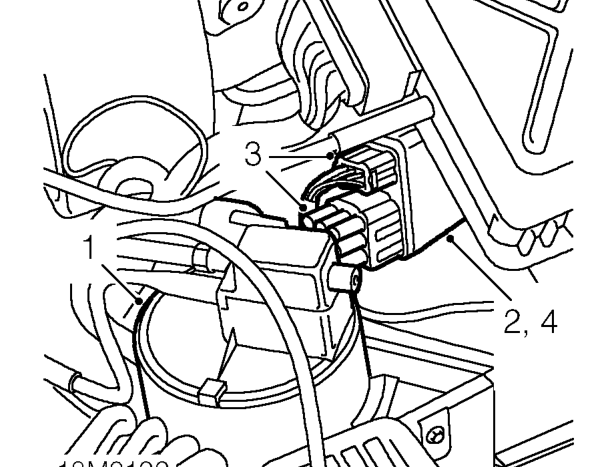
- Release charcoal canister from bracket and move aside for access.
- Release relay module from mounting bracket.
- Disconnect 2 multiplugs from relay module.
- Remove relay module.
Refit
- Position relay module and connect 2 multiplugs. Ensure multiplugs are correctly engaged.
- Secure relay module to mounting bracket.
- Secure charcoal canister to bracket.
Parts & tools for this job For 1996 Rover 100
- TOOLOBD2 scannerSearch: OBD2 scanner
- TOOLDigital multimeterSearch: automotive digital multimeter
- TOOLBack-probe test leadsSearch: back probe test leads
Links open Amazon search results in a new tab. As an Amazon Associate I earn from qualifying purchases.