
Trinary pressure switch (page 2 of 3)
- Make
- Rover
- Model
- 400 Workshop Manual
- Year
- 1995–2000
- Section
- Repairs
Air conditioningTrinary pressure switch · page 2 of 3
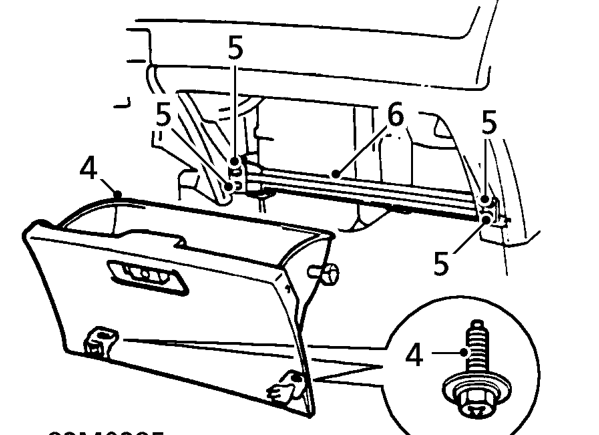
- Remove 2 screws securing glove box to lower fascia rail. release glove box catch and remove glove box from fascia.
- Remove 4 screws securing lower rail to fascia.
- Remove fascia lower rail.
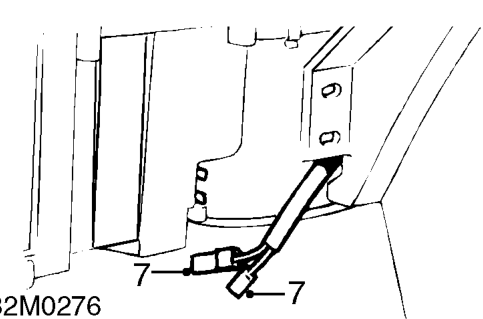
- Disconnect 2 Lucars from evaporator thermostat.
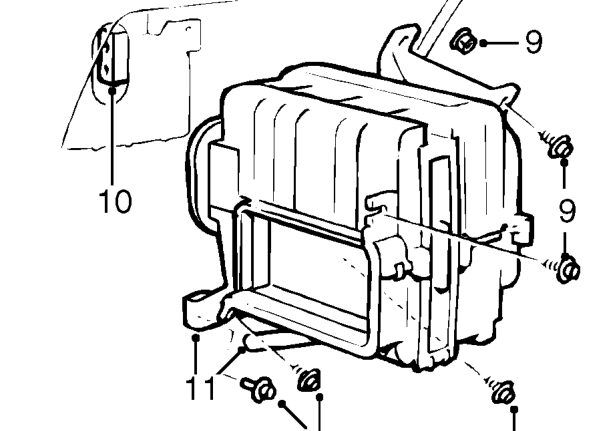
- Remove 3 screws securing evaporator casing lower brackets to heater casings and body.
- Remove 2 screws and flange nut securing evaporator casing upper brackets to heater casing and body stud.
- Using an assistant: Disconnect air conditioning pipe connector from evaporator.
- Manoeuvre evaporator from between heater casings, pull drain tube from body panel and remove evaporator assembly.
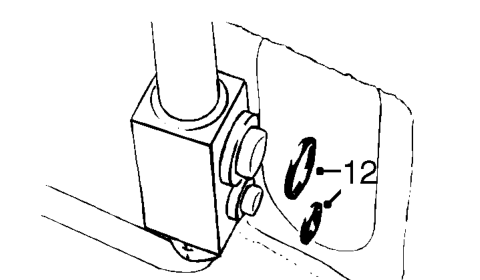
- Remove and discard 2 ’O’ rings from pipe flange. Do not carry out further dismantling if component is removed for access only.
Parts & tools for this job For 1995 Rover 400
- TOOLOBD2 scannerSearch: OBD2 scanner
- TOOLDigital multimeterSearch: automotive digital multimeter
- TOOLBack-probe test leadsSearch: back probe test leads
Links open Amazon search results in a new tab. As an Amazon Associate I earn from qualifying purchases.