
Gearbox - ’t’ series (page 3 of 5)
- Make
- Rover
- Model
- 400 Workshop Manual
- Year
- 1995–2000
- Section
- Repairs
Manual gearbox - PG1Gearbox - ’t’ series · page 3 of 5
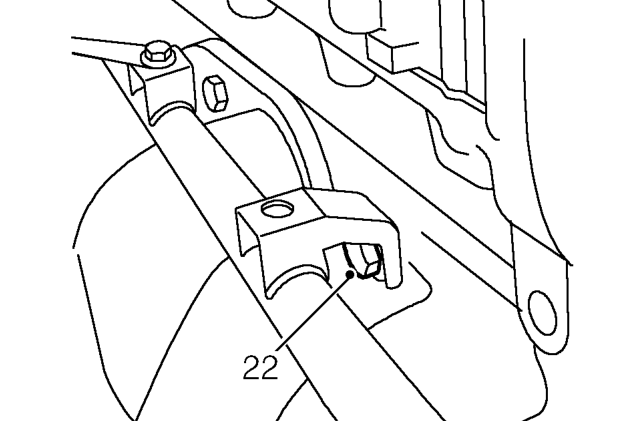
- Remove exhaust manifold to cylinder head bolt securing coolant rail support bracket.
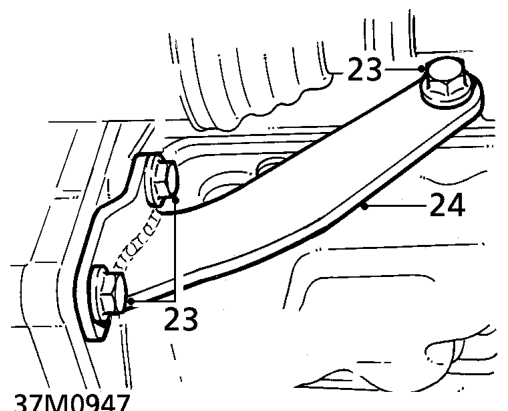
- Remove 3 bolts securing anti-beaming bracket to engine and gearbox.
- Remove anti-beaming bracket.
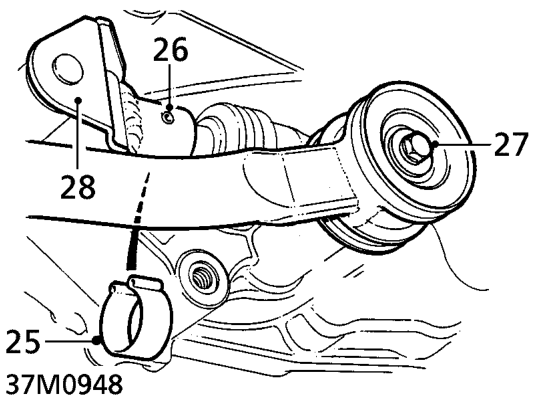
- Remove clip retaining selector rod roll pin.
- Using a suitable punch, drive out selector rod roll pin.
- Remove bolt and disconnect gear change steady bar and collect 2 washers.
- Release selector rod from selector shaft.
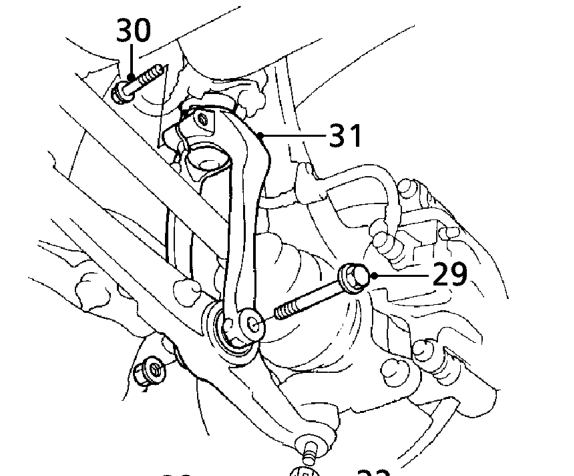
- Remove and discard nut and withdraw damper fork bolt from LH lower arm.
- Remove pinch bolt from damper fork.
- Remove LH damper fork.
- Remove split pin from lower ball joint nut, discard split pin and remove castle nut.
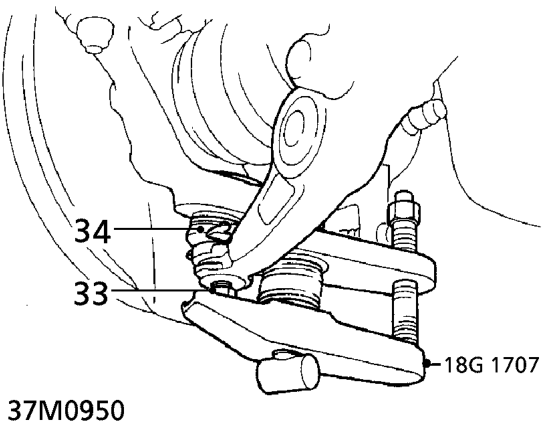
- Screw a 12 mm nut onto ball pin until flush with ball pin end. If necessary, apply penetrating oil to joint.
- Break taper joint using tool 18G 1707 and separate ball pin from lower arm.
CAUTION: Ensure cross-bar on tool is at right angles (as shown). Be careful not to damage ball joint boot.
- Remove 12 mm nut from ball pin.
- Release LH lower arm ball pin from hub.
Parts & tools for this job For 1995 Rover 400
- PARTClutch kitSearch: Rover 400 1995 clutch kit
- TOOLClutch alignment toolSearch: clutch alignment tool
- FLUIDGear oilSearch: Rover 400 manual gearbox oil
Links open Amazon search results in a new tab. As an Amazon Associate I earn from qualifying purchases.