
Power steering pump - ’t’ series without air conditioning
- Make
- Rover
- Model
- 400 Workshop Manual
- Year
- 1995–2000
- Section
- Repairs › Power steering pump - ’t’ series without air conditioning
SteeringPower steering pump - ’t’ series without air conditioning
POWER STEERING PUMP - ’T’ SERIES WITHOUT AIR CONDITIONING
Service repair no - 57.20.14
Remove
- Slacken 3 bolts securing pulley to pump.
- Remove alternator. See ELECTRICAL, Repairs.
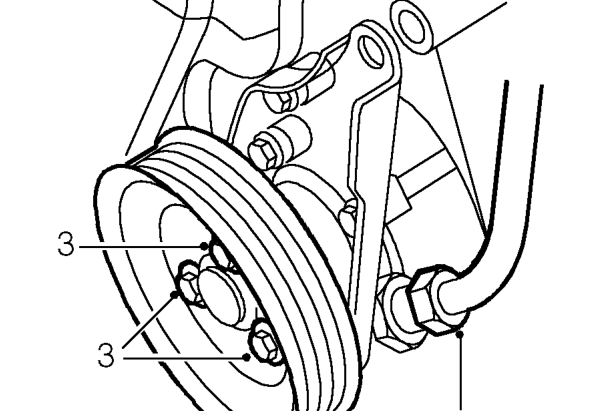
- Remove 3 bolts securing pulley to pump and remove pulley.
- Position container to collect fluid loss from power steering system.
- Using a 16 mm crow foot spanner, loosen high pressure hose union to power steering pump.
CAUTION: To prevent damage to PAS pipes, use 2 spanners when loosening or tightening unions.
- Disconnect high pressure hose from pump, remove and discard ’O’ ring.
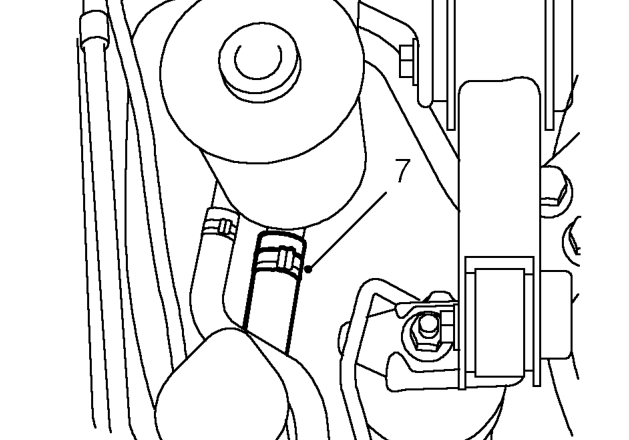
- Release clip and disconnect power steering pump feed hose from fluid reservoir.
CAUTION: Plug the connections.
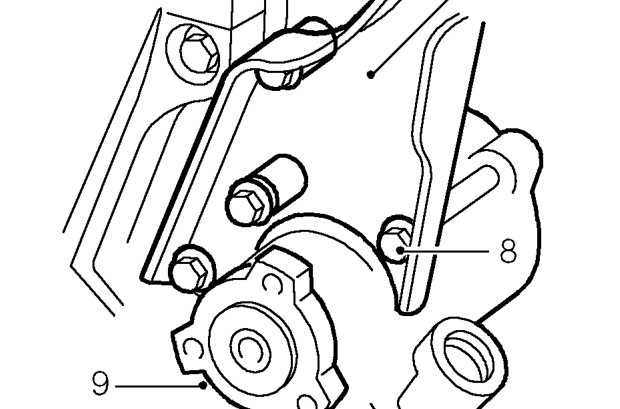
- Noting their fitted positions, remove 5 bolts securing support bracket to pump and remove bracket.
NOTE: Collect 2 spacers.
- Remove pump from coolant pump housing.
Do not carry out further dismantling if component is removed for access only.
- Release clip and remove hose from pump.
- Fit hose to new pump and secure with clip.
Parts & tools for this job For 1995 Rover 400
- TOOLTie rod end toolSearch: tie rod end puller
- TOOLBall joint separatorSearch: ball joint separator
- FLUIDPower steering fluidSearch: Rover power steering fluid
Links open Amazon search results in a new tab. As an Amazon Associate I earn from qualifying purchases.