
Power steering rack - ’l’ and ’t’ series (page 2 of 3)
- Make
- Rover
- Model
- 400 Workshop Manual
- Year
- 1995–2000
- Section
- Repairs
SteeringPower steering rack - ’l’ and ’t’ series · page 2 of 3
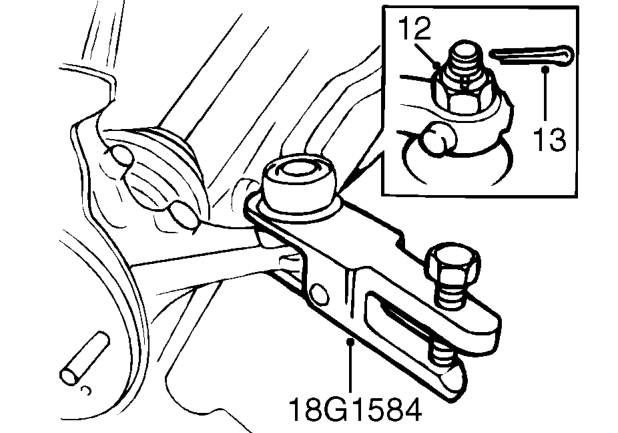
- Slacken RH and LH steering rack tie rod end locknuts.
- Remove split pins from each tie-rod end ball joint nut. Discard split pins.
- Remove 2 ball joint nuts and break taper joints using tool 18G 1584.
- Remove tie rod ends.
- Note number of threads exposed from each locknut, for refitting reference and remove locknuts.
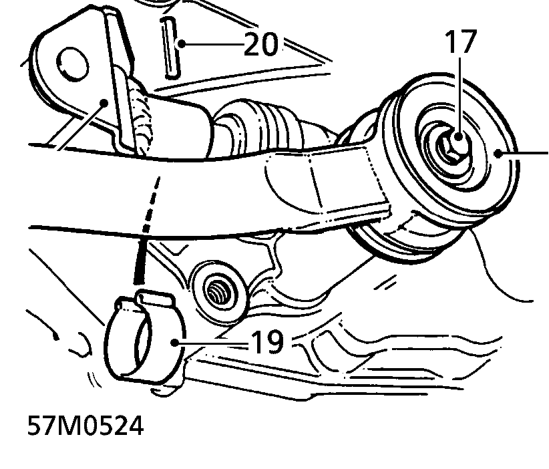
- Remove bolt and disconnect gear change steady bar from gearbox.
- Collect 2 washers.
- Remove clip retaining selector rod roll pin.
- Using a suitable punch, drive out roll pin and disconnect selector rod from shaft.
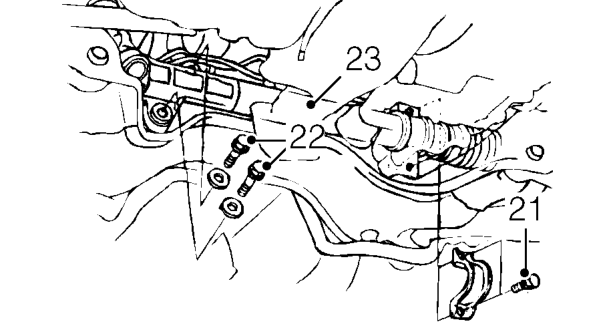
- Remove 2 bolts securing steering rack clamp and remove clamp.
- Remove 2 bolts and plain washers securing steering rack flange to subframe.
- Lower steering rack sufficiently to release pinion shaft from body aperture.
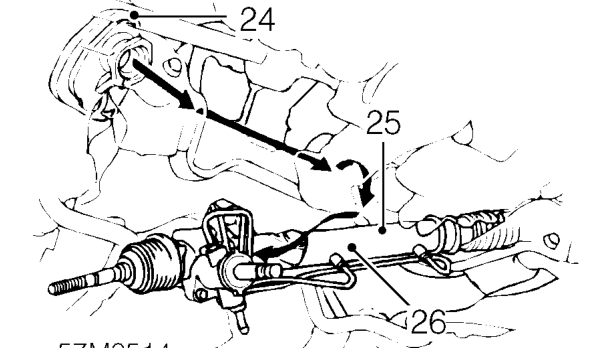
- Remove pinion shaft seal.
- Move steering rack fully to passenger side, to clear track rod from driver’s side of front beam .
- Lower and rotate rack anti-clockwise while withdrawing it from driver’s side of vehicle. Do not carry out further dismantling if component is removed for access only.
- Remove clamp rubber.
- Remove 2 mounting bush collars and 4 mounting bushes from old steering rack and fit to NEW rack.
Parts & tools for this job For 1995 Rover 400
- TOOLTie rod end toolSearch: tie rod end puller
- TOOLBall joint separatorSearch: ball joint separator
- FLUIDPower steering fluidSearch: Rover power steering fluid
Links open Amazon search results in a new tab. As an Amazon Associate I earn from qualifying purchases.