
Knock sensor - RH
- Make
- Land Rover
- Model
- Defender 90 Workshop Manual (NAS)
- Section
- Repair › Knock sensor - RH
‹ Prev Camshaft position (cmp) sensor knock sensor - LHNext › Inertia fuel shut off switch relay module
Fuel systemKnock sensor - RH
KNOCK SENSOR - RH
Service repair no - 18.30.30
- CAUTION: Due to the sensitivity of the
- sensor, do not apply tape or sealant to
- sensor threads.
Remove
- Raise vehicle on ramp [hoist].
Refit
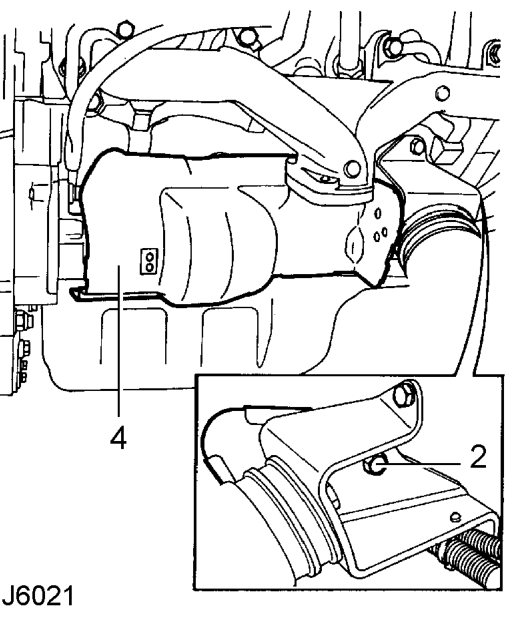
- Remove bolt securing starter motor heat shield to engine RH mounting.
- Release heat shield clip from starter solenoid. 10. Manoeuvre heat shield into position.
- Move heat shield aside to gain access to knock 11. Secure heat shield clip to solenoid. sensor. 12. Align heat shield to mounting and secure with
- Lower vehicle.
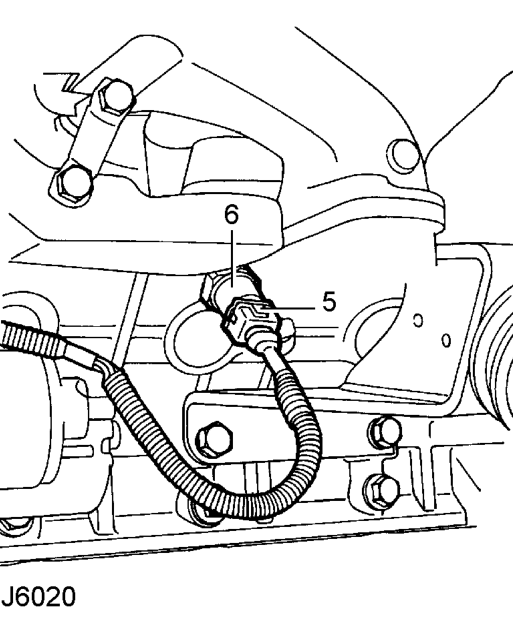
- Depress spring clip and disconnect sensor multiplug.
- Remove sensor.
- Clean sensor and mating face.
- Fit sensor and tighten to 16 Nm, 12 lbf ft.
- CAUTION: Failure to tighten sensor to
- correct torque will result in malfunction or
- sensor damage.
- Connect multiplug to sensor.
bolt.
‹ Prev Camshaft position (cmp) sensor knock sensor - LHNext › Inertia fuel shut off switch relay module
Parts & tools for this job For Land Rover Defender
- TOOLOBD2 scannerSearch: OBD2 scanner
- TOOLDigital multimeterSearch: automotive digital multimeter
- TOOLBack-probe test leadsSearch: back probe test leads
Links open Amazon search results in a new tab. As an Amazon Associate I earn from qualifying purchases.