
Engine and gearbox assembly (page 7 of 9)
- Make
- Rover
- Model
- 100 Repair Manual Supplement
- Year
- 1996–1998
- Section
- Repairs
EngineEngine and gearbox assembly · page 7 of 9
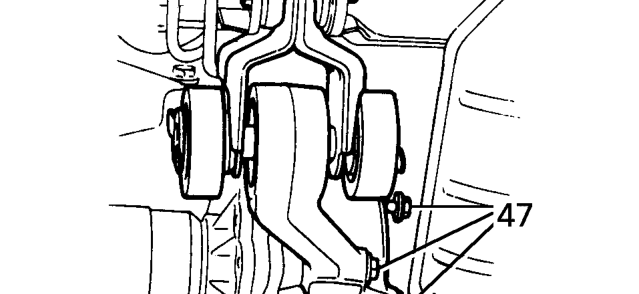
- Loosen bolt securing engine steady bar to body.
- Remove 3 bolts securing engine steady bar bracket to gearbox and pivot steady bar down.
- Position container under gearbox. Remove gearbox filler/level and drain plugs, allow oil to drain. Refit plugs and tighten to 35 Nm.
- Drain engine oil if required. See REPAIR MANUAL - Maintenance.
- Remove both drive shaft and hub assemblies. See REPAIR MANUAL - Manual Gearbox - Differential Oil Seal.
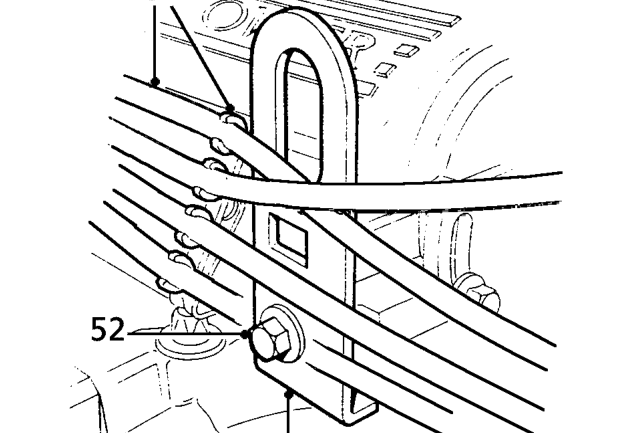
- Release plug leads from clip.
- Fit lifting bracket tool 18G 1572/2 and tighten bolt to 9 Nm.
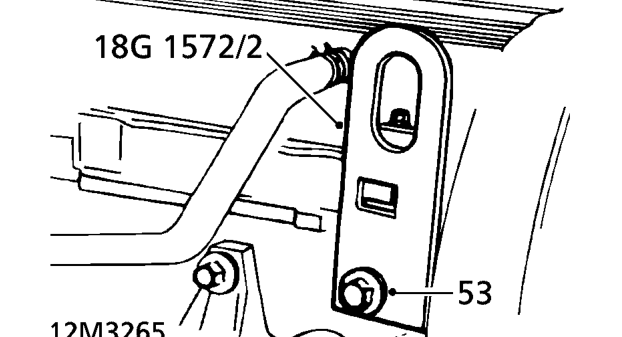
- Fit lifting bracket tool 18G 1572/2 to cylinder head above dipstick tube, and tighten bolt to 9 Nm.
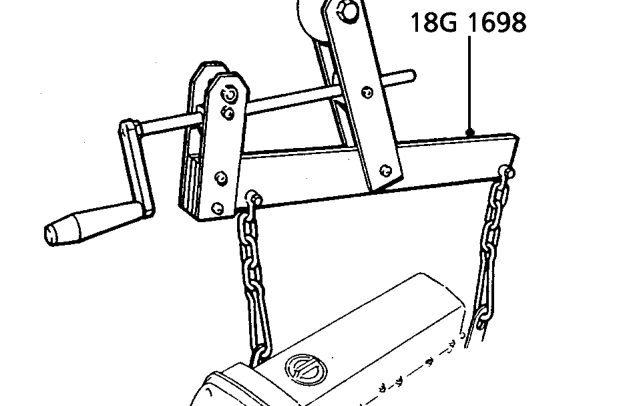
- Use a hoist and connect adjustable lifting bracket 18G 1698 to engine.
- Raise chains to take weight of engine without exerting load on mountings.
Parts & tools for this job For 1996 Rover 100
- PARTEngine gasket setSearch: Rover 100 1996 engine gasket set
- TOOLTorque wrenchSearch: 3/8 inch torque wrench
- TOOLFeeler gauge setSearch: feeler gauge set
Links open Amazon search results in a new tab. As an Amazon Associate I earn from qualifying purchases.