
Remove
- Make
- Rover
- Model
- 600 Rover 600 Repair Manual - Volumes 1 and 2 - 2nd Edition
- Section
- Cylinder head/valve train: repairs › Remove
EngineRemove · page 1 of 2
Remove
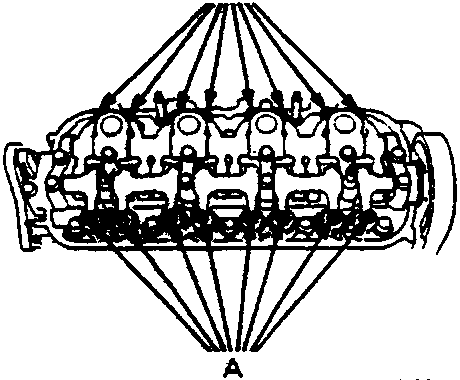
A Adjusting screw
- Loosen the adjusting screws.
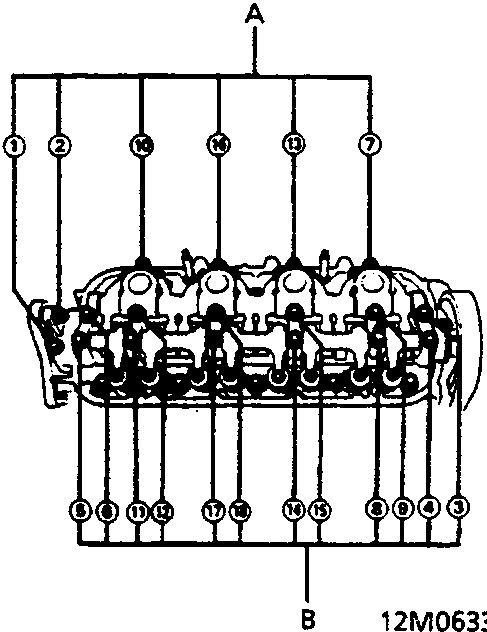
A 6mm bolts
B 8mm bolts
- Remove the bolts and the rocker arm assembly.
Note:
- Unscrew the camshaft holder bolts two turns at a time, in a diagonal pattern to prevent damaging the valves or rocker arm assembly.
- When removing the rocker arm assembly, do not remove the camshaft holder bolts. The bolts will keep the camshaft holders, the springs and the rocker arms on the shafts.
Parts & tools for this job For Rover 600
- PARTEngine gasket setSearch: Rover 600 engine gasket set
- TOOLTorque wrenchSearch: 3/8 inch torque wrench
- TOOLFeeler gauge setSearch: feeler gauge set
Links open Amazon search results in a new tab. As an Amazon Associate I earn from qualifying purchases.