
Refit
- Make
- Rover
- Model
- Coupé, Cabriolet & Tourer 200/400 Coupé, Cabriolet & Tourer Workshop Manual
- Section
- Screens › Refit
BodyRefit
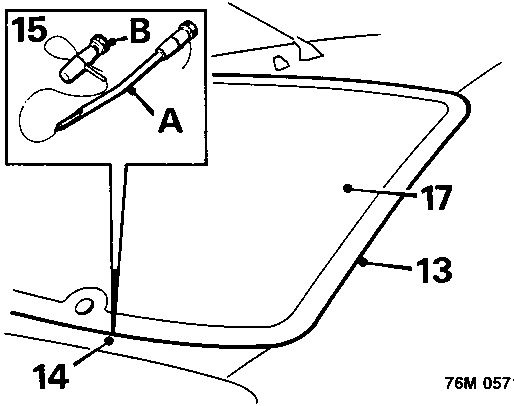
- Apply masking tape to body around rear window glass to protect paintwork.
- Make knife cut in sealant to R.H. side of wiper motor spindle.
Note: Use of this area as the start and finish point for cutting will avoid the need to negotiate wiper spindle.
- Insert cutting wire through previously made knife cut and fit handles, as shown, with approximately 200mm of wire between handles.
- With assistance, wedge tube of handle A between glass and body, ahead of cutting position, and carefully cut sealer using a continuous pull on handle B from the outside. Ensure that glass is retained as last of sealant is cut.
Note: If multi-strand cutting wire is used, a sawing action can be used to cut through heavy sealant deposits around corners.
CAUTION: Use of a sawing action may overheat and break single strand wire.
- Attach suction lifters and use assistance to remove glass from body.
Refit
- Carefully cut old sealer from body flange to obtain a smooth surface, approximately 2mm thick.
CAUTION: Do not cut down to painted surface.
- Replace damaged body clips as necessary.
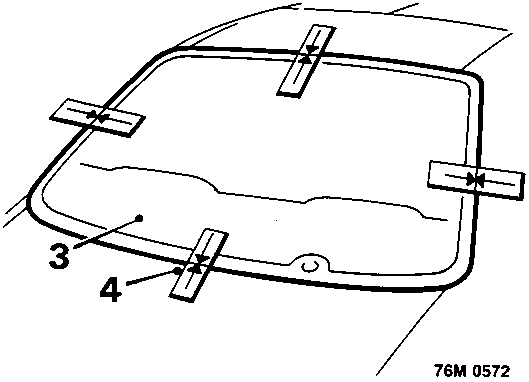
- With assistance, attach suction lifters to new rear window glass and position glass to body. Centralise glass in aperture and apply tape for reference as shown.
Note: Ensure that glass is positioned correctly to supports moulded into lower finisher clips.
- Cut tape at glass edge, remove rear window glass and position on felt covered support blocks.
- Apply cleaning solvent to sealing surface of rear window glass and body flange.
CAUTION: Do not touch cleaned or primed areas with fingers.
- Shake primer tins for 30 seconds and apply body primer to sealing surface of body flange and any damaged paintwork.
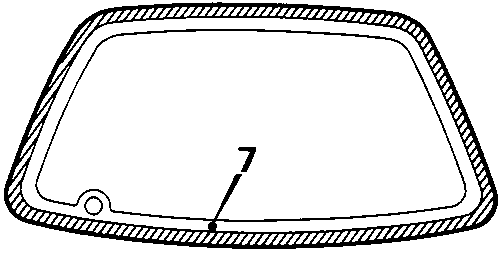
- Apply glass primer around glass as shown.
CAUTION: Use a new applicator sponge for each primer.
- Remove lid from sealer cartridge, shake out crystals and fit pre-cut nozzle. Install cartridge in applicator gun.
Parts & tools for this job For Rover Coupé, Cabriolet & Tourer
- TOOLTrim removal tool kitSearch: trim removal tool kit
- PARTTouch-up paintSearch: Rover touch up paint
- PARTPanel clip assortmentSearch: Rover panel clips assortment
Links open Amazon search results in a new tab. As an Amazon Associate I earn from qualifying purchases.