
WARNING: Support on safety stands. (page 2 of 2)
- Make
- Land Rover
- Model
- Defender 90 Workshop Manual (NAS)
- Section
- Repair
Fuel systemWARNING: Support on safety stands. · page 2 of 2
Refit
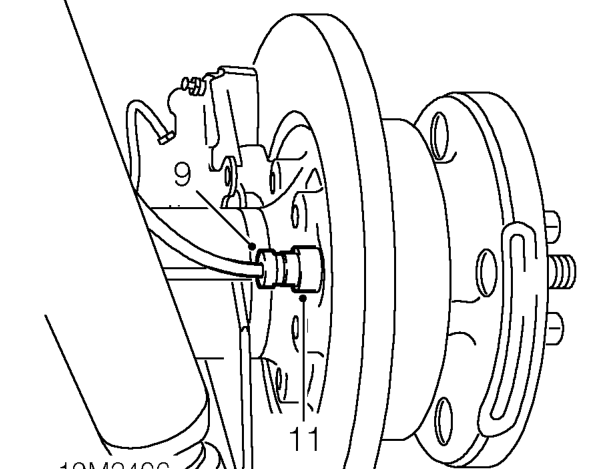
- Ensure NEW sensor bushes and housings are
- Ensure sensor bodies are clean and lightly coat
- Fit sensors through bushes until they contact the
- Secure sensor harness to rear axle clips.
- Secure sensor harness to rear suspension and
- Connect sensor harness multiplugs.
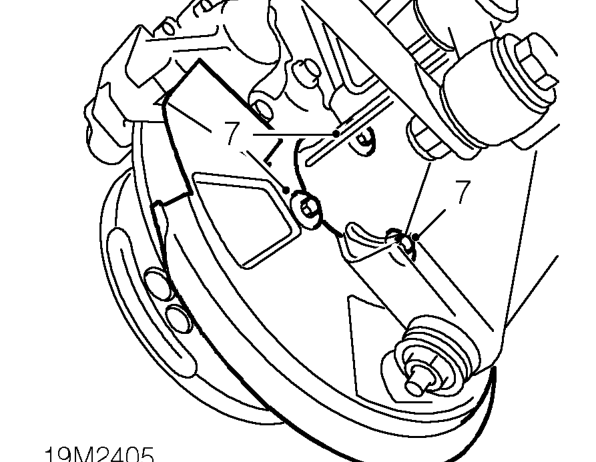
- Position rear brake caliper mud shields and
- Fit rear road wheels.
- Remove stand(s) and lower vehicle.
- Reconnect battery negative lead.
- Release sensor harness from clips on rear axle.
- Remove 6 bolts, 3 each side, securing rear wheel brake caliper mud shields.
- Remove mud shields and clear area around sensor to prevent possible ingress of dirt.
- Using a suitable lever, release sensors from mounting bushes.
- Remove sensors.
- Remove and discard sensor bushes.
clean, then fit bushes.
with EP 90 lubricant.
reluctor ring. The sensors will be ’knocked-back’ to the correct position when the vehicle is driven.
axle with cable ties.
secure with bolts.
Parts & tools for this job For Land Rover Defender
- PARTFuel filterSearch: Land Rover Defender fuel filter
- TOOLFuel pressure test kitSearch: fuel pressure test kit
- TOOLFuel line disconnect toolSearch: fuel line disconnect tool
Links open Amazon search results in a new tab. As an Amazon Associate I earn from qualifying purchases.