
Rear engine mounting (page 3 of 3)
- Make
- Rover
- Model
- 400 Workshop Manual
- Year
- 1995–2000
- Section
- Repairs
Engine - K SeriesRear engine mounting · page 3 of 3
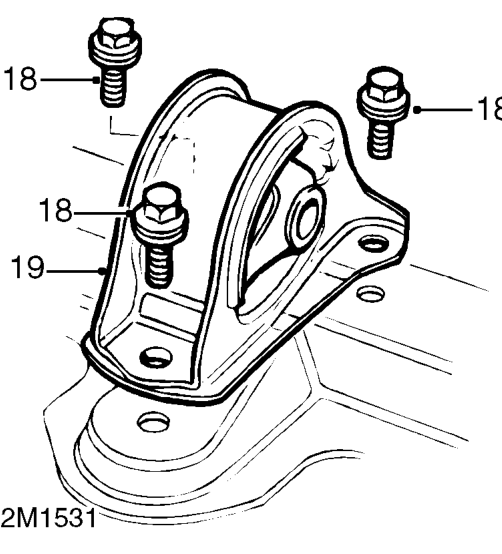
- Remove 3 bolts securing rear engine mounting to subframe.
- Remove rear engine mounting.
Refit
- Clean area of subframe where engine mounting is fitted.
- Fit rear engine mounting to subframe.
- Fit 3 bolts securing rear engine mounting to subframe and tighten to 65 Nm.
- Fit rear engine mounting bracket to engine and rear engine mounting.
- Position engine steady bar and fit through bolt securing rear engine mounting bracket to engine mounting.
- Align engine steady bar to engine, fit bolt and tighten to 45 Nm.
- Fit 3 bolts securing rear engine mounting bracket to engine and tighten to 100 Nm.
- Tighten through bolt, rear engine mounting bracket to engine mounting, to 80 Nm.
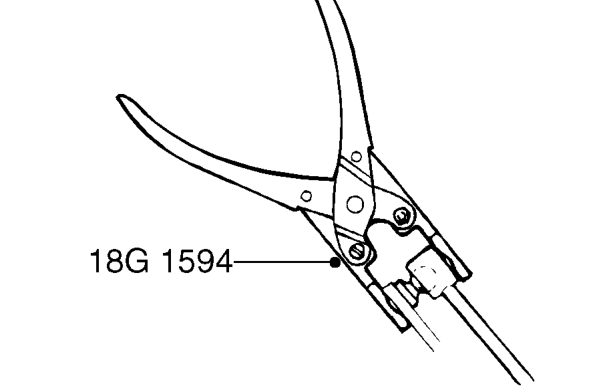
- Clean gear selector linkage and gear change linkage ball joints.
- Position gear selector linkage through rear engine mounting bracket and using tool 18G 1594 connect ball joints to gear selector and gear selector lever.
- Using tool 18G 1594 connect gear change linkage ball joint to gear change lever.
- Clean mating face of exhaust front pipe and exhaust manifold.
- Fit new gasket to exhaust manifold flange and connect exhaust front pipe.
- Fit 4 nuts securing exhaust front pipe to exhaust manifold and tighten to 45 Nm.
- Fit 2 nuts securing exhaust front pipe to mounting bracket on differential housing and tighten to 25 Nm.
- Fit vehicle speed sensor. See INSTRUMENTS, Repairs.
- Remove stand(s) and lower vehicle.
- Connect battery earth lead.
Parts & tools for this job For 1995 Rover 400
- PARTEngine gasket setSearch: Rover 400 1995 engine gasket set
- TOOLTorque wrenchSearch: 3/8 inch torque wrench
- TOOLFeeler gauge setSearch: feeler gauge set
Links open Amazon search results in a new tab. As an Amazon Associate I earn from qualifying purchases.