
Window adjustment (page 2 of 2)
- Make
- Alfa Romeo
- Model
- GTV / Spider GTV and Spider (916) Factory Service Manual
- Year
- 1995–2000
- Section
- Doors
the rear edge and the door surround seal (B) and between the front edge and the windscreen pillar seal (C).
Also check that the hood is closed correctly and centred in relation to the windscreen and that between the front edge of the hood and the crossmember above the windscreen there is a constant distance of 6 to 7 mm for correct pressure of the seal (D).
NOTE:
If the reason for adjustment is replacement of the window, there is no need for checks C), D) and E). In this case, continue with the adjustment procedure.
Conversely, in the case of faults noted during use of the vehicle (noise, draughts of air/water leaks), proceed with checks C), D) and E) and then carry out the adjustment procedure.
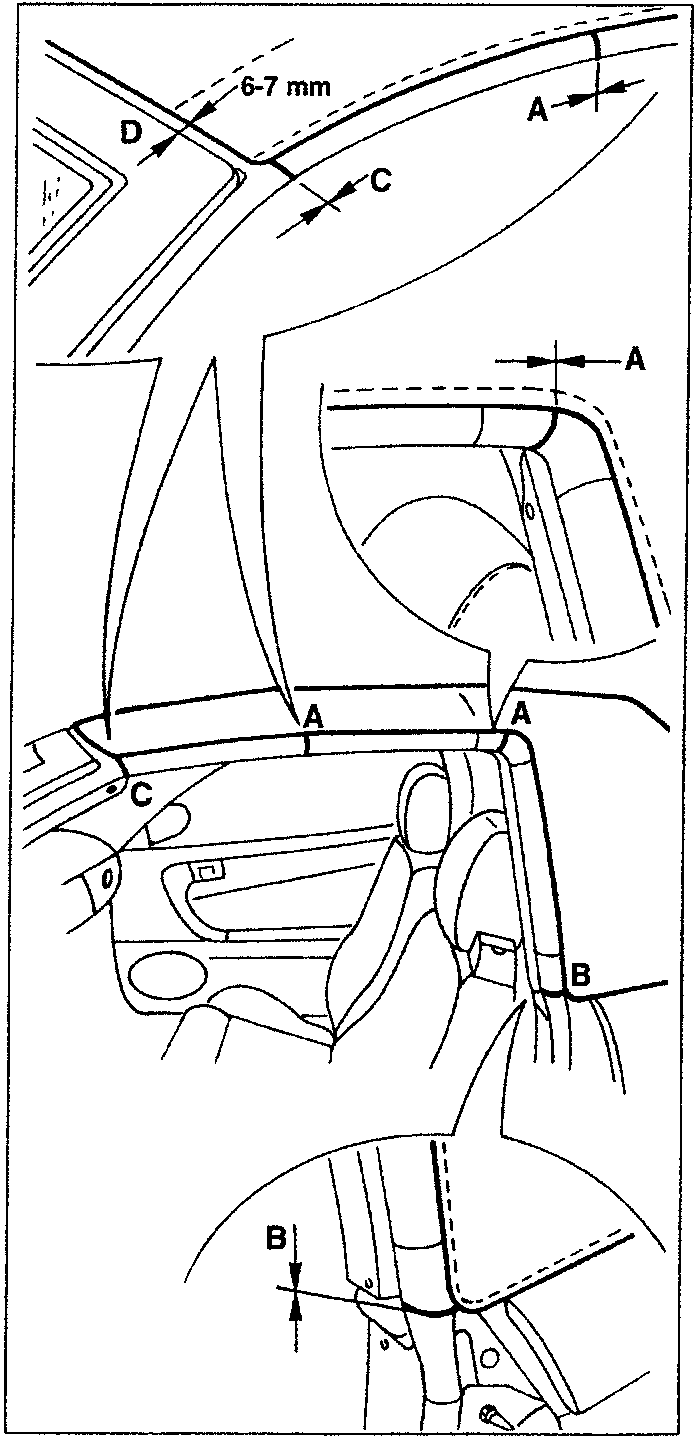
Checks C), D) and E) should then be carried out at the end of the adjustment procedure to make sure that the operations have been carried out correctly.
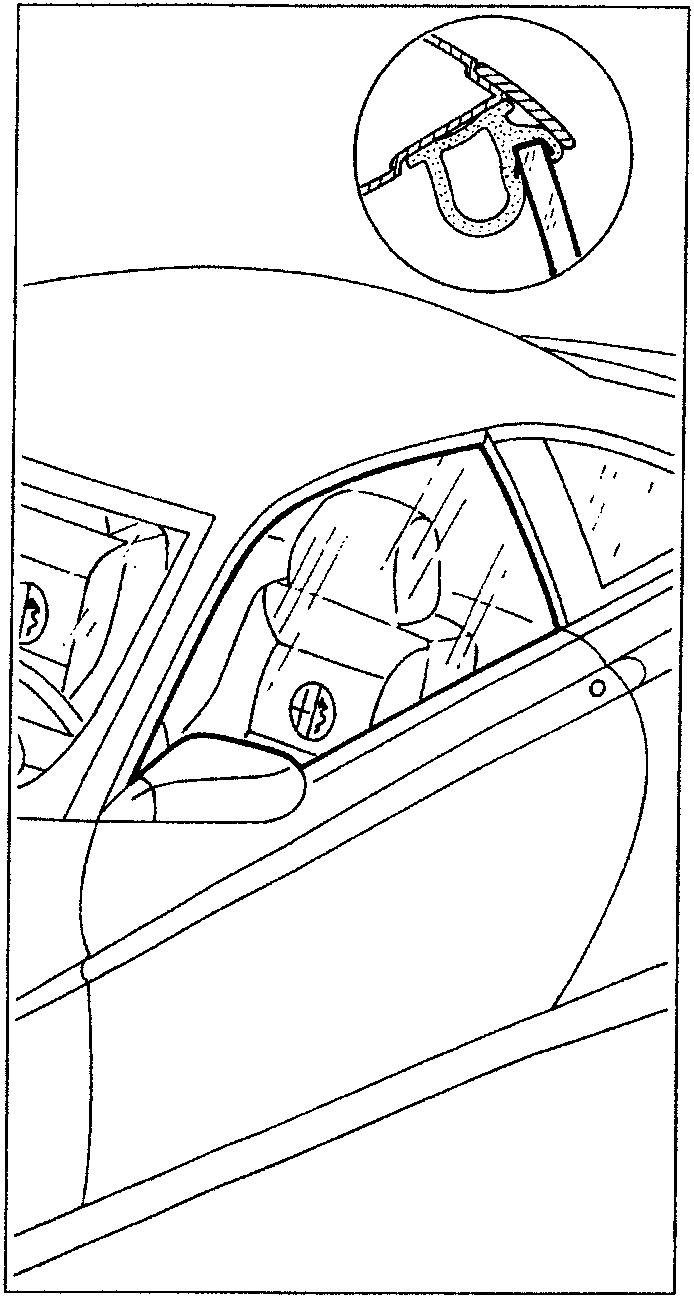
D) Open the door, raise the window, close the door and check that the window adheres properly to the seals and that the gaps are correct. Also check that the glass is correctly inserted under the upper seal so that the grinding of the upper edge of the glass remains concealed at each point.
E) Keeping the door shut, lower and raise the window. Check that the stroke is even and that, with the window raised, the gaps as per point C) are measured.
F) Accurately test the car to precisely find any malfunctions of the window.
With the window closed, travel at different speeds to see if air enters the car.
Parts & tools for this job For 1995 Alfa Romeo GTV / Spider
- TOOLTrim removal tool kitSearch: trim removal tool kit
- PARTTouch-up paintSearch: Alfa Romeo touch up paint
- PARTPanel clip assortmentSearch: Alfa Romeo panel clips assortment
Links open Amazon search results in a new tab. As an Amazon Associate I earn from qualifying purchases.