
Glass - body side - rear
- Make
- Land Rover
- Model
- Discovery II (UK)
- Section
- Repairs › Glass - body side - rear
Glass - body side - rear
$% 76.81.18
Introduction
The following equipment is required: l l l l l l l
WARNING: Wear protective gloves when handling glass, solvents and primers.
WARNING: Wear suitable eye protection when removing and refitting glass.
Remove
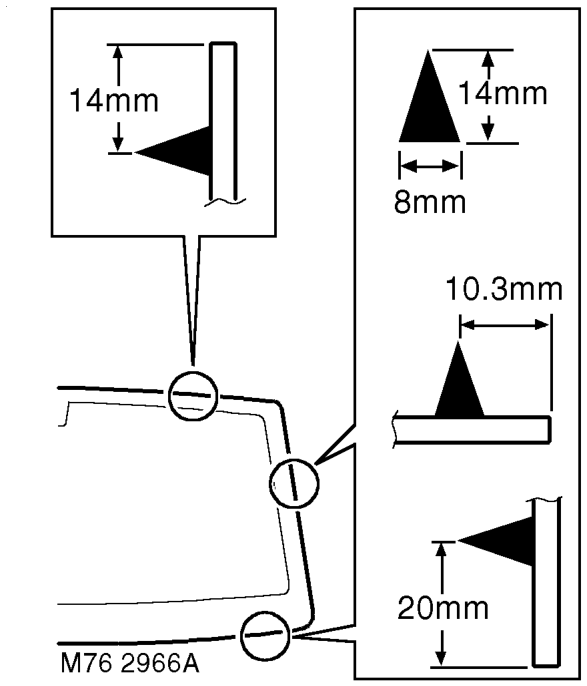
- Apply a continuous bead of sealant to sealant face on screen as shown.
- With assistance, lift screen into place and align to screen supports and tape. Ensure top finisher is located into correct position. Lightly press glass to fully seat sealer.
CAUTION: Do not apply heavy pressure to the sides of the windscreen. Lightly press windscreen from centre outwards until edges are to required gap. Pushing sides into position can bend windscreen and lead to cracking in service.
- Remove protective covers and tape.
- Test sealer for leaks, apply additional sealer if necessary. If water is used, allow sealer to dry before testing. Spray water around glass and check for leaks. Mark any area that leaks. Dry glass and sealer then apply additional sealer.
- Fit interior mirror to slug.
- If applicable, connect screen heater multiplugs.
- Fit air intake plenum. HEATING AND VENTILATION, REPAIRS, Plenum Air Intake.
CAUTION: A curing time of 6 hours is desirable. During this time leave a window open to ventilate the vehicle interior. If the vehicle must be used before the curing time has elapsed, do not drive at speed or slam the doors with the windows closed.
CAUTION: Vehicles fitted with a passenger airbag should not be driven for 24 hours.
Cutting wire and handles. Kent cutting knife. Glazing knife. Windscreen repair kit. Sealant applicator gun. Suction cups. A felt covered table or stand to support glass.
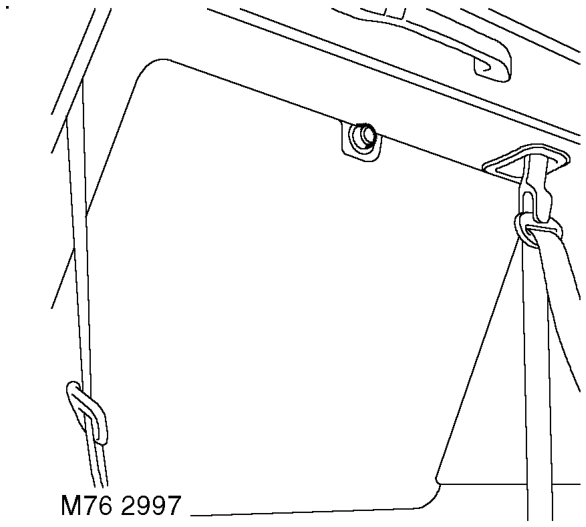
- If fitted, disconnect coaxial cable from terminal on glass.
- Fit protection to exterior body work adjacent to glass.
3. Cover body panels adjacent to glass.
- Fit protection to internal trim adjacent to glass.
- Cover interior of vehicle with protective sheet.
Parts & tools for this job For Land Rover Discovery
- TOOLTrim removal tool kitSearch: trim removal tool kit
- PARTTouch-up paintSearch: Land Rover touch up paint
- PARTPanel clip assortmentSearch: Land Rover panel clips assortment
Links open Amazon search results in a new tab. As an Amazon Associate I earn from qualifying purchases.