
Screen - rear (page 2 of 2)
- Make
- Land Rover
- Model
- Freelander Body Repair Manual
- Year
- 1998 on
- Section
- Doors
BodyScreen - rear · page 2 of 2
Refit
CAUTION: Fit screen carefully to avoid damaging heater element connections.
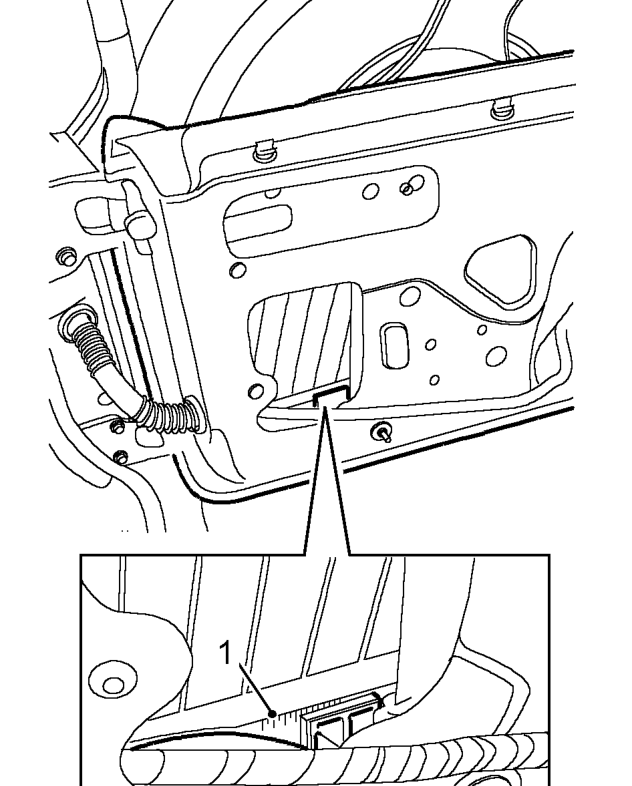
- Position screen to door and align in clamps using timing marks on screen.
- Ensure glass is fully pushed down in clamp closest to door hinge, then tighten clamp bolt. Position screen horizontally by lifting clamp closest to door latch so that screen heater element is aligned with waist seal.
- Tighten clamp bolts to 8 Nm.
- Raise screen and connect Lucars to screen heater element.
- Ensure a 5mm equal gap exists between screen and both ’E’ post finishers. If required, adjust screen again using timing marks.
- Loosen lower adjuster lock nuts.
- Loosen pre-load screws so screen clears seal.
- Adjust pre-load screws until screen is just in contact with seal.
- Adjust pre-load screws until screen applies a 1mm pre-load on seal.
- Ensure there is full screen to seal contact.
- Lower glass and tighten lock nuts to 14 Nm.
CAUTION: Always tighten lock nuts with the screen lowered.
- Recheck pre-load.
- Raise and lower screen to confirm correct alignment.
- Fit water shedder. See this section.
Parts & tools for this job For 1998 Land Rover Freelander
- TOOLTrim removal tool kitSearch: trim removal tool kit
- PARTTouch-up paintSearch: Land Rover touch up paint
- PARTPanel clip assortmentSearch: Land Rover panel clips assortment
Links open Amazon search results in a new tab. As an Amazon Associate I earn from qualifying purchases.