
Front seat slide motor (page 3 of 3)
- Make
- Rover
- Model
- 600 Repair Manual Supplement
- Year
- 1993–1999
- Section
- Seats and seat belts
BodyFront seat slide motor · page 3 of 3
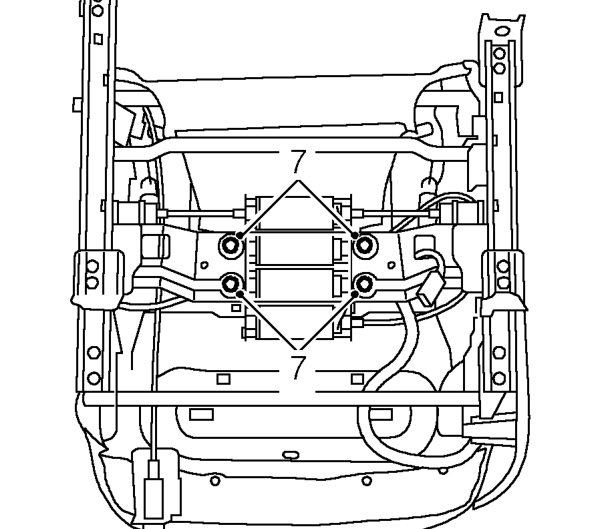
- Remove 4 bolts securing motor assembly to seat.
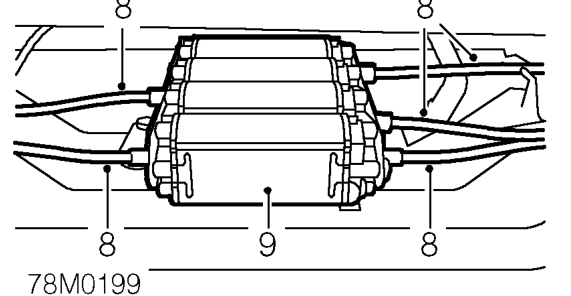
- Remove drive cables from motors.
- Remove motor assembly complete with harness from seat.
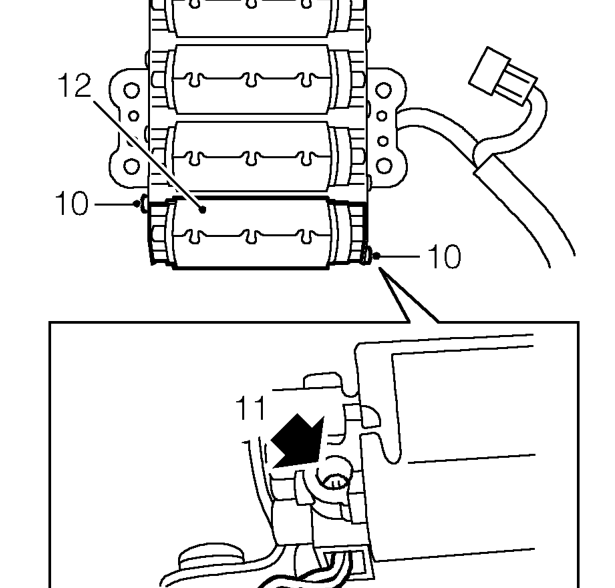
- Remove 2 T20 Torx screws securing motor to assembly.
- De-solder motor connections.
- Remove motor.
Refit
- Position motor and solder connections.
- Align motor to mounting bracket. Fit and tighten Torx screws.
- Connect drive cables to motor.
- Fit motor assembly to seat. Fit and tighten bolts.
- Secure harness to seat.
- Connect multiplugs to control unit.
- Fit seat outer valance. Tighten Torx screws.
- Fit control switch knobs.
- Fit front seat. See this section.
Parts & tools for this job For 1993 Rover 600
- TOOLOBD2 scanner with SRSSearch: OBD2 scanner ABS SRS
- TOOLTrim removal tool kitSearch: trim removal tool kit
Links open Amazon search results in a new tab. As an Amazon Associate I earn from qualifying purchases.