
Panel repairs (Welding): Procedures
- Make
- Land Rover
- Model
- Discovery II (UK)
- Section
- Procedures › Welding
Panel repairsWelding · page 1 of 3
Welding
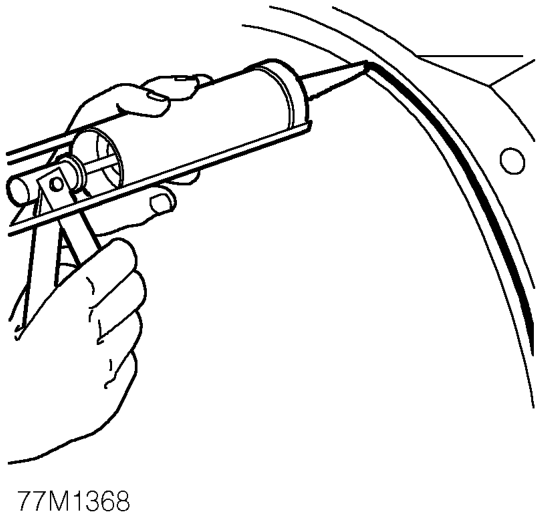
- Apply correct sealant or adhesive, as applicable, to panel joint surfaces. CORROSION PREVENTION AND SEALING, SEALING, Body Sealing.
Offer up and align
- Offer up new panel and align with associated panels. Clamp into position using welding clamps or Mole grips. Where a joggle or brace joint is being adopted, make a set in the original panel joint edge or insert a brace behind the joint. NOTE: In cases where access for welding clamps is difficult, it may be necessary to use tack welds.
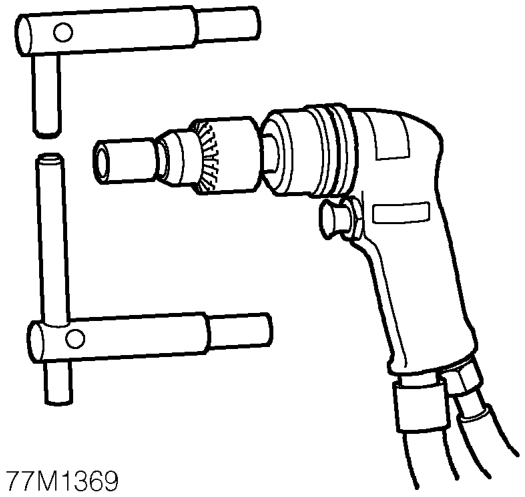
- Select arms for resistance spot welding and shape electrode tips using a tip trimmer.
CAUTION: Use arms not exceeding 300 mm (11.81 in) in length.
NOTE: To maintain weld efficiency, the tips will require regular cleaning and dressing.
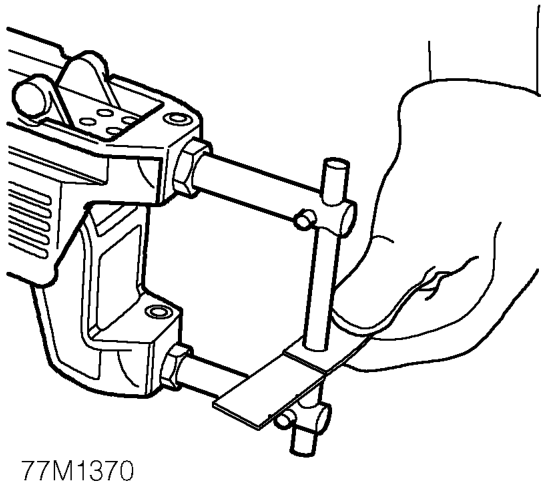
- Fit resistance spot welding arms and test equipment for satisfactory operation, using test coupons. Where monitoring equipment is not available, verify weld strength by checking that metal around the weld puddle pulls apart under tension during pulling.
Parts & tools for this job For Land Rover Discovery
- TOOLTorque wrenchSearch: 3/8 inch torque wrench
- TOOLSocket setSearch: socket set metric
- BOOKHaynes manualSearch: Haynes manual Land Rover Discovery
Links open Amazon search results in a new tab. As an Amazon Associate I earn from qualifying purchases.