
NOTE: Arrow on clamp to point forward.
- Make
- Rover
- Model
- 600 Repair Manual Supplement
- Year
- 1993–1999
- Section
- Repairs › NOTE: Arrow on clamp to point forward.
SteeringNOTE: Arrow on clamp to point forward.
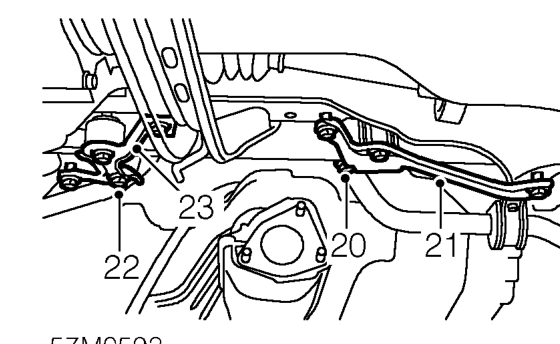
- Remove 4 bolts securing steering rack and stiffener plate passenger side.
- Remove stiffener plate and lower half of steering rack clamp.
- Remove 4 bolts securing steering rack and stiffener plate drivers side.
- Remove stiffener plate.
- Lower steering rack sufficiently to release pinion shaft from body aperture.
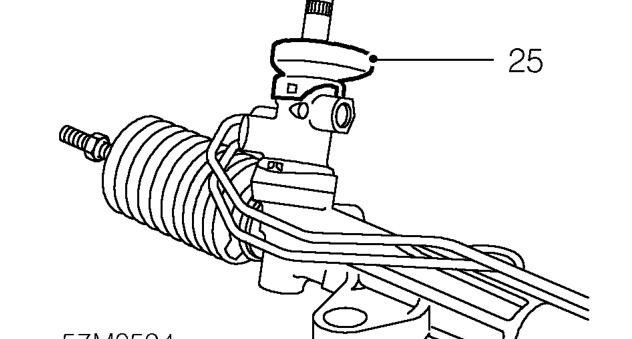
- Remove pinion shaft seal.
- Lower pinion end of rack and move it towards passenger side until RH side of rack is clear of rear beam.
- Move rack to drivers side and remove from vehicle.
Do not carry out further dismantling if component is removed for access only.
- Remove clamp and clamp rubber from old steering rack and fit to new rack.
NOTE: Arrow on clamp to point forward.
- Remove 2 mounting bush collars and 4 mounting bushes from old steering rack and fit to new rack.
Refit
- Ensure body aperture seal is seated correctly on flange.
- Extend rack fully to passenger’s side.
- Fit steering rack into LH side of beam until right hand tie rod is clear of RH side of beam.
- Fit pinion shaft seal.
CAUTION: Ensure slot in seal is located to tab on pinion housing.
- Raise rack and fit pinion through body aperture.
CAUTION: Take care not to dislodge aperture seal.
- Align drivers side of rack, fit stiffener plate and start but do not tighten bolts.
- Align passenger side of rack, clamp rubber and upper half of clamp.
- Fit lower half of clamp, stiffener plate and fit 4 bolts.
NOTE: Arrow on lower half of clamp to point forward.
- Tighten drivers side rack bolts to 45 Nm.
- Tighten passenger side rack clamp bolts to 40 Nm.
- Tighten all stiffener plate bolts to 40 Nm.
- Ensure fluid pipe unions are clean.
- Connect fluid pipes to rack and tighten return pipe union to 30 Nm. and feed pipe union to 38 Nm.
Parts & tools for this job For 1993 Rover 600
- TOOLTie rod end toolSearch: tie rod end puller
- TOOLBall joint separatorSearch: ball joint separator
- FLUIDPower steering fluidSearch: Rover power steering fluid
Links open Amazon search results in a new tab. As an Amazon Associate I earn from qualifying purchases.