
Alternator - ’l’ series - models with air conditioning
- Make
- Rover
- Model
- 600 Repair Manual Supplement
- Year
- 1993–1999
- Section
- Repairs › Alternator - ’l’ series - models with air conditioning
ElectricalAlternator - ’l’ series - models with air conditioning · page 1 of 2
ALTERNATOR - ’L’ SERIES - MODELS WITH AIR CONDITIONING
Service repair no - 86.10.02.20
Remove
- Disconnect battery earth lead.
- Raise front of vehicle.
WARNING: Support on safety stands.
- Remove engine acoustic cover. See BODY, Exterior fittings.
- Remove auxiliary drive belt. See this section.
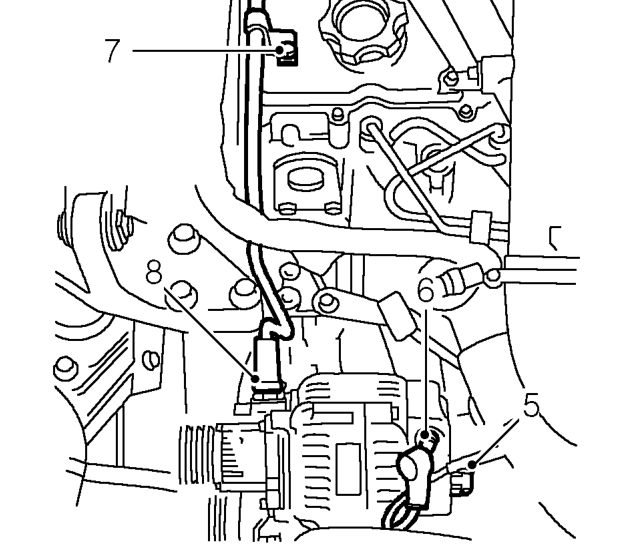
- Disconnect multiplug from alternator.
- Release cover, remove nut and disconnect battery cable from alternator.
- Remove bolt securing brake servo vacuum pipe to camshaft cover.
- Release clip and disconnect vacuum hose from vacuum pump.
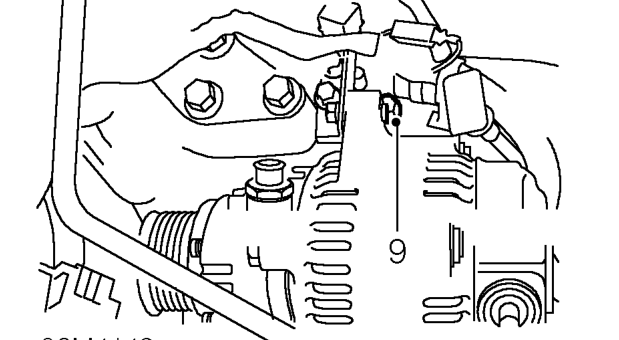
- Remove bolt securing alternator to top mounting bracket.
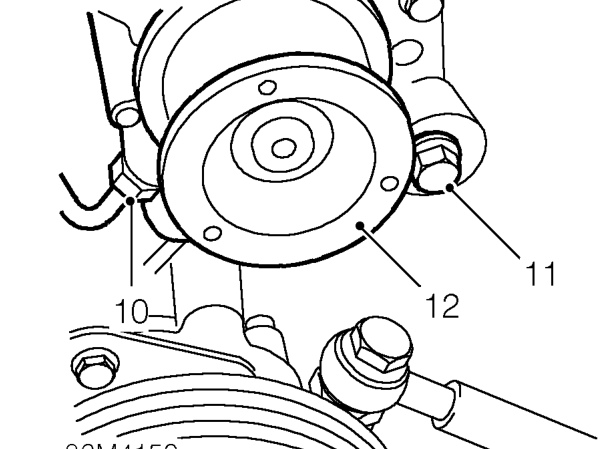
- Loosen union and remove oil feed pipe from vacuum pump.
- Remove alternator lower mounting bolt.
- Release alternator from mounting bracket and position to gain access to oil drain pipe.
Parts & tools for this job For 1993 Rover 600
- TOOLBattery testerSearch: car battery tester
- TOOLDigital multimeterSearch: automotive digital multimeter
- TOOLBattery terminal cleanerSearch: battery terminal cleaner
Links open Amazon search results in a new tab. As an Amazon Associate I earn from qualifying purchases.